The legend about the appearance of glass is told by the ancient historian Pliny the Elder in the 1st century. The legend coincides with the heyday of glassmaking in Rome. But scientific history attributes the dawn of glassmaking to Egypt in the 3rd millennium BC.
Glassmaking has undergone development and changes, and one day beads were introduced to our attention. This is a universal material for needlework. It is used to create paintings, weave jewelry and bags, and sew clothes. They also weave belts. You will learn how to do the latter in this article.
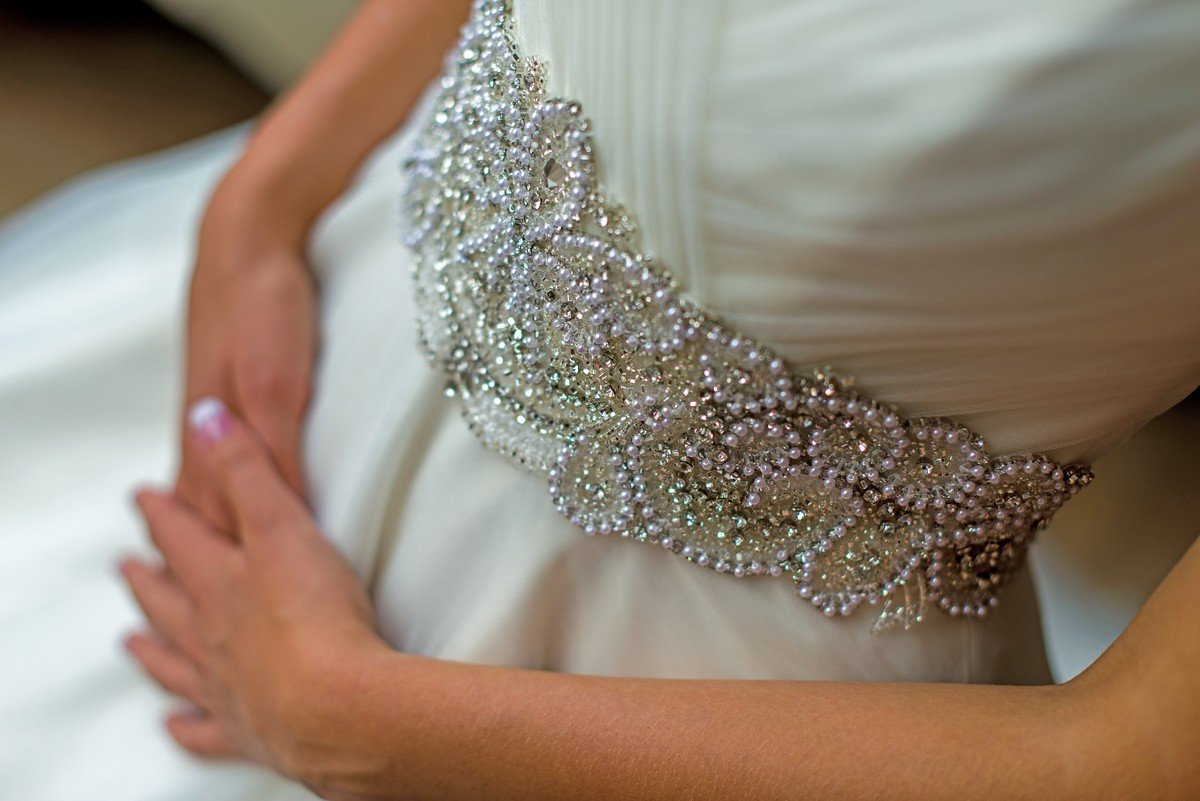
@Historyclothing.ru
How to make a beaded belt with your own hands
A homemade beaded belt will be the highlight of any look. It is unique, because these are not sold at every turn. It is bright or elegant, depending on which beads you choose. It is easy to implement, although at first it seems the opposite. The only thing is that it will take a lot of time to make. Especially at the beginning, until you get the hang of it and get into the flow.
Which model and scheme to choose
Having decided to master the craft of weaving belts, calculate your strength wisely - over the course of about two weeks you will need 1.5-2 hours of free time. And this is in the simplest technique.
For beginners, the model itself is also important, because it is not alone. There are options with floral, snake, geometric, ethnic and abstract patterns. Such models require experience and basic skills. They will show the errors of an inexperienced craftsman and the caliber of the beads is important.
The Ndebele technique is ideal for beginners. The pattern on the belt is diagonal stripes reminiscent of a herringbone. With this technique, any errors are smoothed out, and the different size of the beads is not noticeable.
IMPORTANT! The Ndebele or herringbone technique allows you to weave a smooth, elastic fabric. And the finished product is strong.
What you will need
For this technique you can use 2 or 4 colors of beads. There will be a pair of them in one row, since they are sewn together in twos. And this is a prerequisite for a symmetrical, even canvas.
IMPORTANT! When working with a needle, follow safety rules: the light should come from the left side if you are right-handed. This way the shadow will not fall on the working surface, and all the details will be clearly visible - the risk of pricking is minimized. Have a magnet with you in case you lose a small beading needle: it will be easier to find.
Materials:
- 150-200 grams of Czech beads 10-11 gauge;
- a beading needle with a thick eye into which the fishing line can easily pass;
- fishing line - 2 mm thick.
For weaving a beaded belt, only fishing line is suitable. Dense monofilament will not withstand the load during wear - it will simply begin to tear. Nylon thread, popular among beading, is also not suitable: it will not provide the required rigidity to the finished product.
Instructions
So, having prepared your workplace and all the necessary materials, get down to business.
Ndebele weaves much faster than a handloom belt.
Algorithm:
- Place 2 beads on the fishing line and leave a free end (20 cm in length). You will use it to sew the end of the belt, attaching the buckle to it. Close the beads into a ring by inserting the fishing line into the first bead and out into the second.
- Put on the 3rd bead and lock it into a ring with the second one. You will get an even line of 3 beads.
- Pick up 4 beads and lock them into a ring with the third one. Continue this until the width of the belt is enough for you.
- Now go to the second row. Let us conventionally designate the last bead as number 10, the penultimate one as number 9, and so on. Collect 2 beads at once and insert the line into number 9, and from there into number 8. Then take 2 more beads and wind the line into the 7th. Continue this way until the end of the row.
- At the end of the row, insert the line into the first bead, bring it out to the top bead and start a new row.
- Continue this until the belt is long enough.
When the length of the future belt is 5-6 cm, make a hole for the buckle. If you simply thread it between the fishing line, the accessory will not last long: the buckle will fray the fishing line.
Well, the technique is extremely simple, but it also has features that need to be taken into account:
- When the thread runs out, tie many knots along the edge of the product. This will add strength to the finished belt, and if it breaks, these knots will prevent it from tearing further.
- When finishing weaving, make a few more holes where the buckle will then be attached. But leave the 8-10 cm end without holes.
- The holes are made like this - skip a set of 2 beads, and then continue as usual.


 0
0