Finishing edges is an integral sewing process. It is performed using an overlocker. Craftswomen are so accustomed to using this equipment that sometimes they do not know how to refine the edges differently. Unfortunately, some people don’t have such a machine in their arsenal. What can replace overlock? In this article we will talk about some ways to process edges without its help.
How to do without an overlocker by using a sewing machine
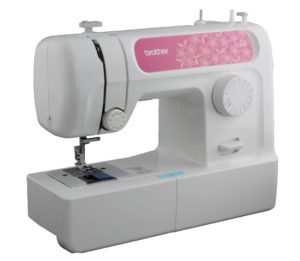 Using a sewing machine, a primitive assistant for a craftswoman, you can not only grind down parts, but also process their edges. There is a proven method - a zigzag seam. This stitch can be done with any modern sewing machine. This processing method is not as easy as using an overlocker, but with skill you can achieve a good result.
The length and width of the stitch must be determined based on the dimensions of the part. By the way, this method is stronger than the overlock method, because the sewing stitch is extremely difficult to unravel.
Note that with this method the seam should be laid at a certain distance from the edge of the part. This is done so that it does not tighten. The remainder should be cut off after finishing the work.
We perform hand-stitching of fabric
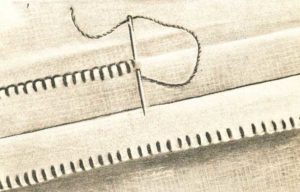 For hand-finished edges, several seams are used:
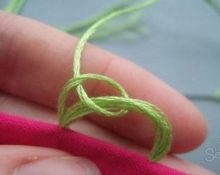
- Loop-shaped - “back the needle.” The primitive seam holds the material together for a long time.
- Cross stitch - the same oblique stitches, only on both sides. The result is a cross. This seam has other names: “goat”, “foot”.
- Oblique stitches - they got their name from the technique of their execution.
More detailed techniques can be found using videos on YouTube. By the way, all these stitches studied at school!
If you want to get an even and neat seam, then sew a line at a distance at the edge comparable to the width of the hand stitch. This will ease the tension and the fabric will not wrinkle. This line will also be a guideline for obtaining even stitches. After finishing the work, the machine seam can be easily removed.
Of course, this technique of processing edges from fraying will take much more time than done by machine. However, if you get carried away, you can not notice the time spent and get a good result.
Making a stitch using a crochet hook
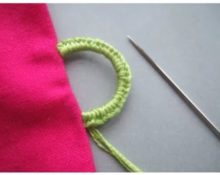
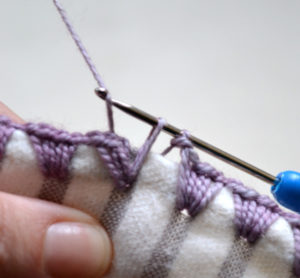 A hook can also be an assistant when processing the edge of a hand-knitted product. Performing the “Loop to Loop” tying is not difficult and does not take long. The average duration of work is 30–60 minutes; it all depends on the skills and experience of the craftswoman. Weaving requires skills in knitting single crochets, as well as primitive air loops. The technique is as follows:
- Make one air loop for lifting, and then knit a single crochet.
- Knit another chain stitch.
- Pd the resulting loops; Insert a hook under the first and third. These loops have their own names. The first is the “lid” of the column, the second is its vertical part. The described loops are marked in the photo.
- The loops remain on the hook, and the hook itself is inserted into the product into the next loop.
- Pull the yarn through the fabric and the two loops on the hook.
- Knit a single crochet stitch and make an additional chain stitch again.
- Insert the hook back into the fabric and work like a single crochet.
- Make an air loop.
- Follow the above steps until the end of the product.
The result is a voluminous weave. You can watch the training in YouTube videos. It is quite easy to accomplish if you show your best qualities.
NOTE! This method can only be used for knitted products.
We use adhesive tape
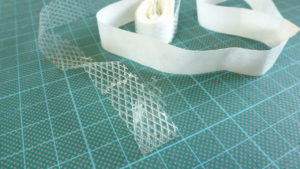 This method is also often used to process edges. Before applying the adhesive tape, it is necessary to align the edges of the product. Apply adhesive tape to the canvas, pressing it with your fingers. This way you can check that the edges of the product are not fraying.
An alternative to adhesive tape can be a special glue.
As you can see, there are quite a few ways to finish edges without the help of an overlocker. Each of them is simple, but also requires ingenuity and patience. We wish you success!


 0
0