An important event for all Christians is approaching - the bright holiday of Easter and the Resurrection of Christ. People are now looking forward to the night breaking of fasts in churches, ritual greetings and, of course, all sorts of goodies. All paraphernalia is decorated the day before, Easter cakes are baked, eggs are painted. And the craftswomen complement it all with homemade decor. One of them is Easter baskets, the principles of easy and quick creation of which we will describe in this article.
Express master classes on making Easter baskets
We offer several ideas that will not take much effort and time to reproduce.
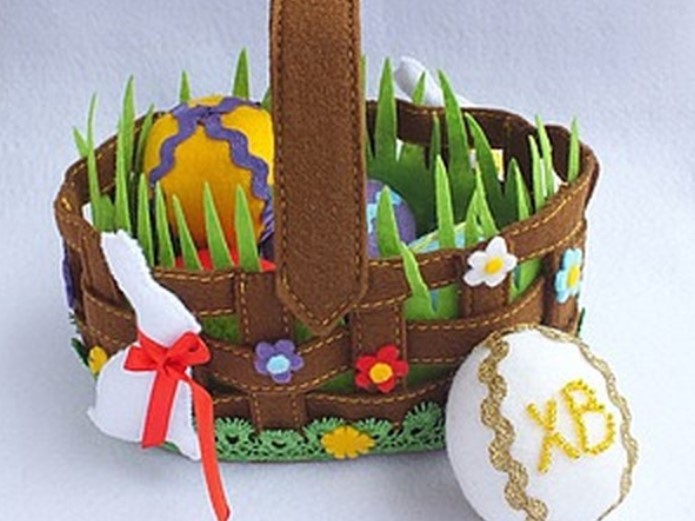
Felt or jeans
For this option, the template will be a circle cut from fabric. Its diameter will determine the size of the bottom of the basket, and the length of the edge cut into 16 identical segments will determine the height of the side. We do:
- In each separate section we make a hole at both ends with an awl.
- First, using a cord inserted into these holes, we connect eight strips together. They will be the inner side, and the rest will be the outer side.
- Finally, we decorate the product with everything that is available.
From salt dough
Why salty? Salt is added to it for long-term storage of the craft. We will need:
- a small fireproof glass cup;
- sunflower oil for lubricating it;
- rolling pin for rolling out dough;
- 1 glass of water;
- 1 glass of salt;
- 2 cups of flour.
Technology:
- Mix flour with salt, then gradually add water. Knead the dough until smooth. Turn the bowl upside down and grease it with oil. We make a flat cake from the dough, which will become the base.
- From the remaining dough, roll out thin ropes about 5 mm thick and 10–12 cm long. Having slightly moistened the surface of the flatbread for better adhesion, we connect two ropes and fix them in the form of a loop to the bottom of the basket. The ends of subsequent loops should be located in the middle of the previous ones.
- After everything has been laid out, we wipe the bottom with water again and press it to the bottom with the blunt side of the knife for better adhesion of all the parts. Cover the joints on top with another flat cake.
- Without removing from the cup, bake in the oven at 120° until white. At the end of the process, remove from the oven and let cool. Only after this we remove it from the mold.
From a plastic bottle
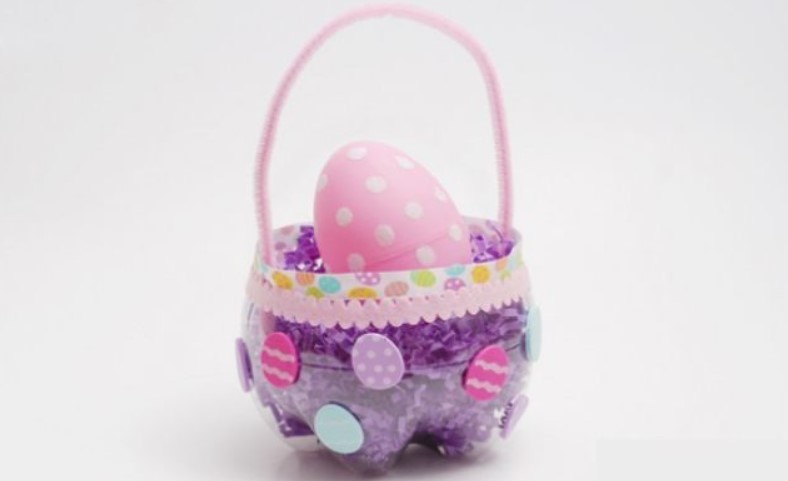
When making this craft be sure to invite your child to help. This is a very simple and fun way. Cut off the bottom part of the bottle, 3–4 cm high. Wrap the outside with thin gift paper, using double-sided tape to secure it.
Cut green or light green corrugated paper into strips and place in a prepared container. Tie with braid in the form of a bow.Place a couple of eggs decorated as chickens in it, gluing paper eyes, beaks, and combs on them.
From a tray and clothespins
An eco-style basket made from a tray and clothespins looks very original. For this you need to separate them by removing the metal springs:
- Sand a plastic or food container with sandpaper and glue the wooden parts along the outside using thermal or superglue.
- Tie with jute rope with beads or balls at the ends.
- Place a fabric or bag with an openwork border in the inner part, turning it outward.
- Secure a handle made of cardboard and wrapped with twine.
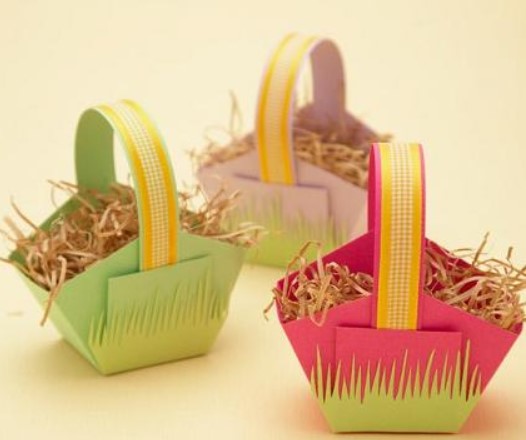
From paper or cardboard
In order to build this bright thing, you should prepare:
- cardboard and corrugated paper (you can use napkins);
- glue or stapler;
- beautiful elegant braid.
Work process:
- Cut a circle from cardboard with a diameter of about 20 cm.
- Draw another one inside with a radius of 5 cm.
- From the last to the first, draw eight rays at the same distance and cut them.
- Use a stapler or glue to connect them together, placing them on top of each other to create a rounded shape.
- Make a handle from flexible cardboard, attach it to the edges of the basket and decorate it with ribbon.
- Place colored paper or a napkin inside. Our souvenir is ready.
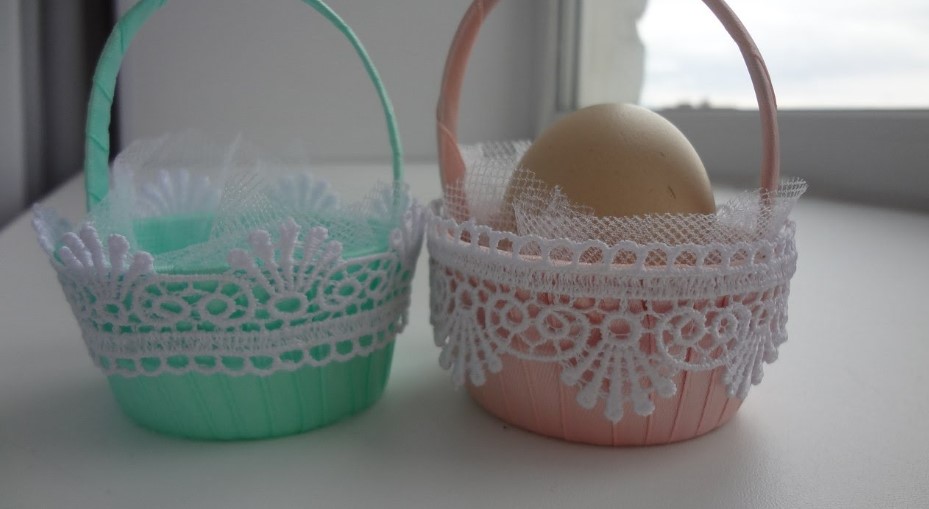
From a jar and satin ribbon
We will need it for her plastic jar for mayonnaise or jam:
- You need to cut off the bottom and wrap the walls with satin braid. Each turn is made as close as possible to the previous one so that there are no gaps.
- A circle is cut out of cardboard and placed in place of the removed bottom and secured with glue.
- The handle is also made of plastic. A ribbon is wound around it using the same method and glued to the edge of the basket.
- We decorate with any details you wish.
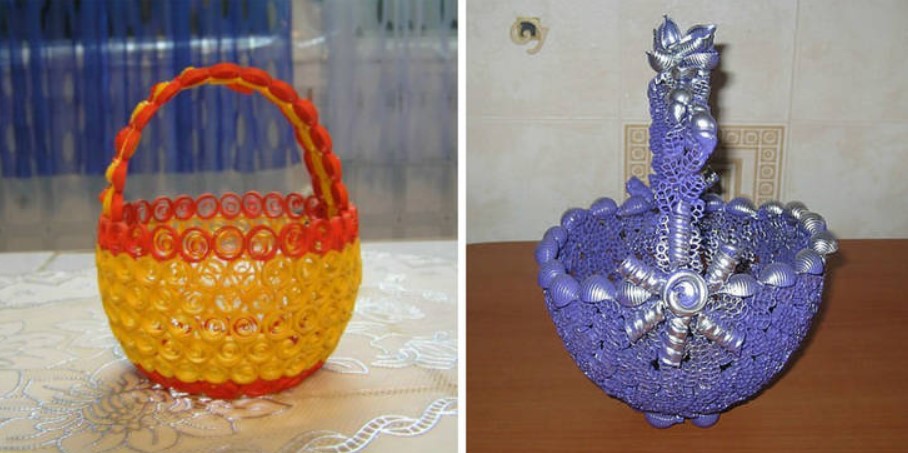
From pasta
The pasta craft looks very exclusive. Take:
- pasta of various shapes in the form of bows, horns;
- PVA glue;
- latex ball;
- threads;
- marker;
- acrylic paints.
We do this:
- Inflate the balloon and tie the end with thread.
- On the side in the central part we draw an oval.
- We fix the ball on a mug and paste it with pasta, leaving the drawn part untouched.
- We wait for it to dry, pierce it and remove the ball. Cover with paint, decorate with bows and sprinkle with glitter. This decoration will delight both guests and home owners.
Happy holiday to everyone! Christ is Risen!




 1
1
