There are many options for making beautiful bows from braid or ribbon. There are very simple ways when you don’t have to look for anything other than sleight of hand, patience and a little tape. For those who love something original, we are ready to offer more complex manufacturing methods. In this article we will tell you how to make different types of bows and what to consider to make the product beautiful.
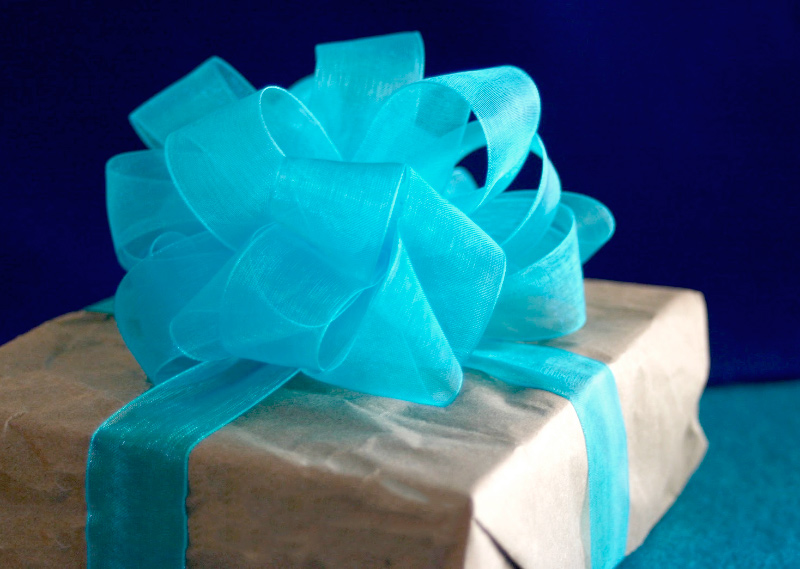
How to make a ribbon bow
Braid is a popular material for bows. It looks beautiful and is not difficult to work with. It is better if there is a little more material than required (a small reserve in case of unforeseen situations will not hurt). Also be sure to have scissors and glue (ideally a glue gun) ready. Depending on the type of bow you are going to make, you may need a stapler, tape, thread, or thin ribbon.
Let's look at how to make the following types of bows:
- classical;
- double;
- lush classic;
- curvy using a stapler.
Classical
Perhaps the simplest option.You can decorate anything with this bow: an elastic band or hair clip, gift wrapping, a notebook, a bag, a cosmetic bag, etc.
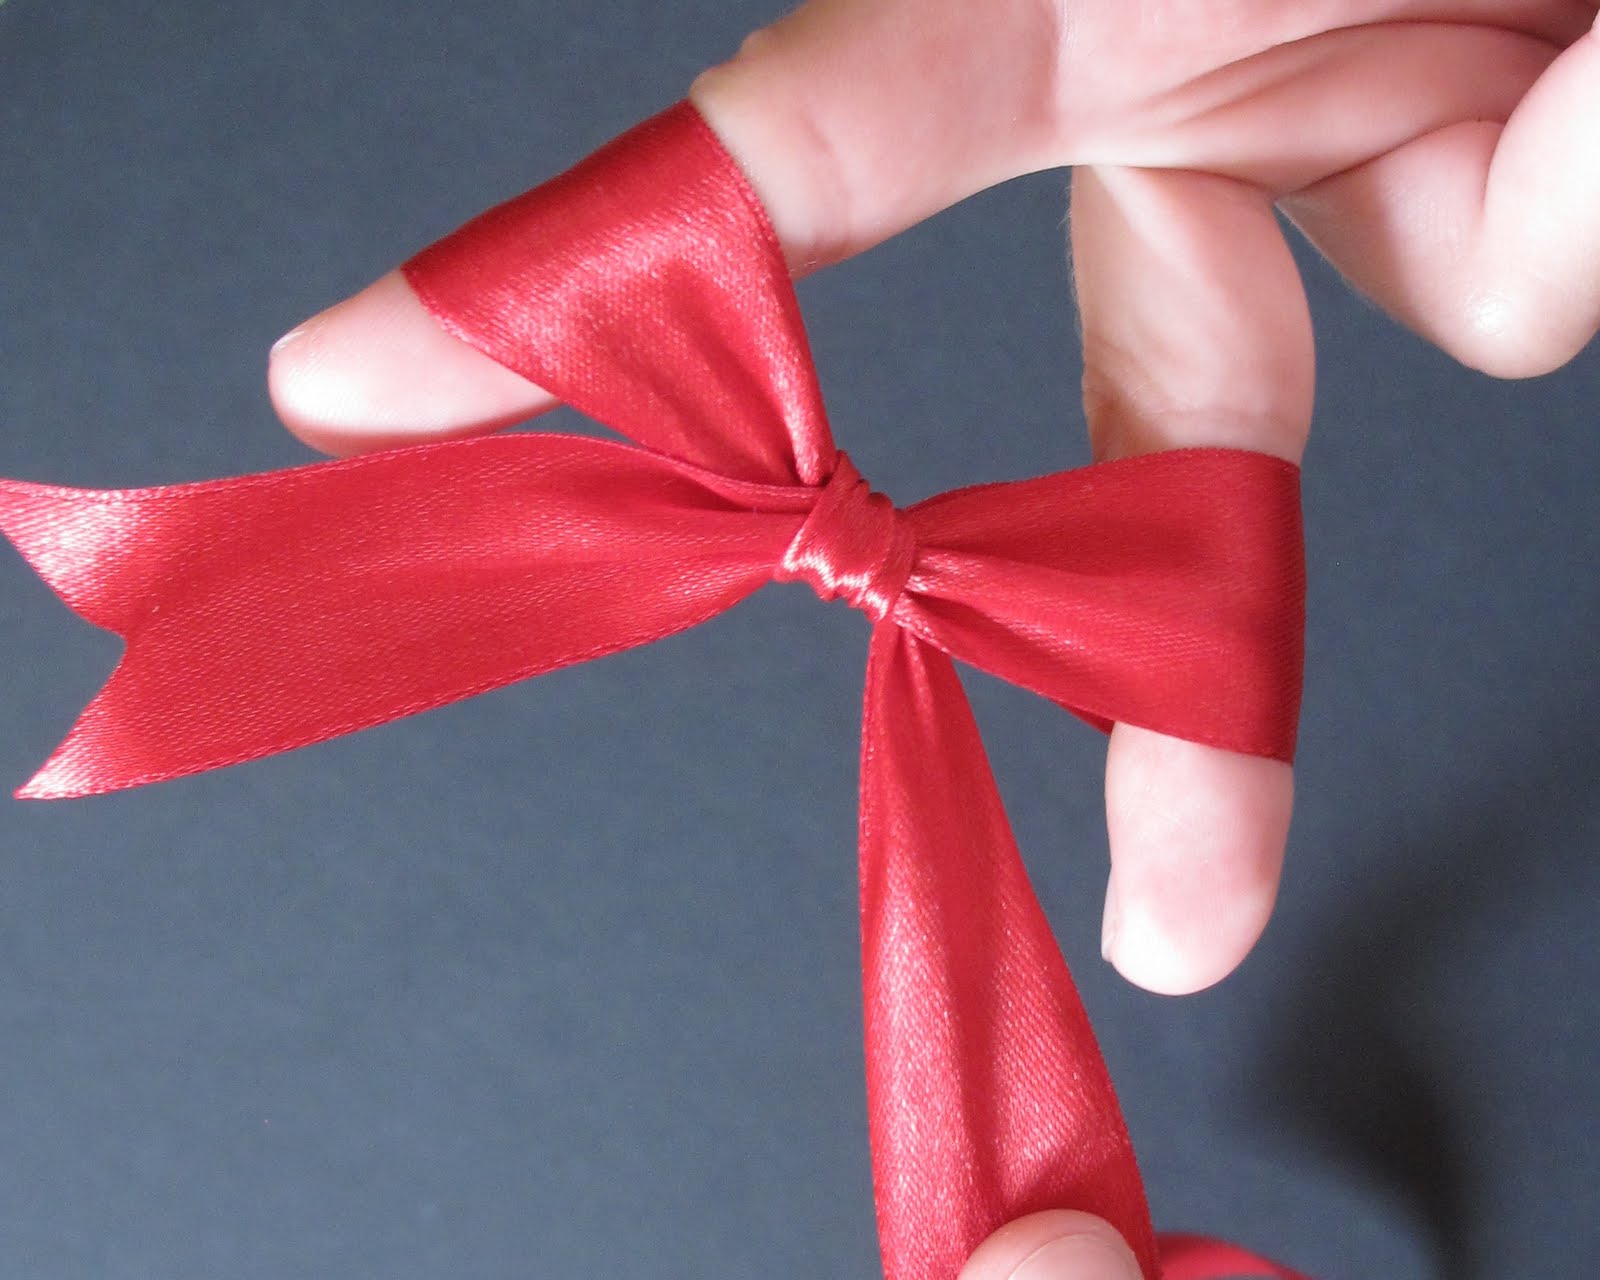
You can make a bow as follows:
- Take the ribbon in your hands and fold one edge towards you.
- On the opposite side, fold the edge to approximately the middle of the already created loop.
- Now the long tip needs to be lifted and turned out so that a loop is formed at the bottom.
- Bring the free edge over and make another loop.
- Continue forming loops until you run out of braid. Remember that the “center” of the product must be held firmly with your fingers.
- When the loops are formed, secure the middle with a stapler (preferably 2-3 paper clips so that the bow does not fall apart).
You can also attach the finished bow to anything using double-sided tape.
What you need to consider to make the bow beautiful
Tying a bow according to the instructions is half the battle. To make it look perfect, you need to take into account many little things.
For example, the quality of the braid is important. Of course, you can find an old satin ribbon in your grandmother's chest and iron it. However, the risk of wasting time is too high: the older the braid or tape, the more difficult it is to work. It will not hold its shape well, and the ends will begin to crumble before work begins.
The best solution is to buy braid in a store. It is inexpensive, and today there are a lot of color options.
If you want a classic colored bow to hold its shape for a long time, you can spray it with hairspray. True, this must be done carefully, otherwise there will be streaks on the tape. Rehearse in advance on an unnecessary piece of braid. Spray varnish at a distance of 40-50 cm from the bow.
Important! The varnish can leave yellow marks, so spraying it on light-colored braid is not recommended.
The more complex the product, the more tape will be needed to make it, and vice versa. For small bows, buy a narrow braid (then the loops will be thin), and for lush ones, buy a wide one (this way you can show the entire volume of the bow).
And most importantly, don’t be afraid to make mistakes. Not everyone succeeds in tying a luxurious bow the first time. Try it! The one who walks will master the road!


 1
1
