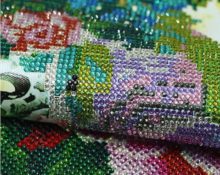
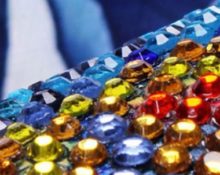
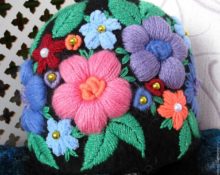
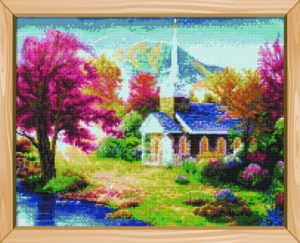
 Diamond embroidery is a type of needlework in which the pattern is not embroidered, but laid out. The finished work does not crumble, it looks interesting and voluminous. The effect is created not only by the shape of the pebbles, but also by playing with light and shine. However, to obtain such a canvas you will have to put in a lot of effort, as well as show attentiveness and master a new craft technology. We will tell you how to make a beautiful mosaic using the rhinestone embroidery technique.
What you need for a mosaic with rhinestones
Pictures are created using ready-made sets. They are fully equipped and have everything you need. You will find the following items in the package.
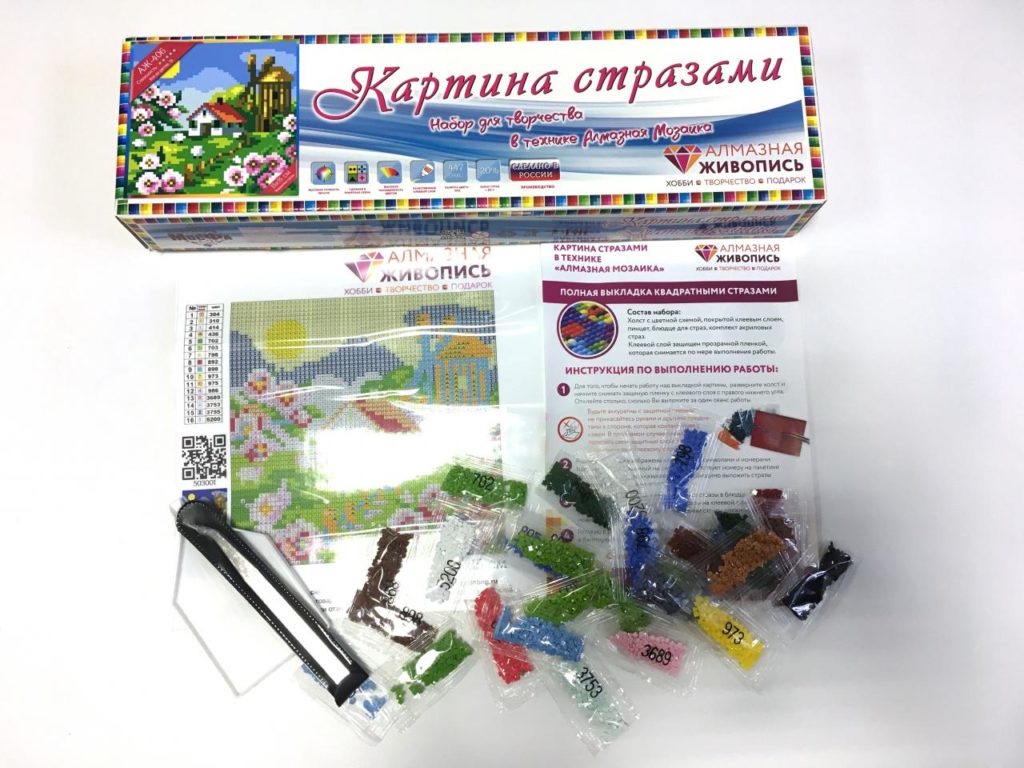
- Canvas for work. A rubberized piece of fabric on which a color or black and white pattern is applied.
- Illustration (sample of finished work).
- Instructions, which contains recommendations for implementation, as well as an explanatory diagram.
- Diamond parts packaged in separate bags according to color, cut type and shape. They lay out the canvas.
IMPORTANT! Each bag contains a number that allows you to find a specific diamond in the overall scheme of the picture.
- Tweezers. The tool is adapted for manipulating diamond crystals and is placed in a separate box or cardboard-plastic packaging.
- Plastic molds, which facilitate the process of laying out patterns.
With normal execution and organization of the creative process, there is no need for additional acquisition of materials or tools. Some manufacturers, when completing sets, even put in a little more figures than required by a specific embroidery. This reserve will allow you to complete the work even if 2-5 fragments are lost.

ATTENTION! The plastic bags in which crystals are stored break very easily. Most often, their integrity is compromised in the area of the zip fastener. This subsequently leads to the impossibility of their use.
If you don’t want to lose your embroidery diamonds or hastily look for a new vessel to put them in, It’s better in advance, at the very beginning, to pour the fragments into cellular containers or into hardware storage systems.
The only tool that is not included in the ready-made diamond embroidery kit, but may be needed during the work, is ruler. Moreover, it should be strong and not thick. Experienced craftswomen recommend turning to metal.
How to make a mosaic with rhinestones
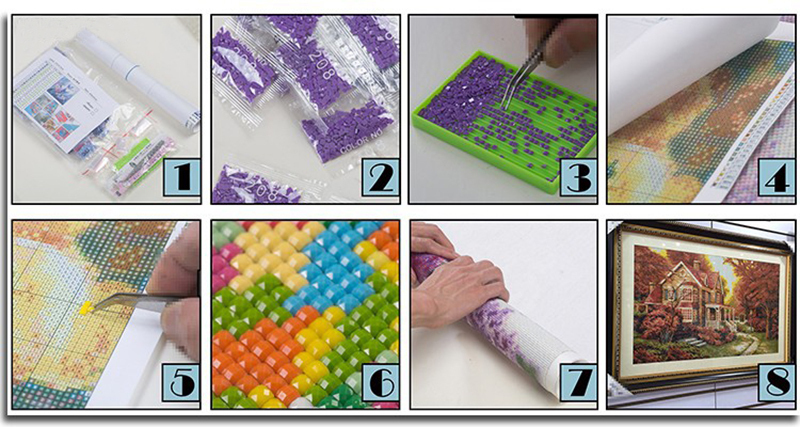
Having prepared everything you need, proceed to execution.
- Straightening the base. The fabric needs to be unfolded and the folds ironed with your hand. “Bumps” should not interfere with the gluing of rhinestones.
ADVICE! If mini-defects cannot be eliminated, then place the material for 1-2 days under glass or another evenly heavy and level object.
- Removing the protective film. It is applied on top of the working canvas, on its front side.
- Choice of 1 rhinestones. You need to select a cell on the diagram applied to the base of the picture. And then match its color or symbol with those presented in the instructions. This step will allow you to decide which diamond figurine should be used in this specific area of the picture.
- Gluing. Using tweezers, take and place the fragment into the cell prepared for it.
IMPORTANT! There is no need to use glue, since the base already has a thin layer of fixing material.
- Repeating the procedure with all the remaining crystals in the set.
- Checking the reliability of gluing. After laying out, check the strength of the individual fragments. For this cover the picture with a piece of fabric and run a round object (a roller, well, or a rolling pin) over it.
- Penultimate step - coating the finished embroidery with a thin layer of varnish. This step is optional and can be skipped. It will simply increase the shelf life of the product.
IMPORTANT! The ideal varnish for mosaic paintings comes in aerosol form. The shape allows you to quickly and accurately apply the composition without affecting the glued rhinestones with a brush.
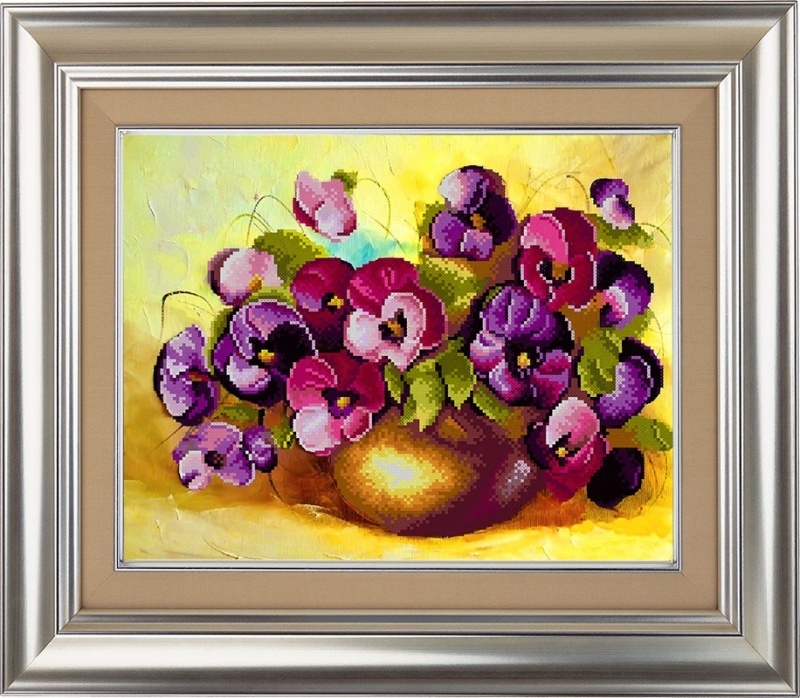
- The finishing touch - cutting off excess edges from the canvas and placing the diamond painting in a frame. Information on the size of the finished embroidery will help you choose the right mat. Information can be found on the box and in the instructions for use.


 0
0