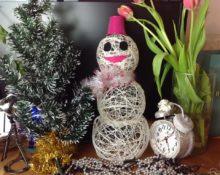
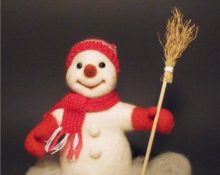
The New Year is just around the corner, and I really want to celebrate it with exclusive things. A snowman made from threads and balls is just what you need. The manufacturing process is simple; anyone, even a child, can handle it.
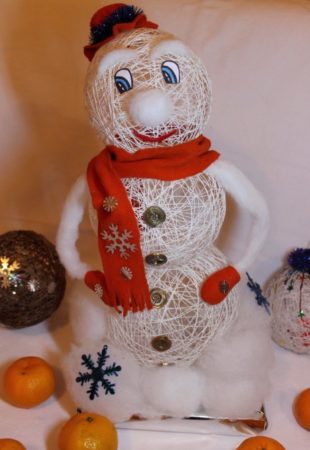
DIY snowman made of threads and balls
If parents and their children do handicrafts, wonderful specimens will be born that will complement and decorate the New Year’s interior.. It will take you two days to make the toy, with breaks for drying, so don’t wait for December 31st, but get down to business right now.
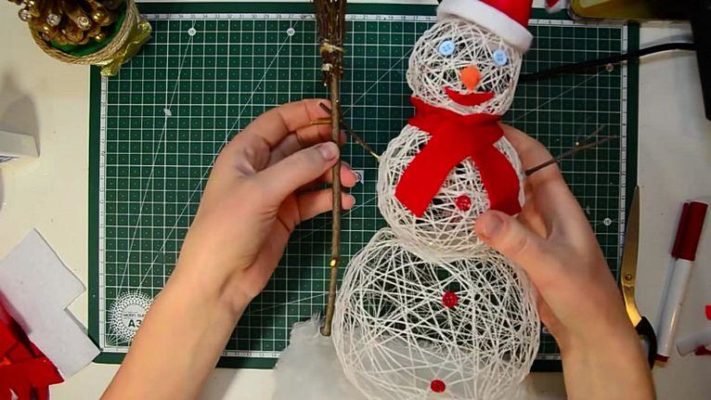
And when you master the technology well, you can make several snowmen of different sizes and make a composition out of them.
What materials are needed for a snowman
Because we are going to make a snowman out of threads, first of all, we will need a skein of white, not very thin threads and small skeins of orange and black (or brown) for the nose and the bucket on the head.
Except threads You need three round balloons and two elongated ones for the handles. Buy with a reserve - in case some balloon bursts even before it turns into a snowman.
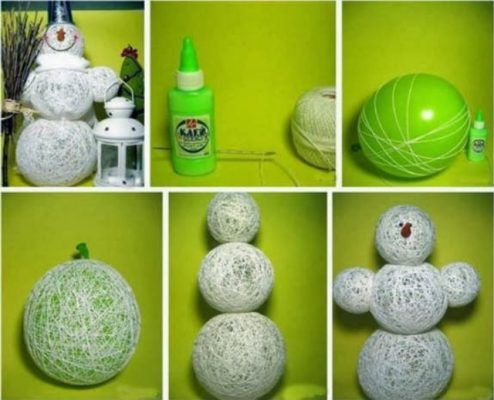
Also prepare black beads for the eyes, large buttons for the body, thick red thread for the mouth, and a small piece of organza for the scarf.
Scissors, a needle with a thick eye, a can of PVA glue, transparent nail polish, a plastic bag and a little vegetable oil will help us in our work.
Craft a snowman from threads and balls step by step
Work on the snowman will take place in several stages.
Blank for body
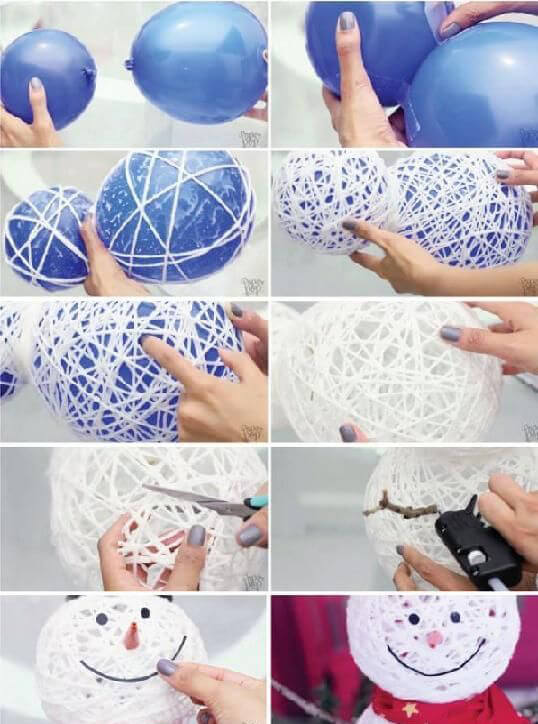
We start by inflating the balloons. The arms should be the same, and the body will consist of balls of different sizes. The largest is the base of the snowman, the smallest is the head. We tie the inflated balloons tightly - let them keep their shape. So that they can be easily separated from the threads in the future, lubricate them with vegetable oil.
We prepare the white ball for winding into balls. Thread the tip of the thread through the needle and pierce the tube of glue with it on one side so that it comes out on the other. Having thus pulled all the threads through the container with glue, we will thoroughly lubricate them on all sides.
It's time to wind glue-soaked threads onto each of the prepared balls. Do this in a chaotic manner, but so that there are as few gaps as possible. And do not press the threads too hard on the ball, because it may burst under pressure or you will end up with a snowman-like lump with uneven edges.
Nose and cap
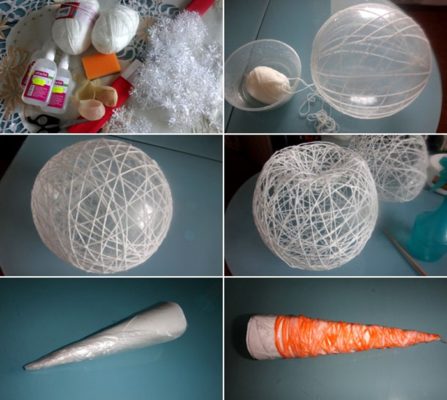
We still need to make a carrot spout and a bucket hat.. Let's not deviate from technology and make them also using thread weaves. We cut and glue a cone out of cardboard, wrap it in polyethylene and wrap it with orange threads soaked in glue using the technology described above. Wrap the tip of your nose especially well.
For the hat, cut out a narrow rectangle from cardboard, glue the edges together to make it round and attach a round bottom. We will also wrap it in polyethylene and wrap brown threads with adhesive impregnation on top.
The work is finished for today - we put all the parts aside to dry, and we ourselves go to do other things. And the next day, when the threads stick well, we return to our snowman again.
Assembly
We pierce the balls and, already deflated, carefully pull them out of the thread blanks by the tail. The bottom ball needs to be weighted so that it stands firmly on the table. To do this, glue a cardboard circle underneath. Sew buttons to the middle ball of thread. And to the top, smallest one, we sew an orange nose with white threads, having first removed it from the cardboard base. We fix the beady eyes with glue, and glue a red thread under the carrot in a semicircle - this will be a smiling mouth. Don't forget about the bucket on your head - it also needs to be carefully detached from the cardboard frame and glued to the top of your head.
Now let's start assembling the New Year's toy. We spray the joints of the body with the head and the lower ball with a spray bottle and bend them a little. We do the same with the places under the arms. Apply glue and connect all the parts. After that, to be sure, we also stitch the joints with white thread.
Decorating the snowman
When the snowman is dry, you can start decorating. First, coat the toy with clear varnish to make it shiny. When it dries, we tie an organza scarf around our neck and tint our cheeks with our mother’s blush.
If you know how to hold knitting needles in your hands, you can knit a scarf and hat of the desired size. If you replace the ball handles with branches, then you can put their ends in knitted mittens, and put a broom made of small twigs in your hand.
Instead of a bucket, you can make a cylinder, then the snowman will look very solid. And if you want a snowwoman girl, add a gauze tutu to her.
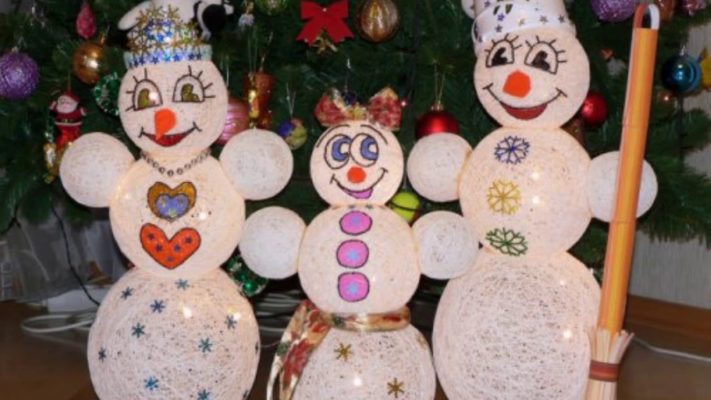
If you don't make a stand for a snowman, If you attach a loop on top, the snowman will turn into a Christmas tree decoration.
You can put a garland inside the snowman, then it will become a nice lamp.
There are no limits to human imagination, so get to work, and ideas on how to decorate a snowman will come to your mind as you go.


 0
0