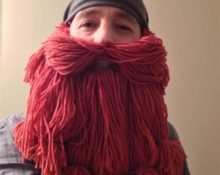
Each thing created with your own hands brings much more pleasure than something purchased in a store, because a piece of soul and creativity is put into it. How to make a wig with your own hands from yarn? It's not as difficult as it might seem at first glance.
What threads are best to choose to make a wig for a child?
Still, the most realistic hair will be artificial hair, but today we are not talking about them. Which threads will be the safest for a child? We offer you to make a wig that will not take much of your time, and will also look quite realistic.
Suitable threads for a wig would be iris or microfiber threads, which are quite durable and at the same time absolutely safe for the child.
The advantage of microfiber is that the thread consists of two strands. It won’t be possible to do this kind of work too quickly, so this option is for those mothers who have time to spare.
How to make a wig from threads with your own hands
The simplest option for making a wig is to use yarn.
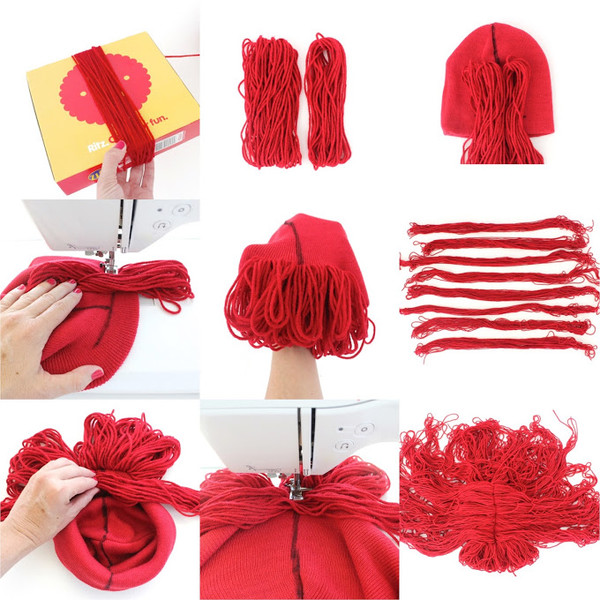
First you need to make a base, to which the hair will hold. A crocheted hat may be a suitable option. But this option is suitable for those who have knitting skills. What to do if you have never held a hook in your hands, and there are only a few days left before the holiday? Alternatively, you can sew a hat made of tulle or other material with holes all over the surface.
The hat is knitted in the most ordinary pattern; it doesn’t matter what color it is, because everything will be covered with hair. The most important thing is that the threads can be pulled through the holes.
After this, the threads are cut into pieces of the required size. Then each one is pulled through the holes and fixed on the hat. You can sew or glue each thread as you wish. You determine the density yourself.
The wig should not be too heavy, because the base simply may not withstand such a number of threads.
It is imperative to prep your hair before putting on your wig. The hair is gathered into a bun on the top of the head and distributed evenly throughout the head, secured with invisible pins.
The wig should not wrap around the neck, but lie evenly.
Tools and materials needed during the work process
List of required materials:
- the threads are thick;
- thin threads;
- rubber;
- felt;
- hair comb.
List of required tools:
- scissors;
- hook.
The work takes a decent amount of time, especially if you don’t do needlework often and don’t have any special skills.
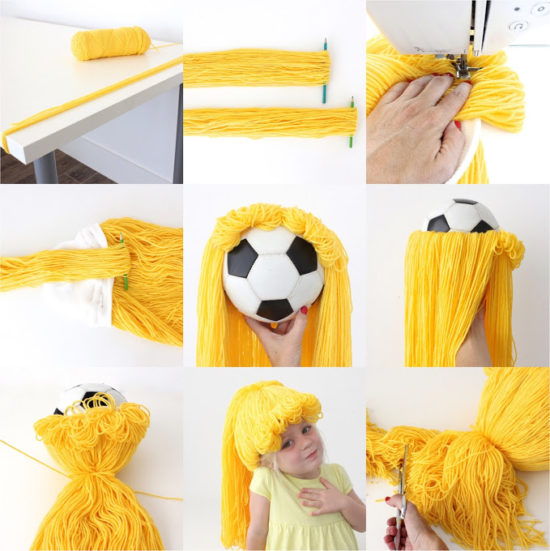
Detailed instructions on how to make the simplest wig
The threads are folded in half. We begin to sew threads onto the felt blank in small batches.
Sew until you reach the end of the strip. After the workpiece is finished, turn it over. Sew the comb to the strip, leaving a little space from the edge. After that, we trim the hair and try it on.
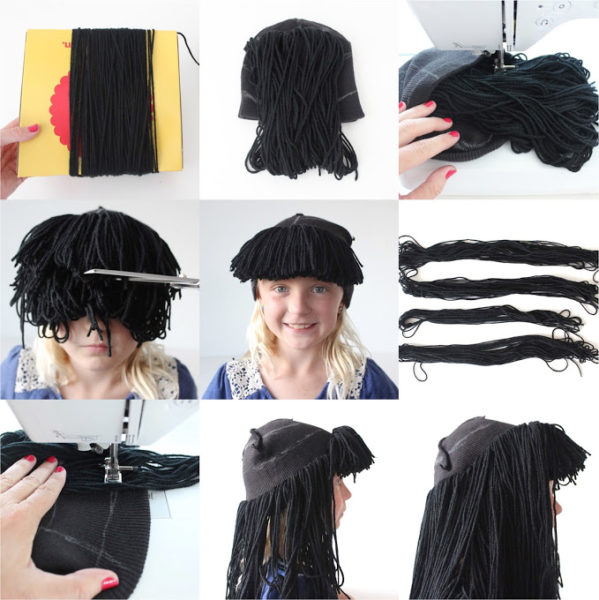
Next we start making bangs. Threads of the required length are folded and sewn to the front of the wig. The edges are trimmed.
Interesting thread wig ideas
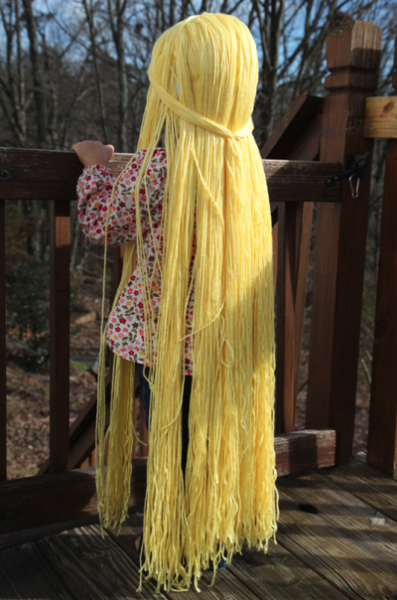
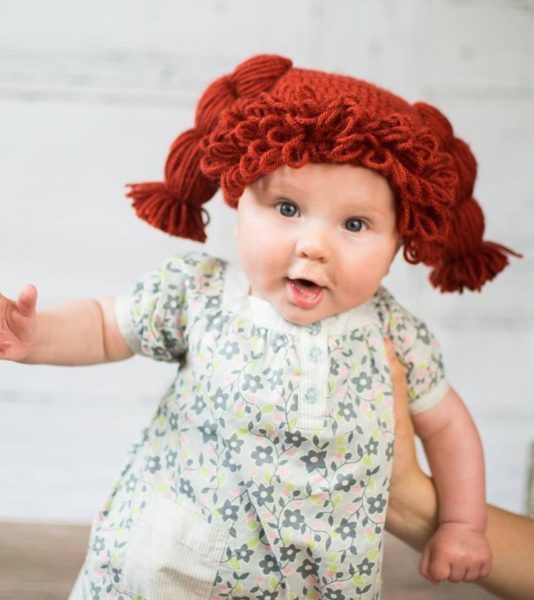
We invite you to make a knitted wig for your child with your own hands. This method is more suitable for needlewomen who know how to crochet well. To work you will need thick acrylic threads.
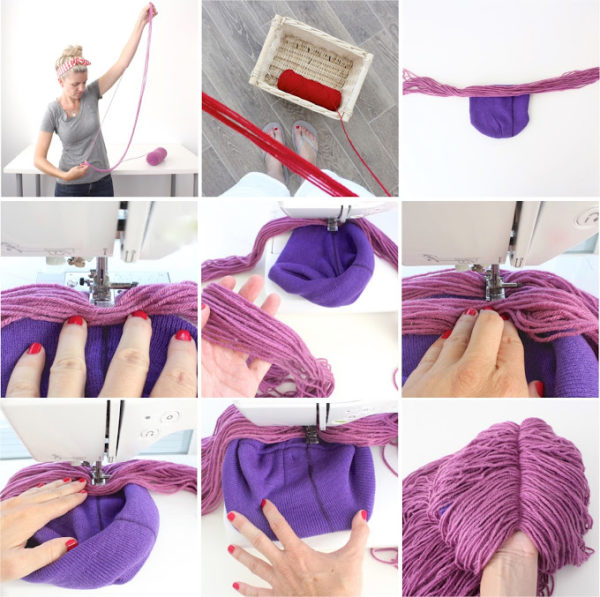
First you need to measure the circumference of the child's head. After this, we begin to knit the base of threads in columns.
Then we cut the threads to the required length. We thread several threads into each hole and tie. It is convenient to thread the threads using the same hook. Then we thread the same number of threads into the adjacent loop. Thus, we get a kind of fringe.
The threads are threaded throughout the entire product in the same way. The length and thickness of the strands can be adjusted. If you place the thread strands tightly, the base will not be visible at all.
While doing the work, do not pay attention to the unevenness of the threads, then it will all be trimmed. Upon completion of the work, all the threads are aligned, forming a beautiful product.
If necessary, you can add more threads to prevent the wig from becoming too bald.
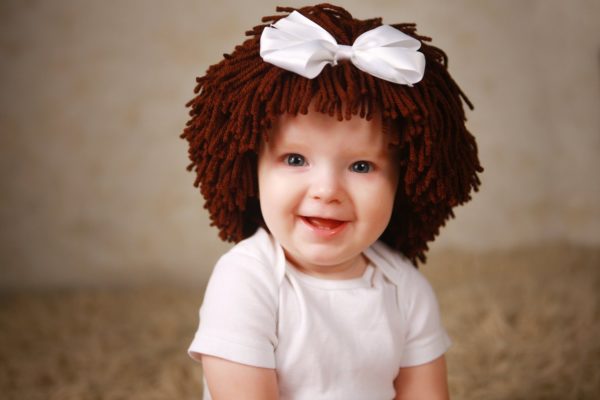
The front strands can be separated in a semicircle and made into bangs. If after this, bald patches appear on the parting, then you can also add a little knitting threads to these places.
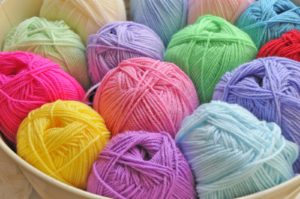
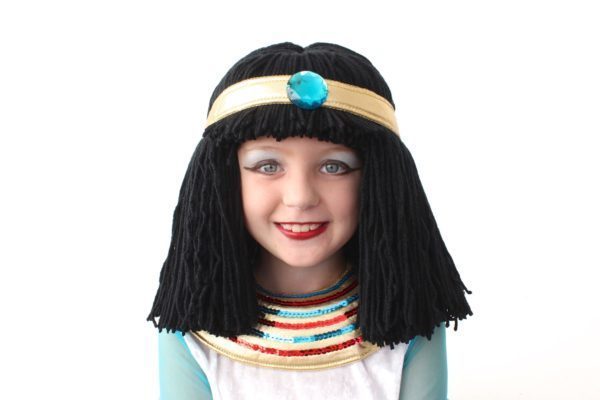
For manufacturing, you can choose yarn of absolutely any color at your discretion. Hair can be braided, pulled into a ponytail, or simply left loose.
In addition, these wigs can be twisted. To do this, you need to wind the threads on wooden curlers and hold them over boiling water for 5 minutes. You should not choose threads that are too stiff, because they can stick out in all directions and bringing such a product into proper shape will not be an easy task.
I wish you creative success in all your endeavors!
 0
0