Did you know that you don’t have to spend a lot of money and so precious time in the pre-New Year bustle on a neat, stylish New Year tree? You can make a winter beauty yourself from scrap materials. Just imagine how cozy one of the evenings on the eve of the holiday promises to be if you devote it to the leisurely and pleasant work of making your own unique Christmas tree. How interesting will such an activity be for children?! Agree, the idea seems very tempting.
What can you make a Christmas tree from?
We suggest considering manufacturing options DIY artificial tree made from a paper cone and threads. Making such a Christmas tree is not difficult. Yes, it will be small in size, but if executed well, it will decorate any interior. Children can make such a beauty to give to their grandmother. It looks great on a computer table, on a TV stand, or on a holiday table.
By the way! The Christmas tree can be quite large in size.To make it, you need to take 1-2 thick sheets of A1 format (if necessary, they are glued together).
In general, to create a New Year's craft you will need:
- thick paper (preferably cardboard);
- PVA glue (if the model is large or made from unusual materials, you will also need a glue gun);
- pencil;
- ruler;
- scissors;
- a thin satin ribbon for a loop (if you plan to hang rather than display the craft);
- threads (a lot);
- decorative elements (colored wire, plastic, beads, glitter, tinsel and cotton wool).
Step-by-step master classes
So, if you are ready for such a creative process of making a New Year's beauty, we offer you some original ideas. All of them, one way or another, based on the use of knitting threads as a base material. To make the Christmas tree unusual, we decorate it with a variety of (sometimes non-standard) elements.
Cardboard cone and threads
First of all, let's prepare the base and threads for work. So, to make a cone, draw a circle on a sheet of whatman paper or cardboard. Its radius should be equal to the height of the future tree. Next, carefully cut out the circle and form a cone out of it.
Attention! The denser the cardboard, the more carefully you need to work, since it is almost impossible to eliminate unevenness from a thick sheet.
When the desired cone size is selected, you need to glue the edges.
The preparation of the threads depends on which design of the future craft was chosen. If the cone is wrapped, then the threads should be well glued to it. This is achieved in the following ways:
- the threads are placed in a special container with an adhesive solution. After they are completely wet, they are wound onto the previously prepared surface of the cone;
- glue is applied to the threads directly while unwinding the ball, thus securing them to the base.
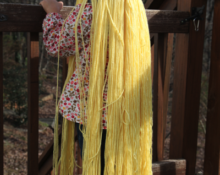
If you plan to make a fluffy Christmas tree, then the threads need to be disassembled into individual fibers. This is painstaking work, but the craft will turn out great. To do this, the entire skein is cut into pieces about 10 centimeters long. Then each such segment is divided into 2-4 fibers (their number depends on the thickness of the threads).

Made of plastic
This material, although not entirely natural, but convenient for creating interesting crafts, can also be used to make a beautiful fluffy Christmas tree. Here we will deviate a little from the option proposed above with a cone at the base, and suggest you make an original Christmas tree from a regular plastic folder. Even a child of 8-11 years old can cope with the work, and the materials needed to make such a craft are the simplest.
So, we need:
- 3-4 plastic folders (preferably green and of the same shape);
- glue gun and PVA glue;
- scissors;
- threads (any wool will do);
- beads for decoration.
- Let's start with the basics. From the folders we cut out the details of the future Christmas tree according to the template. There should be at least 3 of them, but a craft with 4 sides looks ideal. When all the blanks are cut out, fold each one in half and bend it back. You should get triangles that are half bent and stand confidently on the table surface.
- Lubricate the outer edges of the blanks with glue and connect them together (to make the parts stick better, you can use superglue or use a hot glue gun).
- Let the parts connected in this way dry and take time to prepare the threads. They need to be disassembled into individual fibers using the above method.Then we collect the threads into a bundle and cut them into small pieces (no more than 1-2 centimeters in length). You will get a voluminous lump of fluffy wool fibers. By the way! You can use regular bundles of cotton wool instead of threads!
 The most interesting part of the work is decorating the plastic blank. To do this, apply a few drops of glue to individual areas. Threads or cotton wool are glued in bunches (3-5 in each). The number of bunches on the tree depends on your imagination and perseverance. The more there are, the more elegant the craft will seem.
- When the “needles” are glued on, they are decorated with beads (they can be carefully sewn on with 1-2 stitches) or glitter (it’s better to fix them with a drop of glue).
- A large red bead, a star cut out of colored foil, or a pom-pom made of red thread is suitable as a top.
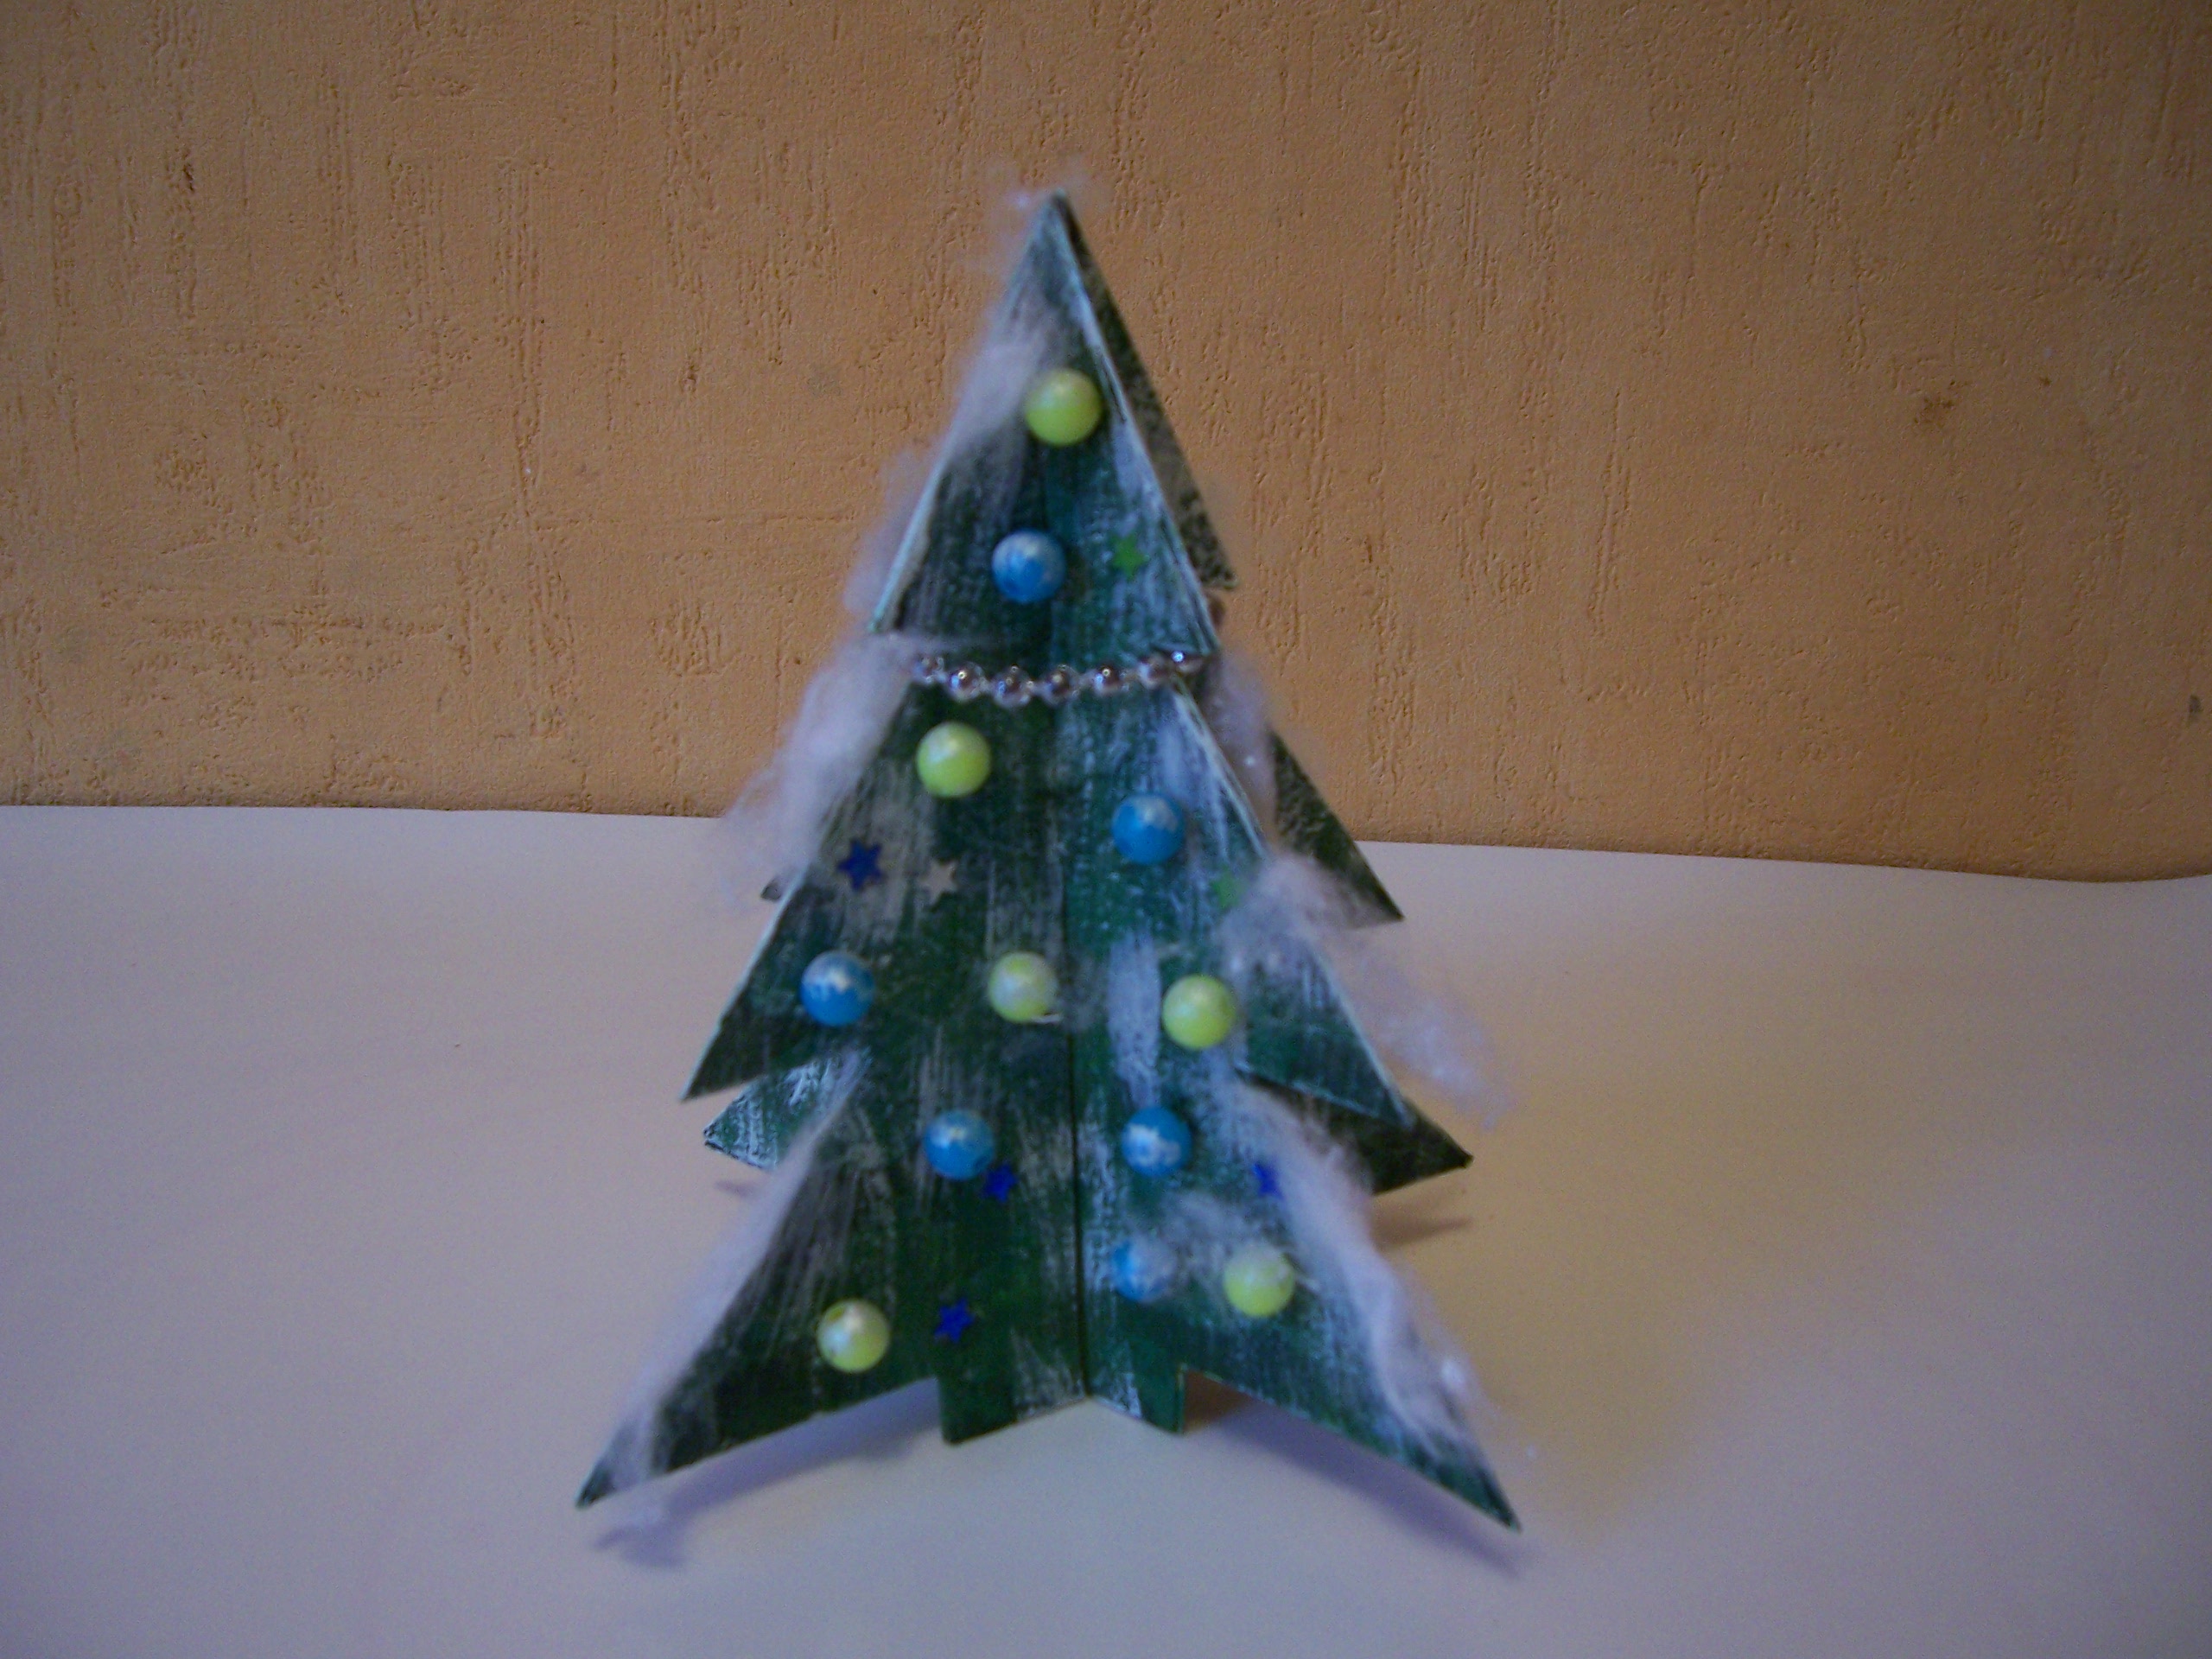
The fluffy beauty is ready. It looks festive, winter-cozy and incredibly cute.
Flat Christmas tree made of threads
This craft is good as a toy for a real forest tree. It’s not at all difficult to do, and such work will take little time (on average it will take from 1 to 2 hours).
To make a flat Christmas tree you will need:
- cardboard;
- glue, a simple pencil and scissors;
- threads (both floss and wool are suitable);
- satin ribbon for eyelet;
- self-adhesive rhinestones for decoration.
To make a flat Christmas tree, you need to draw its layout on cardboard. Then carefully cut out the image along the contour. Don't forget to glue a satin ribbon loop to the top.
Let's move on to the most interesting part of the work: winding the threads onto the warp. In order to fix the threads securely, we will pass them through the glue container. To do this, pierce the tube with PVA glue with a needle (the eye of which is threaded).Through the tip of the tube we bring out a thread that is completely treated with glue.
Important! To enhance the fixing effect, do not forget to pass a brush, lubricated in PVA, over the surface of the cardboard blank.
We carefully wrap the thread passed through the glue container onto the Christmas tree frame. We wait for it to dry, after which we paint the craft with green acrylic paint. We decorate the finished Christmas tree with rhinestones.

Threads and wire
You can make a Christmas tree that looks almost like a real one yourself using wire and woolen threads. For this we need:
- a skein of bulky threads (the more wool they contain, the better);
- thin wire;
- scissors, pliers;
- Polish for hair.
Attention! It is not recommended to completely trust children to work on such a craft, since in the process you will have to actively use steam from a boiling kettle and hairspray. If handled carelessly, the child may harm himself.
So:
- To begin, we disassemble the threads into thin fibers. Then we bend the wire in half: it will be the frame of the future Christmas tree. Next, we lay wool fibers between the metal halves.
- We clamp both ends of the wire with pliers and rotate them in different directions. Thanks to this simple action, the threads are rolled up and fixed to the wire.
- When the fibers are firmly attached to the wire base, they need to be combed. This is easy to do with a small comb or fine-toothed comb.
- Perhaps the most important event is the formation of the crown. To do this, we trim the fibers fluffed up with a comb and give the Christmas tree a pyramidal shape. Then hold the craft over a boiling kettle (this will make the threads even fluffier) and comb it again.
By the way! The “crowning” procedure can be repeated several times until the shape of the tree is perfect.
The final touch is fixing the crown with hairspray. This needs to be done in 3 stages. Spray each new layer after the previous one has dried.. For the last layer, you can use varnish with glitter in the composition. It is better to spray the varnish from a distance of 20-25 centimeters from the craft.
How to secure such a beautiful Christmas tree? There are plenty of options. A wooden block into which a wire base is screwed can serve as a stand. You can form original legs from wire, and for a more aesthetic look, “cover” them with cotton wool (it perfectly imitates snowdrifts). Finally, you can fix the finished craft on a clay base. Only Pay attention to the thickness of the clay stand.


Openwork Christmas tree
This beautiful, slightly romantic craft will be a wonderful decoration for a holiday table or an excellent addition to a New Year's gift.
You need to prepare:
- glue container and PVA glue;
- cardboard cone;
- cling film;
- threads of any texture;
- scissors;
- decorating elements;
- acrylic paint.
We do not focus on making a cone and a container of glue, as we did this in the description of previous models, but let’s move straight to the most interesting process - winding and coloring threads.
For this:
- The paper cone must be wrapped in cling film. We wind the glue-soaked thread around the cone in any order. This needs to be done freely enough so that fancy openwork patterns emerge on the layout. The threads do not need to be pressed too tightly against the film, since we will remove the cellophane after winding. The emphasis should be on the places where the threads connect to each other.
- Then let the glue dry.When the threads have hardened, they are painted with acrylic paint and left again until completely hardened.
- The critical stage is removing the paper cone. To do this, gradually turn the tree, crumple the cardboard a little and carefully remove the dried threads from it. The last step is to remove the cling film.
You can decorate the craft with beads, colored buttons, thin tinsel or sparkles.

New Year is a wonderful holiday. It is wonderful not only for the chimes, delicious salads and long weekends. Preparing for miracles is an exciting and exciting event. Let's not deny ourselves this pleasure and devote 2-3 hours to creating our own Christmas tree masterpiece.
 0
0