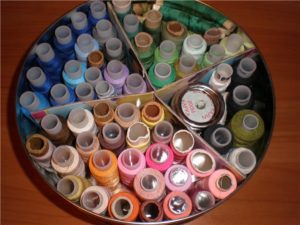
 If your work or home hobby involves sewing, then you probably have whole skeins of thread lying around the room and getting in the way from time to time.
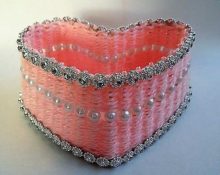
In order to solve this problem, we suggest making a homemade box in which you can collect everything you need from the embroidery kit. Depending on the number and size of skeins and tools, you can create a box of the appropriate size. For beauty, it is possible to further decorate it at your own request.
Getting the job done will be quite simple. In this article we will tell you how to build a convenient place to store threads and needles with your own hands.
Materials and tools
In order to decorate the box, you will need the following.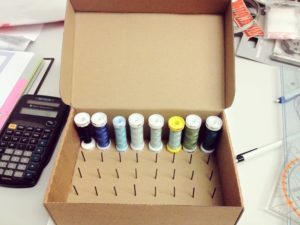
- Wooden, plastic or metal base.
ADVICE. You can use a ready-made metal box for tea or sweets.
- Glue "Moment".
- Paint and impregnation when using a wooden base.
- Knitted fabric in different colors.
- Satin ribbon.
- Bow.
- Button.
- Skewers or wooden Chinese chopsticks.
- Pencil, ruler.
ADVICE. If during the planning and work you have an additional idea for improving the design, you can supplement it with other parts of your choice.
The box should be comfortable, roomy and attractive in appearance.
How to make a thread box
We recommend using the standard work procedure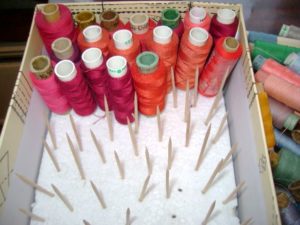
- Take the finished box and treat its surface with alcohol to degrease.
- After drying, you should glue the fabric, previously prepared in size.
- Using glue, cover the entire surface with it.
- Additionally, cover the fabric with a layer of paint.
- Now all that remains is to prepare the inside. To do this you will need sticks to hold the threads. Saw them into pieces of equal length.
- Glue each of the parts at the same distance from each other (about 2-3 cm according to the radius of one package of threads). Glue each stick carefully and strictly at a right angle.
- Place the threads evenly over the entire area of the box.
If a man is involved in making the box, he can use bolts instead of wooden sticks. In this case, it is better to use a metal box for the base. And in addition to the usual set of tools, you will need a drill to drill holes for the bolts in the bottom. They are inserted so that the cap is under the bottom, and secured inside the box with nuts.
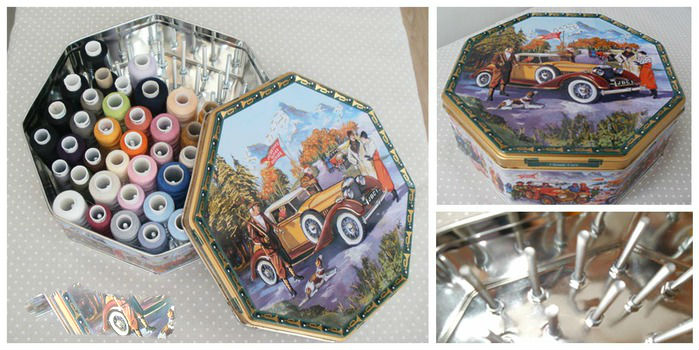
The main work is done, and you can already use your product. But if you wish, you can complement the image with beautiful elements.
Decorating the box
Decoration can be done in one of the following ways.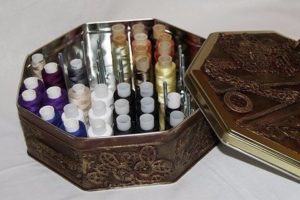
- Color it with a design drawing of your own idea.
- Cover with varnish or regular paint.
- Decorate using decoupage technique, pasting over elements cut from napkins and covering them with varnish.
- Decorate with additional elements: buttons, rhinestones, beads, etc.
You can change the image and artificially age the product.
Make a box according to your preferences, don’t be afraid to fantasize and use your imagination. This item will become indispensable for a housewife, and can also be an excellent gift for friends.


 0
0