Before Christmas everyone thinks about what to give each other. A wonderful solution would be an angel made from thread with your own hands. It will be both a symbol of the holiday and will demonstrate your care and attention to your loved ones.
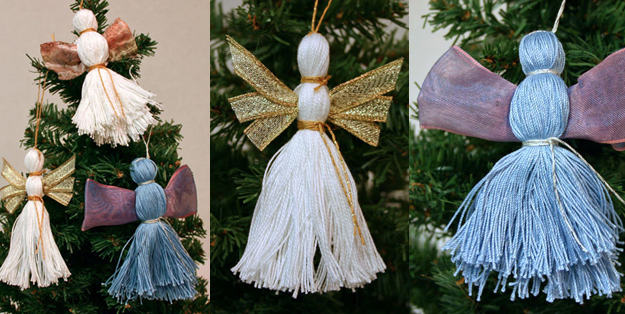
DIY thread angel
Making an angel from threads is not a difficult task; even a primary school student can handle it. Having mastered the technology of braiding and tying knots, you can not only give crafts to all your relatives, but also decorate the New Year tree with them.
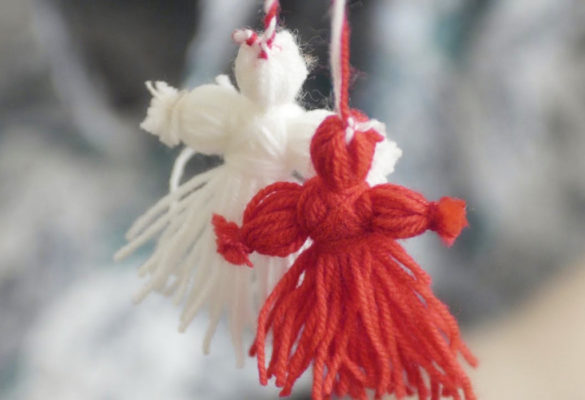
And those who have a well-developed imagination will try to make sure that none of the toys are similar to the previous one. This work will take a little time - no more than an hour, but the result will definitely please you.
How to make an angel from threads
Before you start work, understand the main rule - in order for the souvenir to live a long life and not unravel, all knots should be tied twice.
What you will need
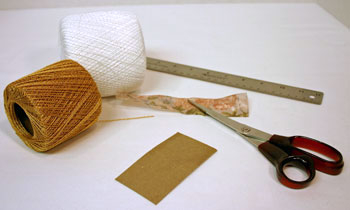
Check if you have everything you need to start weaving. You will need to prepare in advance:
- unnecessary plastic card;
- yarn;
- cardboard;
- glue;
- airy material for wings (lace or organza);
- silver braid;
- material for decoration (rain, bells, snowflakes, etc.).
Instructions
If there is no plastic card in the house, replace it with a cardboard rectangle measuring 5.5x8.5 cm. Wind thread around the long side of the card, like a spool. Cut them from the bottom.
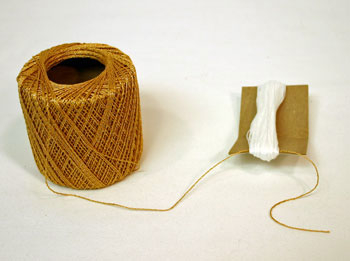
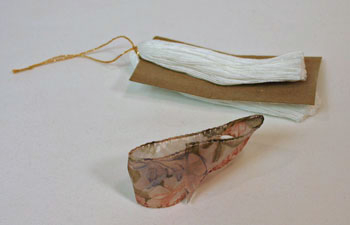
You have a long strand that needs to be divided into three unequal parts: Set aside 9 threads for the angel’s arms, 8 for tying, the rest will go to the body with the head.
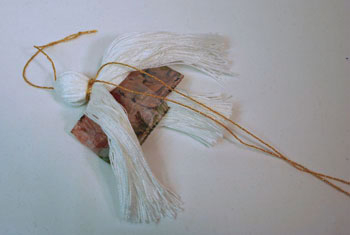
Tie the third, largest bunch in half and fold it in half. Determine what size the head should be and bandage it again in place of the neck.
Braid a bundle of 9 threads, then roll it into a ring and tie it. Trim the tails of the threads so that they do not stick out. Pass the ring through half the body, then tie it on the belt.
Now we need to form palms on our hands. To do this, select the middle of the ring and tie it with a thread so that the palms look up, as if our angel folded them in prayer. Do not cut the ends, but pass them around the waist and tie them at the back so that your arms do not fall off.
Insert a cone under the skirt for balance, glued from cardboard with a diameter of 2.5 cm and a height of 3 cm. Glue it to the belt from the inside. Place a halo of silver braid on your head.
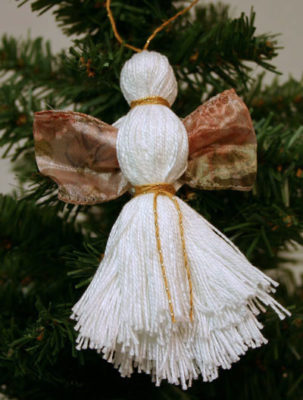
You can take gold, but 2020 is the year of the Metal Rat, so silver is better suited.
Don't forget to trim the bottom of the skirt, aligning it with the bottom line of the cone.
Decoration
To add individuality to the product, you can make hair. Wind threads 3-4 cm high around the template and cut the workpiece on one side. Tie it in the middle with a thread and tie it in a knot. Cut off a little for bangs. Glue the resulting wig onto the angel's head.
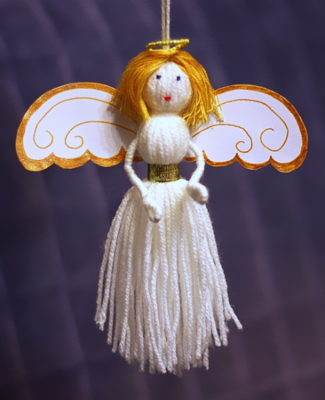
If desired, the bottom of the skirt can be decorated with braid to match the color of the halo. Give the angel a bell.
But what is an angel without wings?! Cut a 6x3 cm rectangle from a piece of organza. Tie it in the middle with a thread to make a bow. Now glue the wings to the back of the angel and you can use the souvenir for its intended purpose.
Other options
Above we looked at the process of making an angel from knitting threads. But you can use iris threads and other materials for crafts.
Creating an angel from iris threads
Cut out a rectangular template from cardboard - the height will depend on the height of the future angel. Wind the threads around the template. Tie them with a knot at the top and cut them off at the bottom. Before removing them, pass a ribbon under one part, first fold it in half and sew the edges to each other.
Remove the cardboard from under the blank. Mark the head and wrap the threads around it, tying it in a knot.
Divide half into two strands, spread them to the right and left, and tie the other half with the ribbon you placed earlier (these are angel wings) just under the neck around the chest. Return the separated threads to their place and tie around the waistband.
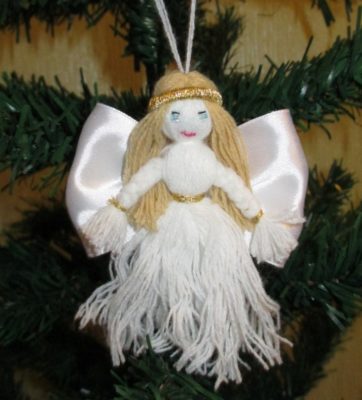
Add a pendant thread to the angel's head and you can hang our toy on the New Year tree.
If you don’t want the wings to be made of ribbon, you can make them from the same threads, winding them on a template half the size of the angel’s base.
Creating a Bead Angel
Instead of our angel’s head, you can attach a large bead - it will also look nice.
Make two strands of thread - white and yellow. Yellow is angel hair - pull it in the middle with a thread, thread the ends of it into a bead, but do not cut it.
White strand – body – should be significantly thicker than yellow. Pull it together in the middle with the threads that you previously threaded through the bead.
Divide the body into two strands and between them, perpendicularly insert “handles” made from a shorter white strand of thread and tied with knots at the ends. Connect the strands of the body and pull them at waist level.
Now trim the angel's skirt and glue the wings from the back.
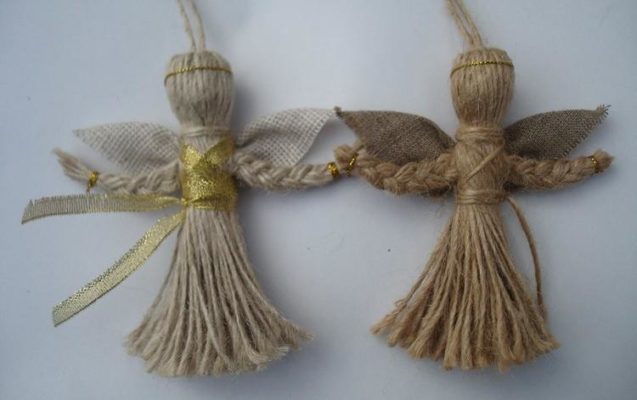
If you engage in similar creativity with children, the kids will receive not only a charge of positive emotions, but also the development of fine motor skills, as well as imagination, fantasy and perseverance.


 0
0
