 When you constantly sew, embroider or knit something, your “tools of labor” gradually accumulate too many. And, on the contrary, there is catastrophically little free space left for them. But I really want these cute little things to be kept in perfect order. Therefore, it is necessary to make a device for their maintenance.
Types of organizers
There are several ways to accomplish your plans. The basis for our “craft” can be an old suitcase, a rectangular or square box made of thick cardboard, plastic containers, etc.
- Plastic boxes with lids and dividers are sold in sewing or stationery departments of stores. This container can be easily replaced simple oblong boxes. They can be modified to bring order to skeins of multi-colored floss.
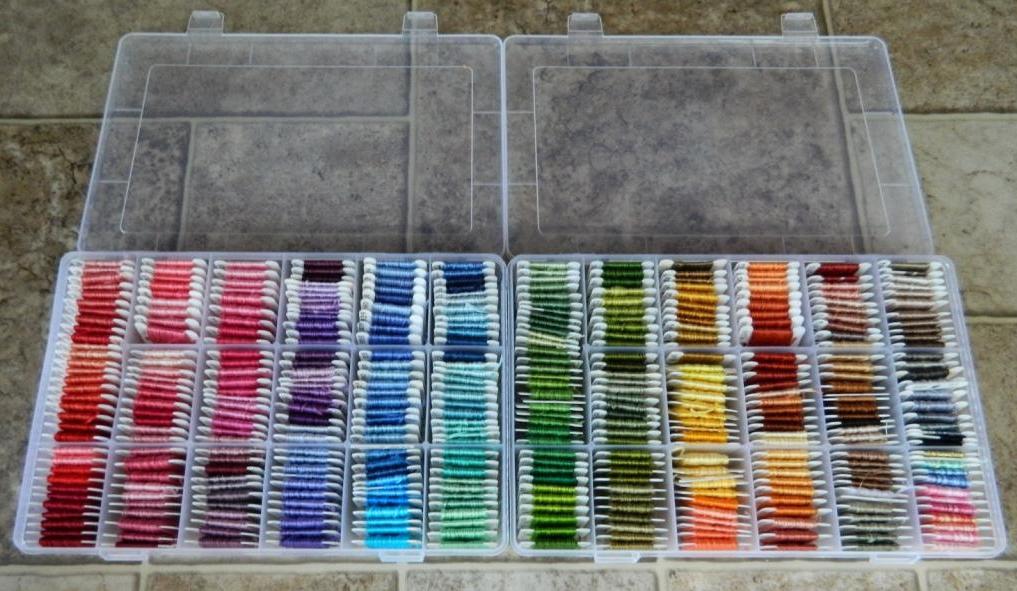
- Wooden small boxes will become smooth after applying the skin. Then it is advisable to paint their surfaces or make decoupage on them from old newspapers. It will look very stylish.The storage box for sewing supplies is ready.
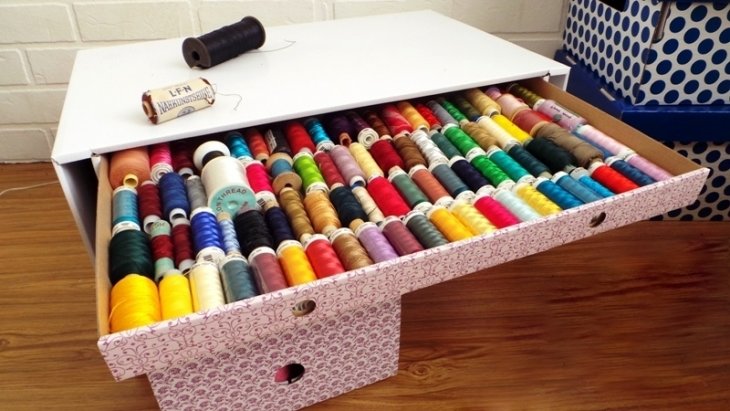
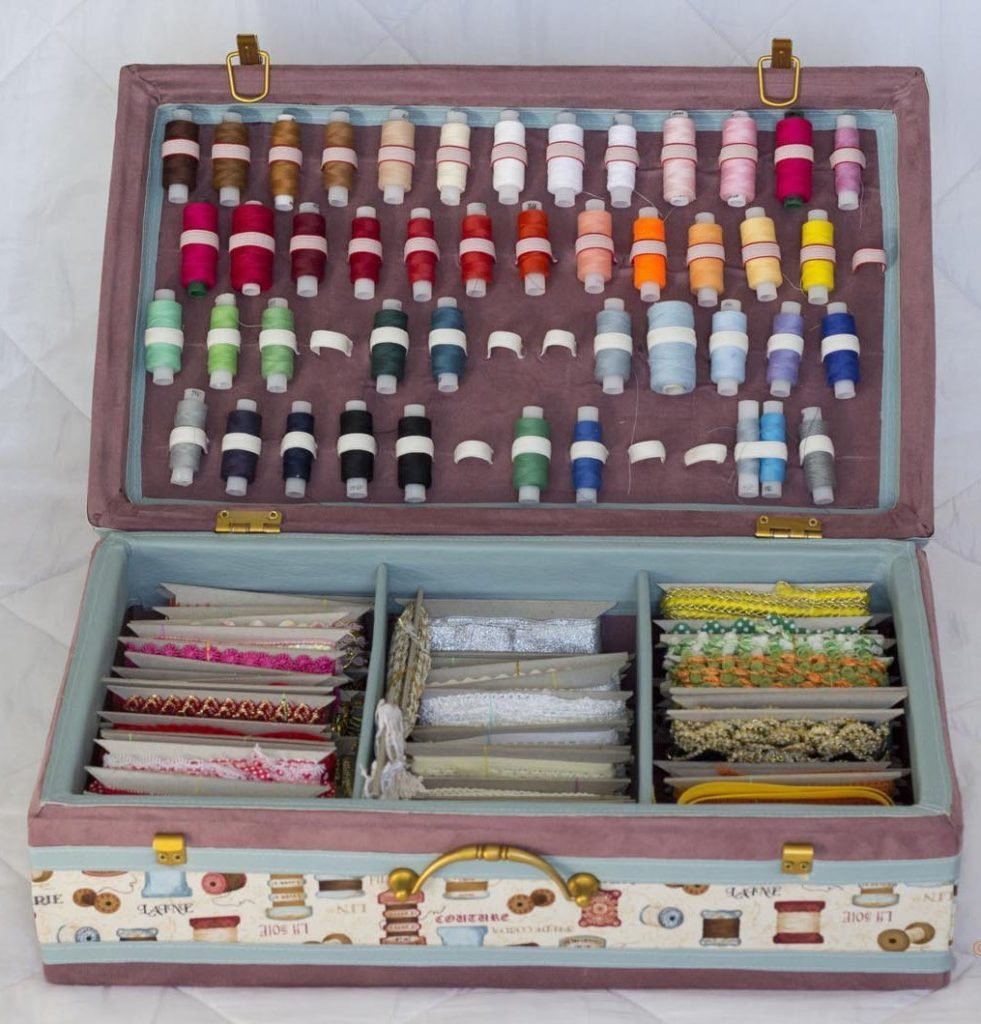
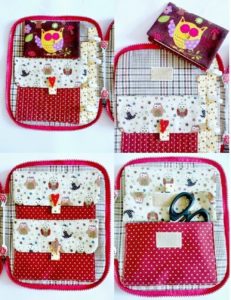
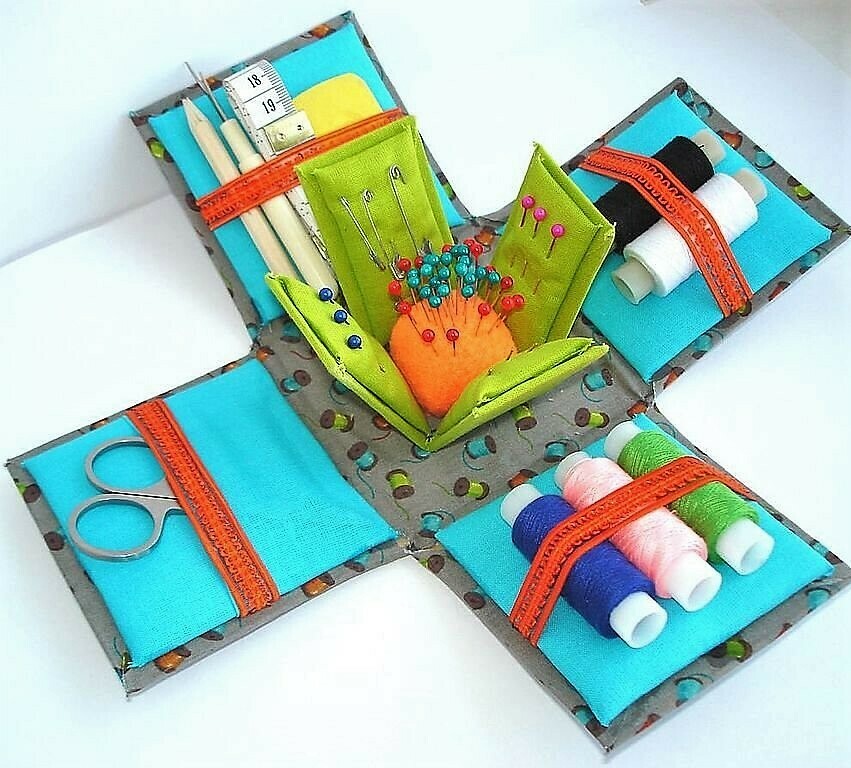
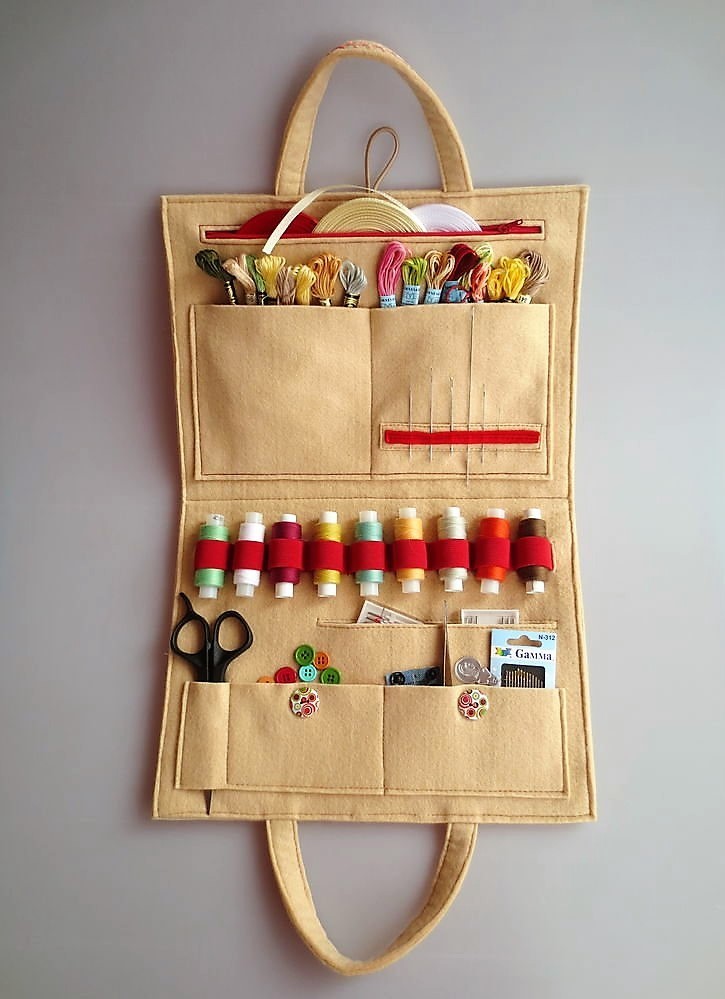
- Folding organizers made of fabric. Very convenient and compact things will allow you to keep everything you need at hand. Convenient for travel. After all, the needlewoman does not stop doing what she loves even on vacation!
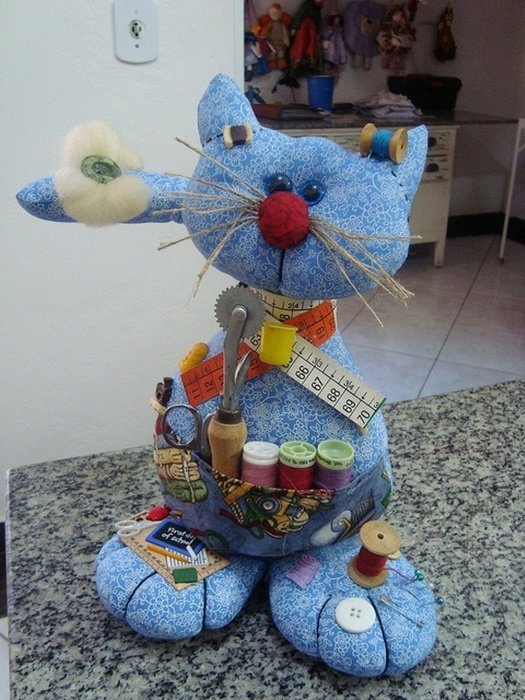
- Soft toy organizer. A handmade soft toy may well be a suitable place to store threads and needles that are needed when making a new product. Of course, for this you will have to make additional pockets, attach elastic bands or other holders.
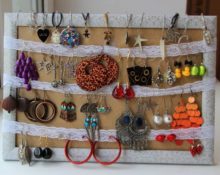
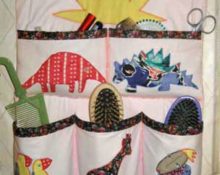
- Wall organizers are attractive because they allow you to immediately take a look at all the handicraft treasures available! At the same time, they can be small, for example, for the essentials for sewing and darning in a country house.
There are many options for convenient storage of threads and needles. We will tell you how to make tabletop and wall-mounted versions with your own hands.
You can quickly make an organizer even from an ordinary file folder.
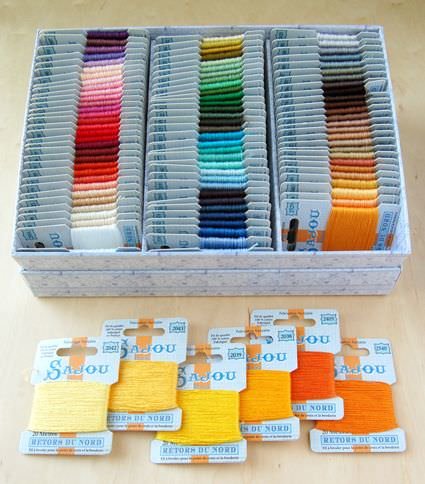
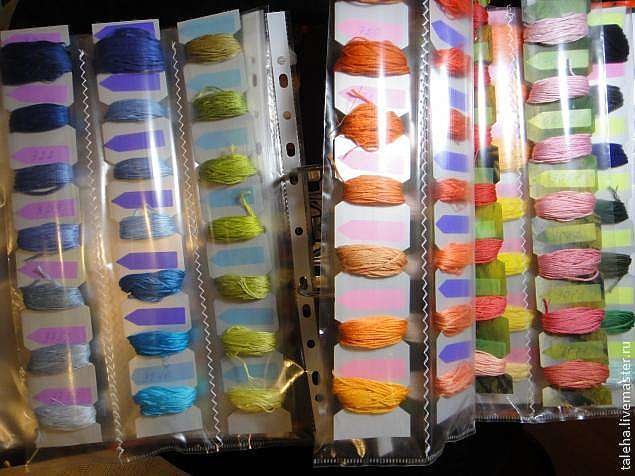 Regardless of the chosen form, you should remember that floss needs a base.
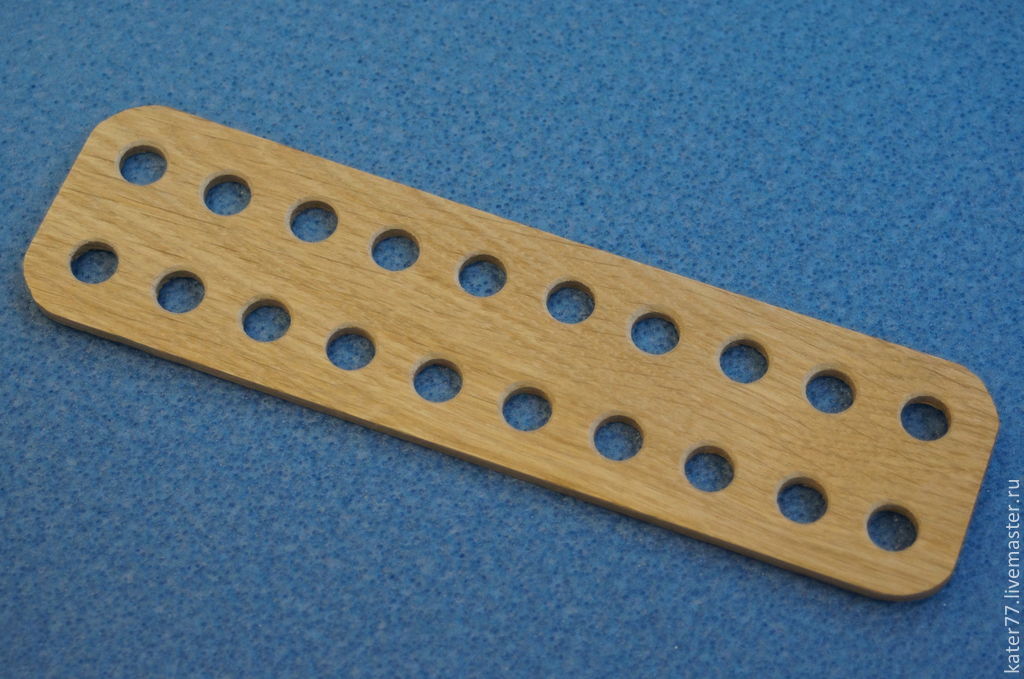
How to make a desk organizer
For example, we chose an original object in the shape of a house.
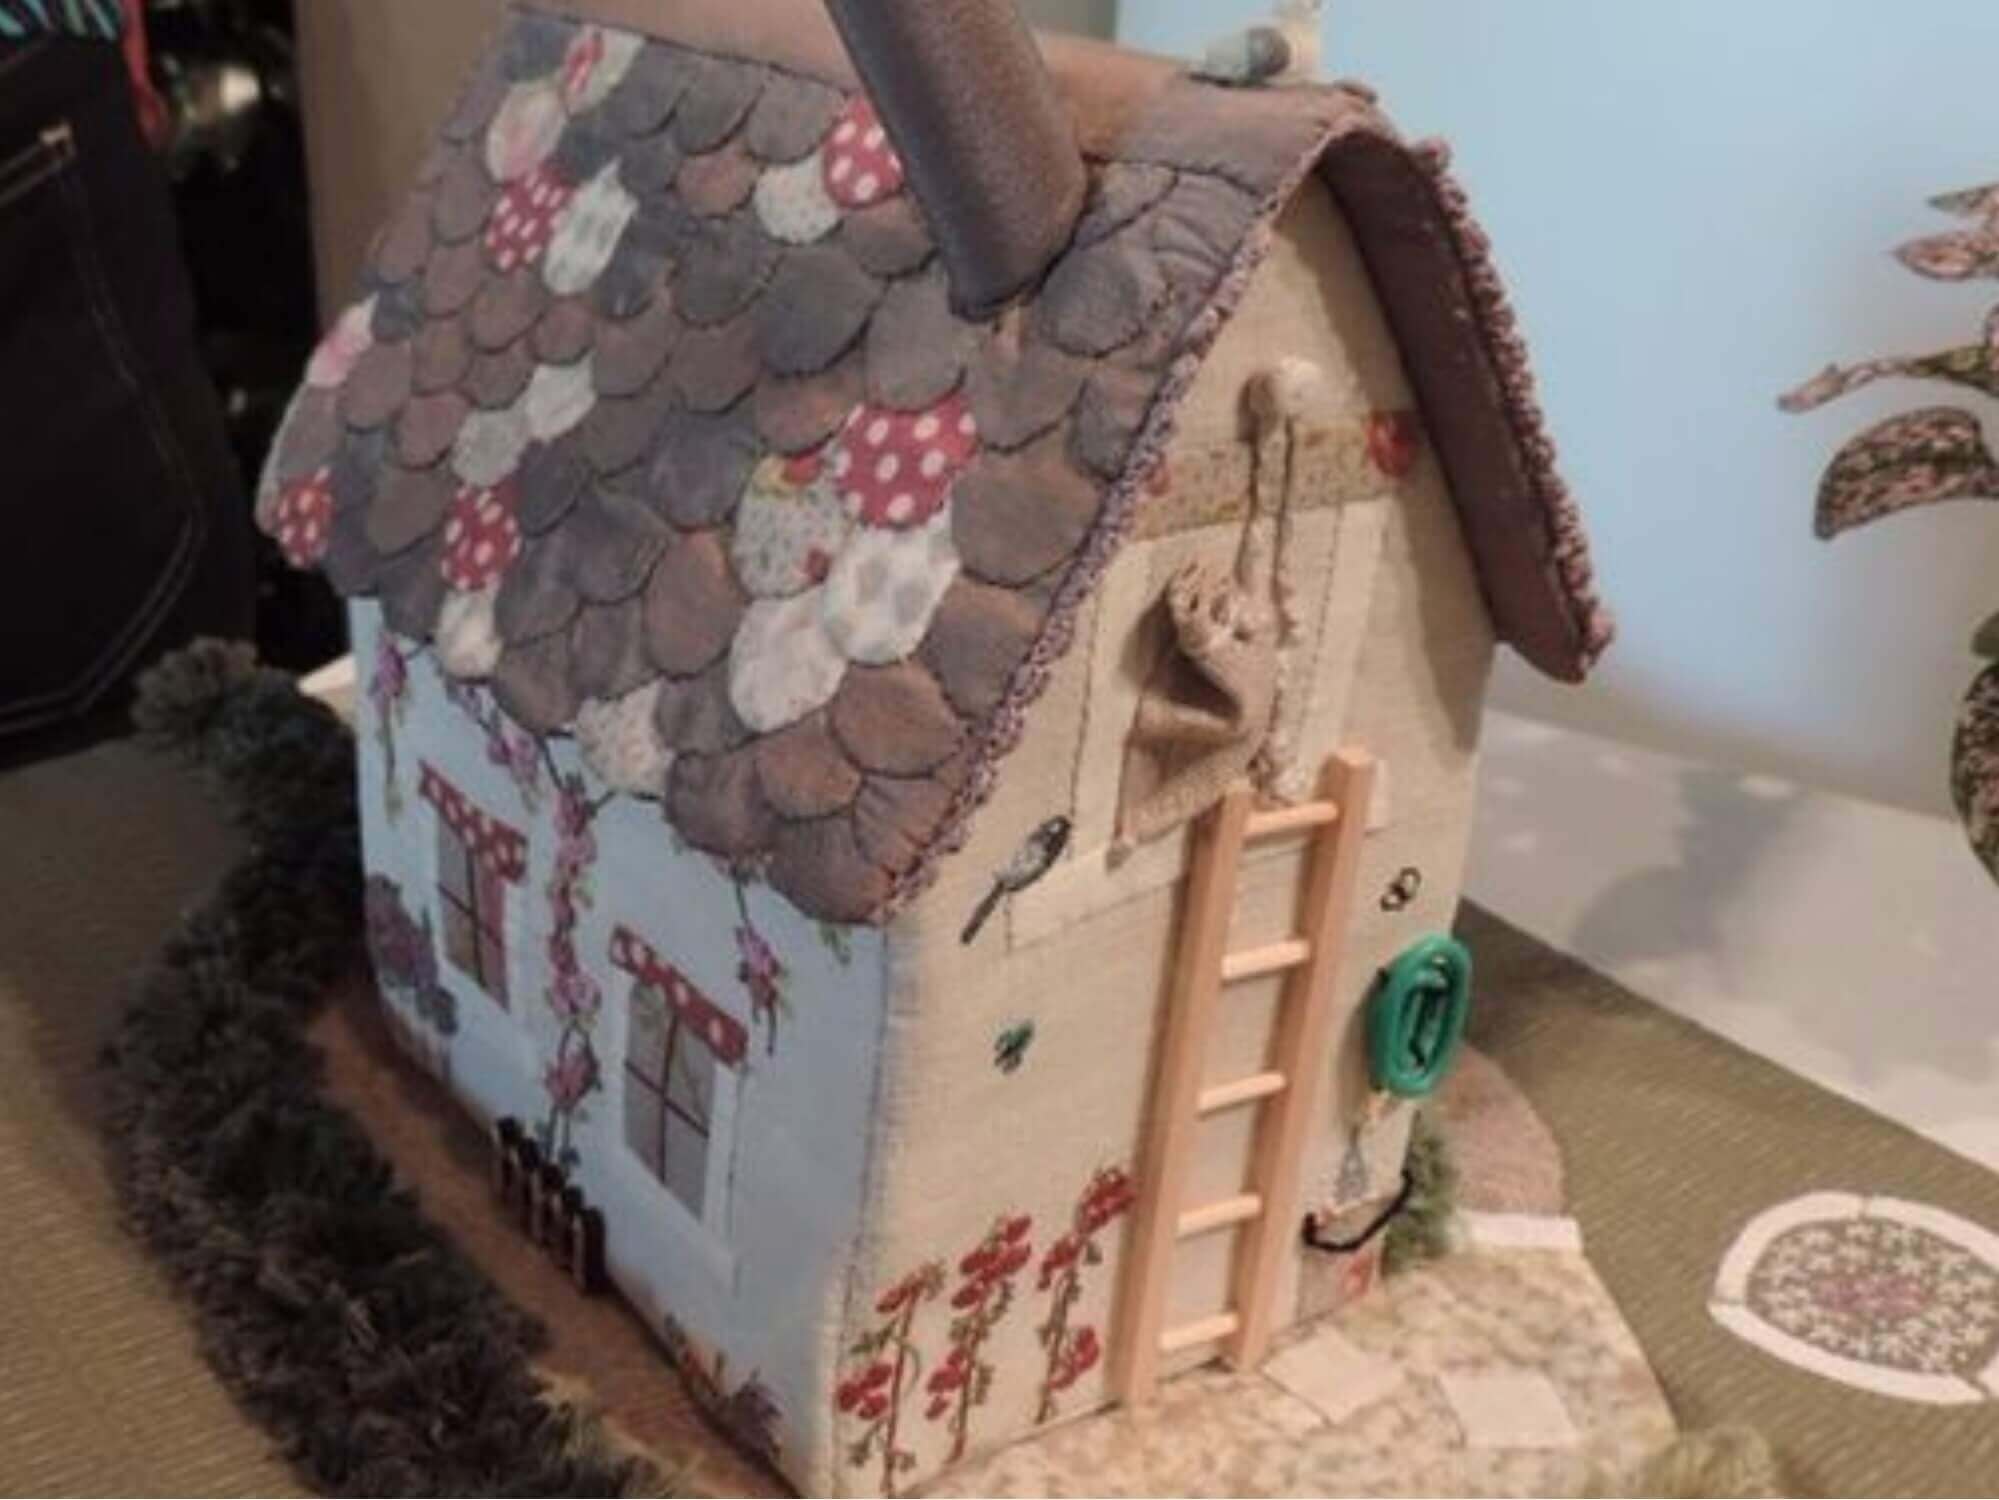
The main role in the success of the plan is played by the preferences of the creator of the lovely thing, her sense of taste and style. Bright fabric houses will cause a lot of admiration among others. This result of the manifestation of your creative abilities will become not only a useful thing in the household, but also a unique interior decoration.
We will need them: pieces of various fabrics, paper of some kind (for example, magazine sheets), scissors, a ruler and a chalk or pencil.
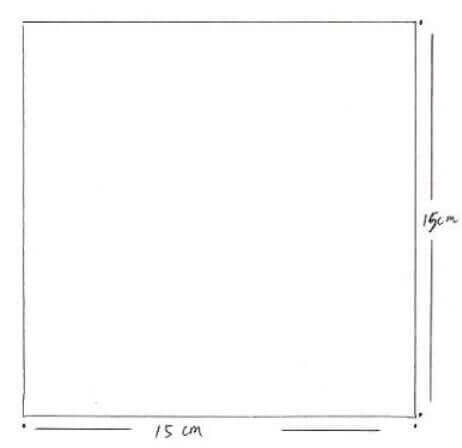
Storage for threads and other embroidery accessories, made from colorful scraps, does not require much space.Your imagination will tell you how big it should be. For example, from 15 to 30 cm on each side. Or from 30 to 30. We recommend making it larger.
Top - roof
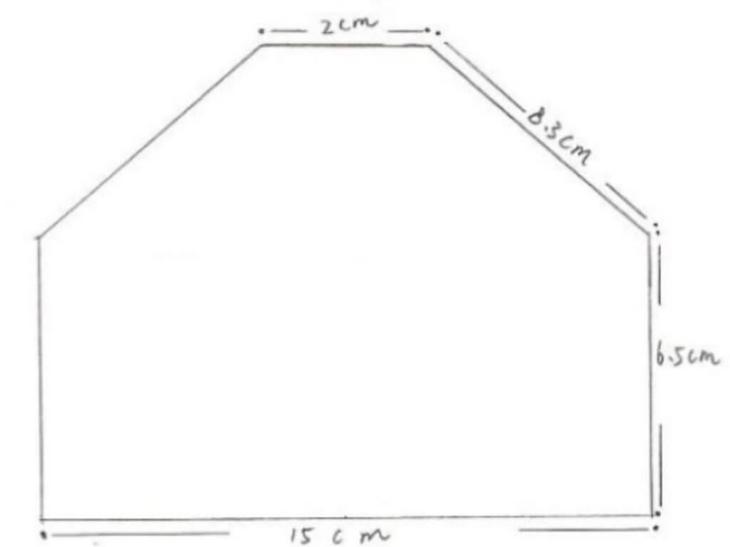
In the first picture we see a roof made from pieces of different fabrics. We make the constituent elements from newspaper using a pattern.
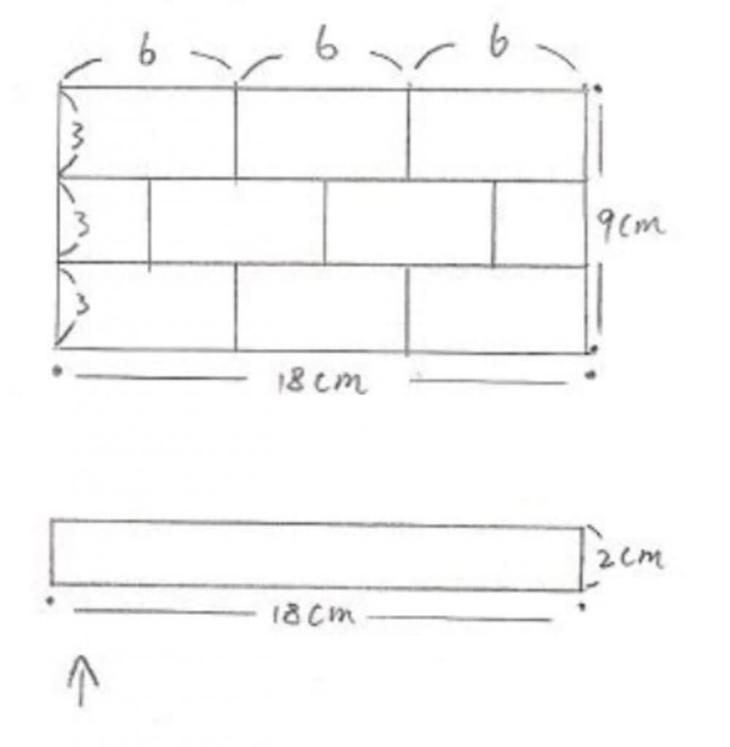
We will need two identical parts. And one more part - the top of the roof, say 18 by 2 cm.
According to the roof surface size, cut out two cardboard rectangles for the slope and two strips for the long fold piece. It is designed like this: we sew the top strips along the wrong side. Then turn it right side out. Insert a hard strip inside. We secure the ends by removing excess fabric.
Sides - walls
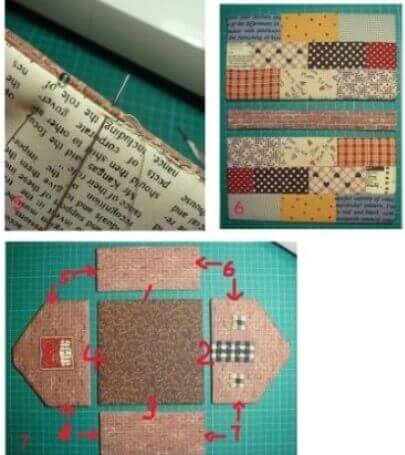
We put cardboard elements on a fabric base and get walls. Add one centimeter at a time. On the sides, mark the lines along which we will cut with chalk or a pencil.
We decorate the walls to our liking. We fasten windows and doors with threads or glue. We decorate with buttons, ribbon bows, beads, etc.
Assembly
The floor and walls are done. Now let's attach the roof by sewing it over the edge.
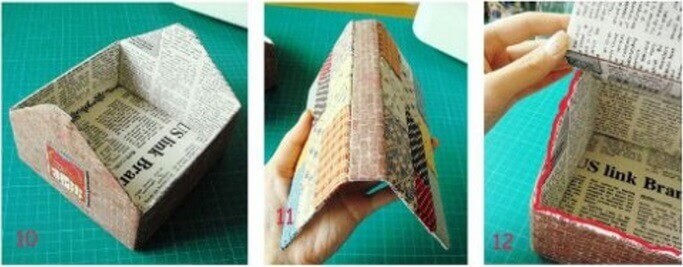
In the end we will have 3 parts. We sew them by hand.
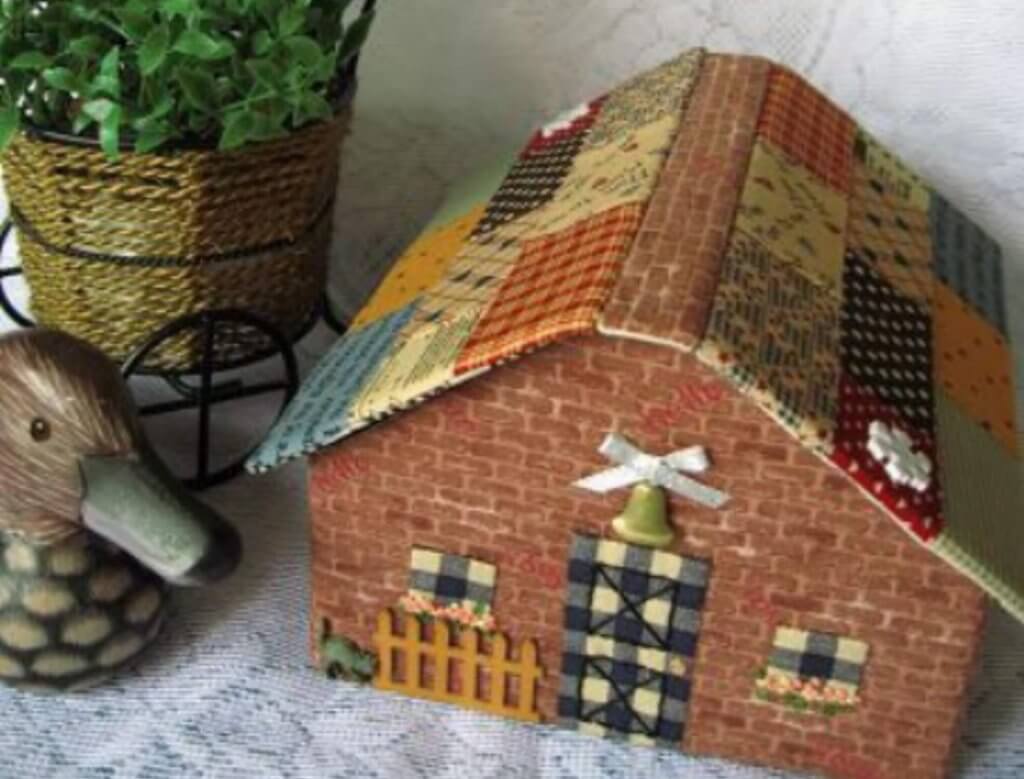
If you put effort and skill into the process, you will end up with such a wonderful item that you will definitely not stop at just one house.
Wall organizer for sewing supplies
For lovers of sewing and needlework, it is important that their work materials are always organized. In that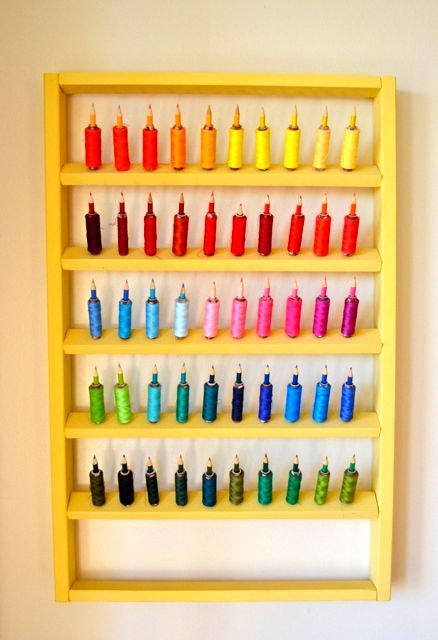 A wall version of the organizer can help us.
Materials and tools
To work you will need the following.
- Plywood.
- Nails.
- Hammer.
- Frame (wood, plastic, foam).
Completing of the work
- On a rectangular plywood board we will apply markings in the form of a grid of cells. The size of each should slightly exceed the diameter of the coils.
- With a sharp object cut notches at the intersection of lines.
- We will use foam ceiling panels or a baguette frame: we will insert a plywood base into it.
For a glamorous design, use your design ideas. Here are some directions for your creativity:
- pasting colored material;
- painting in bright colors;
- decoupage
We drive in the carnations according to the marks.
IMPORTANT! A slight tilt angle relative to the base should be maintained to prevent the coils from falling. This way they won't slip.
We complete the work by making a hole for fasteners or gluing a metal fastener.


 0
0