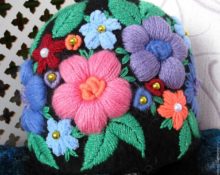
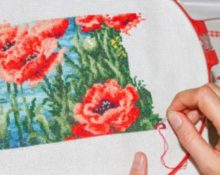
 Embroidery has always been considered the most popular type of needlework. But for the younger generation, it is worth choosing the iso-thread technique; it is embroidery with threads on cardboard. The fact is that the most common technique, cross stitch, requires mastering complex patterns; moreover, the main tool for performing this technique is a sharp needle, and isothread does not involve working with sharp objects.
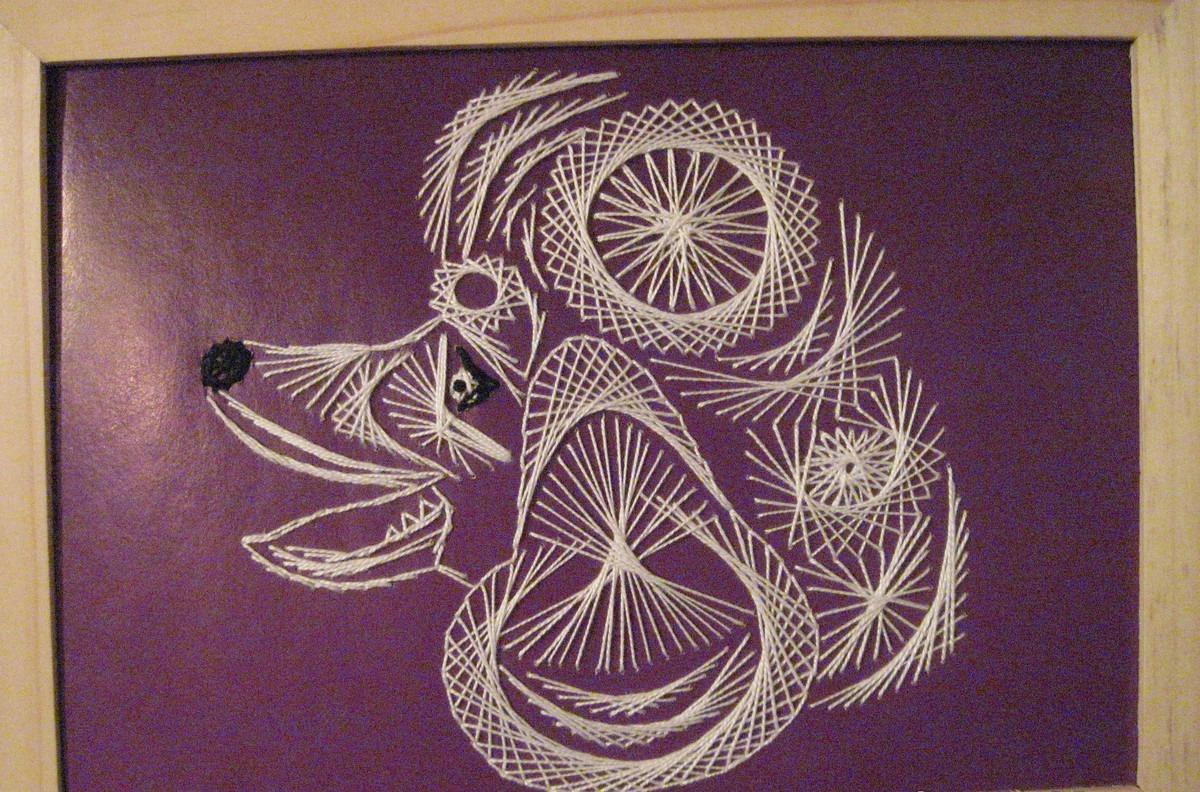
Isothread (other names: thread graphics, thread image) - this is nothing more than the creation of drawings or three-dimensional paintings on a flat hard material such as cardboard, CD, etc. Such handmade work is an excellent interior decor.
Important! For work, you will almost always need an awl. You need to buy yourself something sharp and short. And you need to form the necessary holes from the front side inward. So, the front side looks neater.
Necessary materials for embroidery on cardboard with threads
Of course, in order to start any work, you need a specific and necessary tool.
 Therefore, it is worth finding out what you need to stock up on thread for practicing images:
- Cardboard and floss threads. The most important thing, without which the picture will not work.
- Needle. Here, specific needles are used for thick threads with a large eye.
- Scissors. Let them be small but sharp. Necessary for cutting thread ends.
- Awl. Only used for working with thick thread or hard base.
- Pencil. It is better to opt for the hard version; it does not smear on the paper and does not make thick lines.
- Ruler. Allows you to calculate the entire figure down to the millimeter, while clearly designing it.
- Compass. It is used taking into account the correct location of the corners and the design of the circle as a whole.
- Scotch. For fixing threads.
Important! You should stock up on a piece of medium-thick wooden board or foam. The material will serve as a backing for your base and protect your work surface.
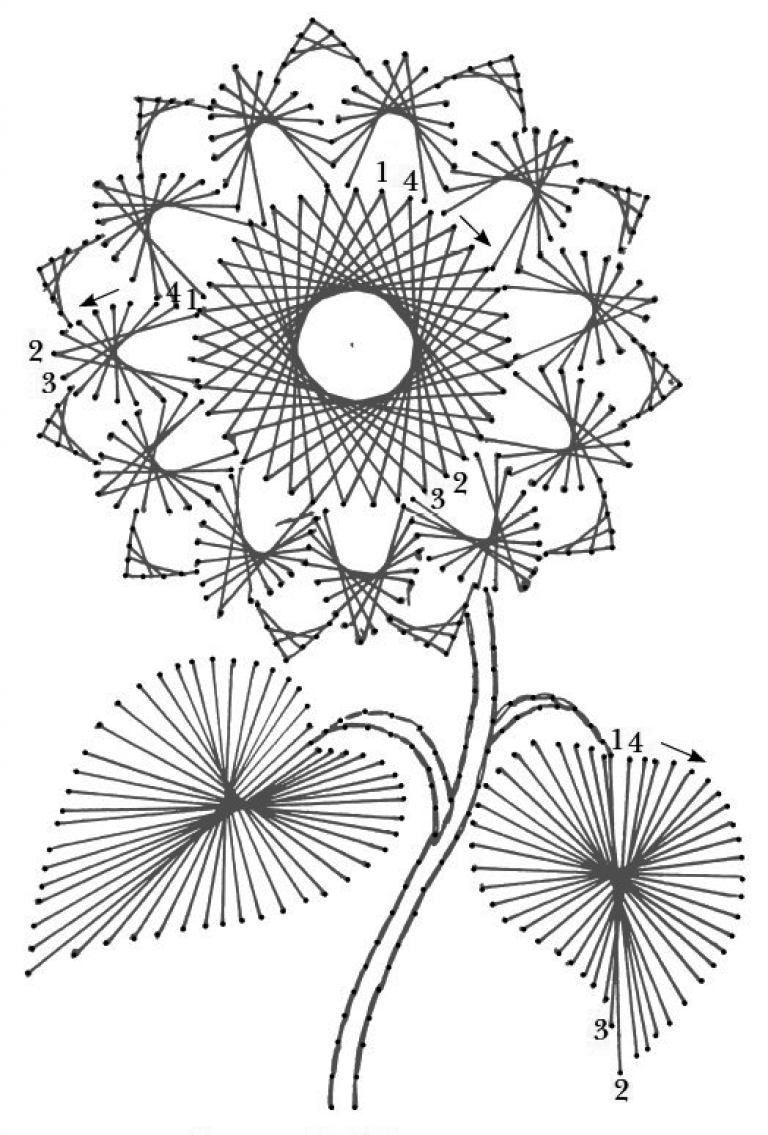
Basic elements
To fully master the art of thread painting, it is important to take seriously the basics and primary skills of this art form.
Let's start learning about filling corners
Draw a right angle on paper with sides of 10 cm each. We number each centimeter on the segments and use an awl to make holes at each mark. The zero reference point is the point at which two segments connect. So, from the inside out, we insert a needle and thread into the extreme point of the lower segment, then we lead it to the first point of the upper segment. We make a stitch to the second point of the upper segment and lead to the next point (closest to zero) of the lower segment.
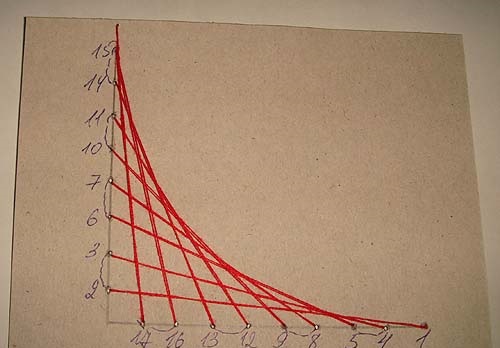 This way we fill the entire corner.In order to fully understand the work process, you can repeat this lesson several times. This method is suitable for all angles, regardless of their degrees. A correctly filled corner looks from the front side so that the threads stretch from one side to the other. And on the wrong side, stitches in the form of strokes outline the sides of the corner.
Filling Circles
Using a compass, draw a circle on paper, placing points equidistant from each other along the entire length of the circle. We connect each point with a segment to the one that is diagonal from it. We number from the beginning of the first segment - point 1. The end of the same segment - 2nd point. The nearby point from which the second segment emerges is the 3rd. Its end is at point 4, etc. along the chain.
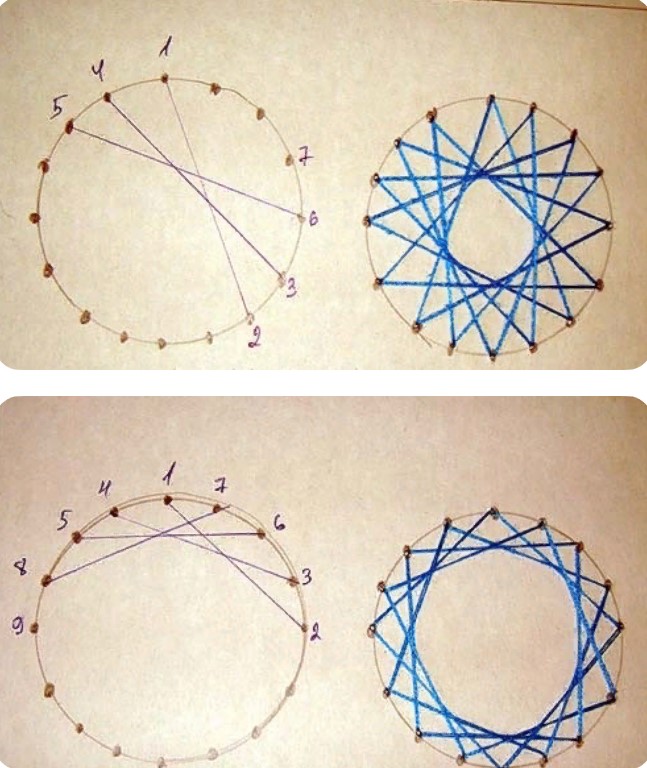 We fill the circle in an understandable way. If the circle is filled correctly, then the design itself is similar to a star, and on the wrong side the strokes describe the circle.
Important! It is necessary to carefully monitor the thread tension. Too strong and it may tear the cardboard. And by loosely pulling the thread, you can get a picture from freely dangling segments.
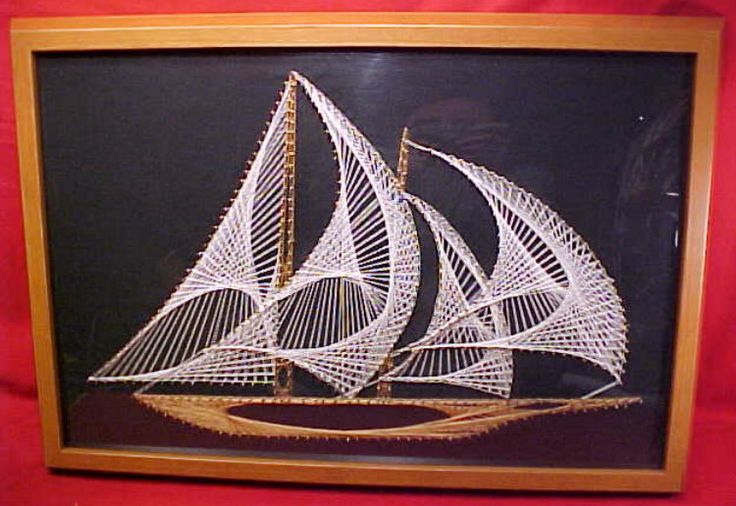
Panel (picture) using isothread technique step by step
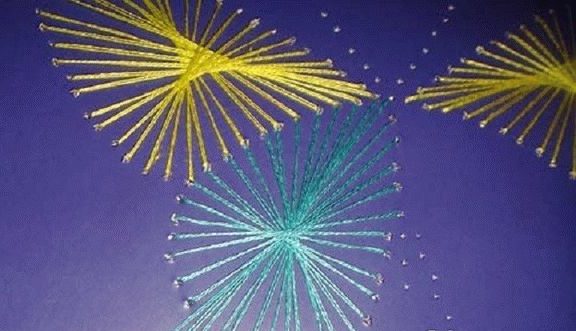
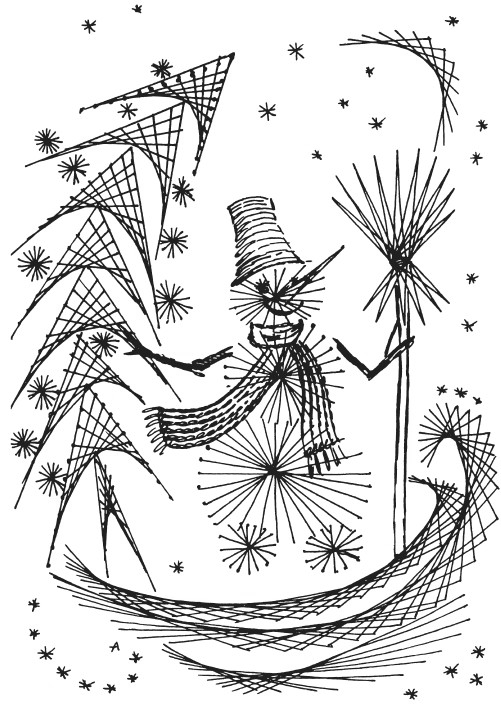
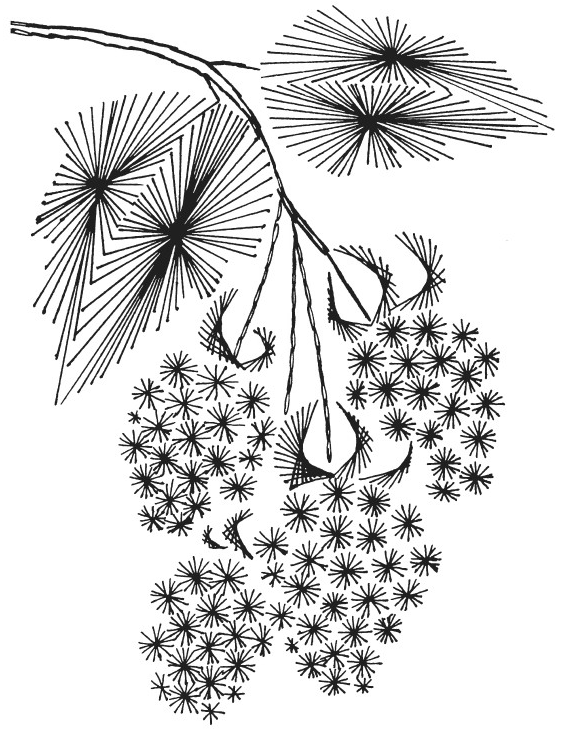
Thread graphics can be made on different themes. You can choose any figure, fairy-tale character, or animal from a coloring book as a template. You just need to transfer the finished picture onto the canvas, break the image into dots, and number them. And that’s it, you can embroider, so to speak, sculpt your picture. For a more detailed study, let's look at an illustrative example.
Butterfly
We redraw the butterfly on cardboard and take an awl in our hands.
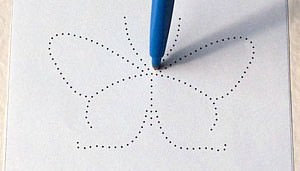 And we make holes at the same distance from each other. To make your work easier and the thread to move correctly, you can immediately number the holes.
We start with the top wing, as shown in the picture.
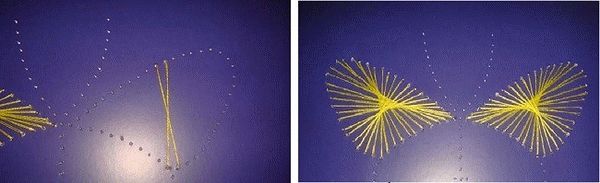
Having completely formed the first wing, from the inside we fasten the remaining edges of the threads with tape. This way we get a tight fit. We form the second wing completely identical to the first and so that their location is symmetrical to each other.
To make the picture brighter, we paint the lower wings in a different color.
To mark the body, you can walk back and forth in a straight line along the entire length of the body, and grab the antennae. Alternatively, you can use beads or rhinestones for this purpose. We seal the work from the wrong side around the entire perimeter with a clean white sheet of paper or cardboard. This way the work will have a neat appearance no matter which way you look at it.
Important! The highest degree of skill is considered to be paintings in tone. Every detail is taken into account here: technique, background, arrangement of painting details, color tandem, as well as the future mission of this product.
 Important! The highest degree of skill is considered to be paintings in tone. Every detail is taken into account here: technique, background, arrangement of painting details, color tandem, as well as the future mission of this product.
This technique is suitable not only for children, but also for adults who are beginners in needlework. After all, each of us sometimes wants to throw out our emotions in some positive direction. This option is worth trying at least once in your life!
Schemes for children
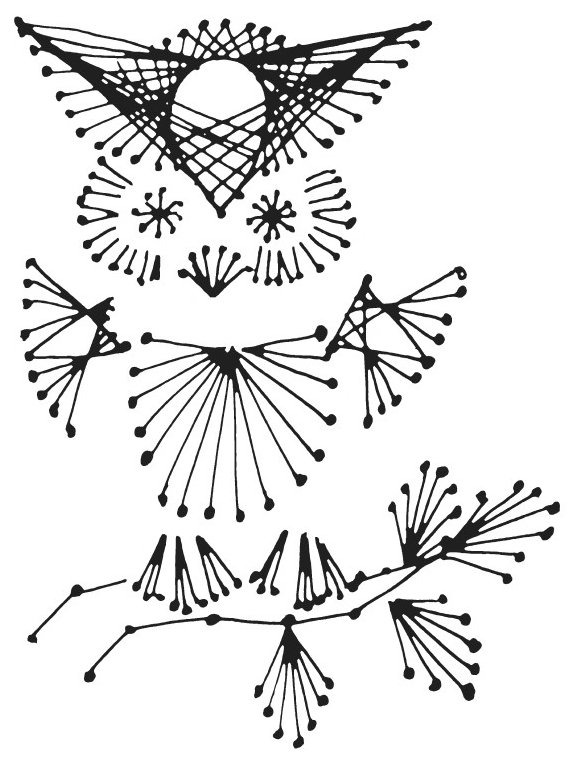

 In addition, when performing work, you can diversify the iso-thread according to your taste. For example, instead of making holes, you can drive in small nails. In this case, the picture will be convex. Cardboard can be replaced with canvas or plywood. You can come up with an inscription that will be the motto of your home and, together with your child, decorate it in bright colors and hang it in the most visible place. There are no obstacles to true creativity, only desire is not enough!
 0
0