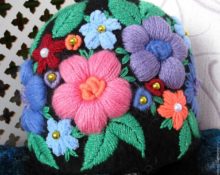
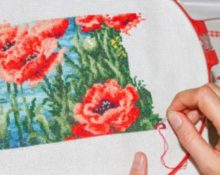
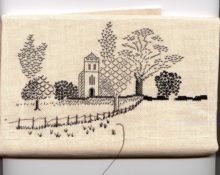
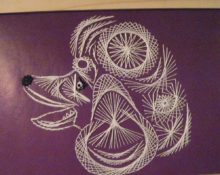
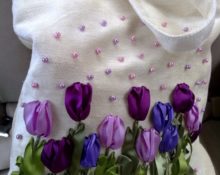
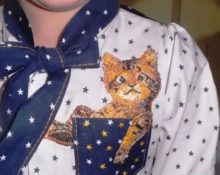
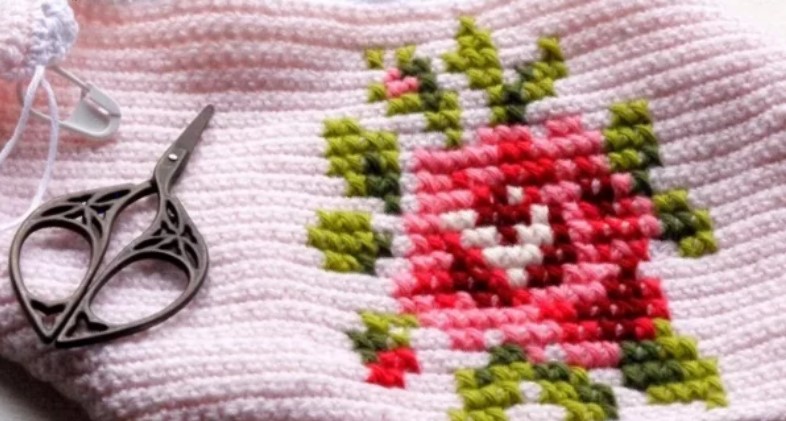
 If you want to refresh your wardrobe at minimal cost, just make changes to old things. Embroidery on a knitted blouse will not only decorate it, but also make it original. In addition to clothing, embroidery is often used to decorate interior accessories that will perfectly enliven a room.
Advice! The pattern is chosen carefully so that it matches the model and style of the product.
Decorating knitwear with embroidery with woolen threads
You can embroider a pattern on any knitwear item. You should choose the same threads as those from which the fabric is knitted. They can be thinner, but not thicker than the main ones. For ease of drawing use dublirin or lining in this place from the wrong side.
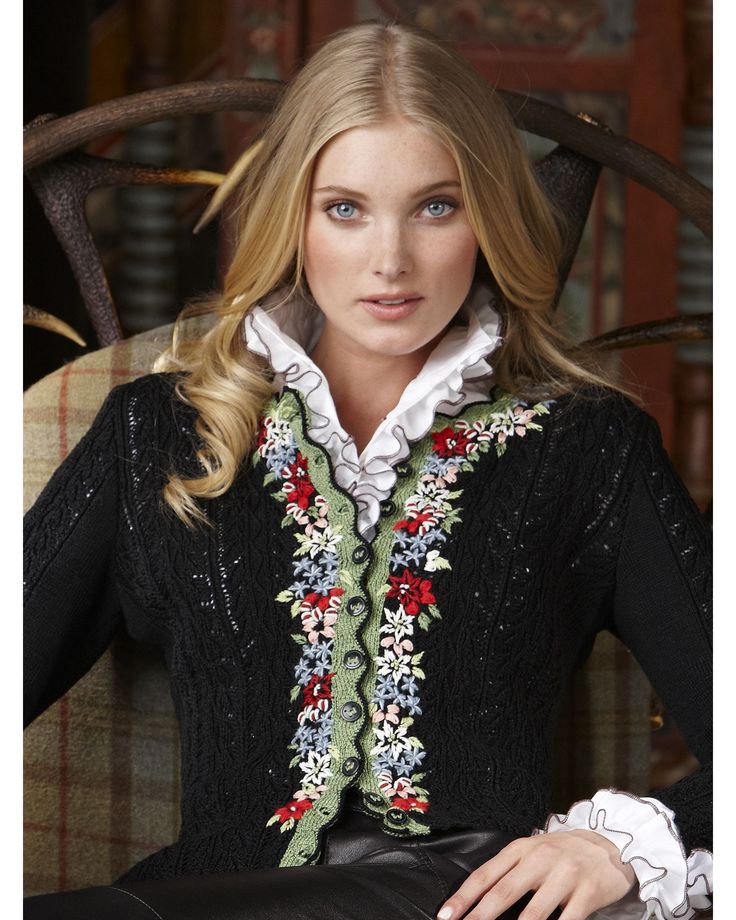 You can replace them with a special canvas, which will prevent shrinkage and help apply the pattern more evenly; it will dissolve after washing. The needles used are thick and blunt so as not to damage the fabric. Ribbons, beads or sequins are often added to embroidery with wool threads.
Important! Knitted fabric stretches well, but after embroidery it loses this property.
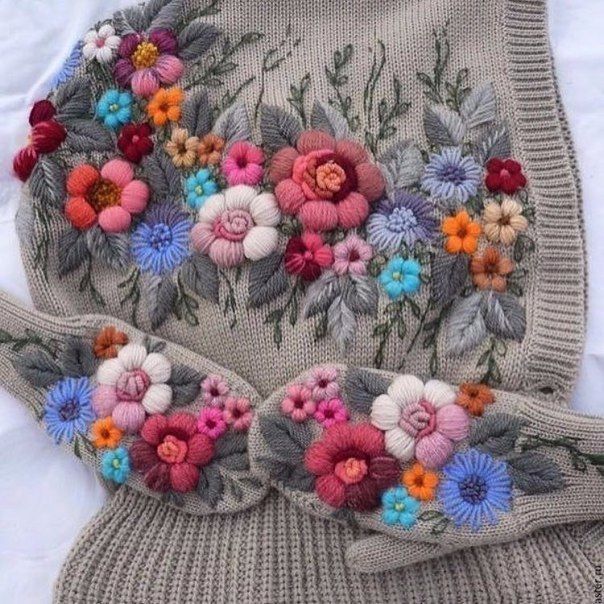 Three-dimensional patterns with woolen threads can be used on mittens, socks, blouses and children's clothes. There are many ornaments and various patterns for decorating knitted items. Volumetric embroidery with woolen threads on knitting is an excellent stylish decor.
Stitches for beginners
Before starting work, beginners should try their hand at a fabric sample.
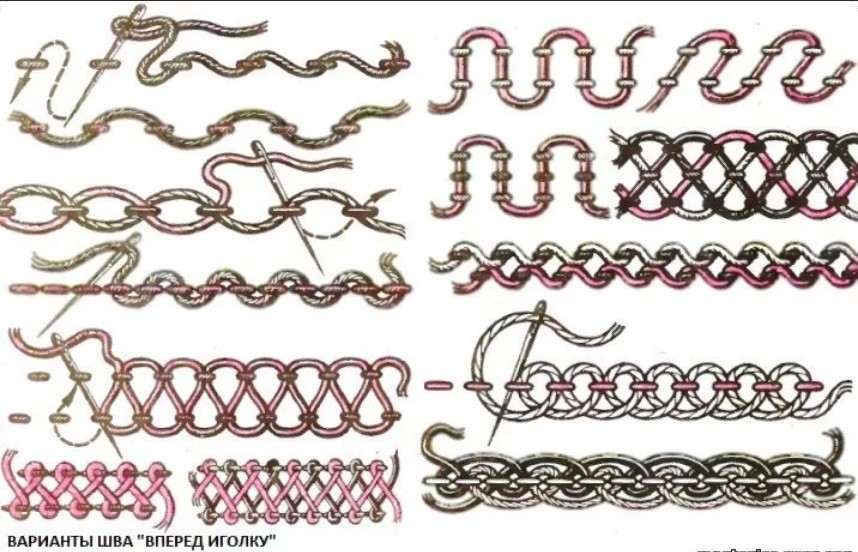 Hand stitches for embroidery with woolen threads are based on basic stitches familiar from school:
- “forward needle”;
- "back the needle";
- tambour.
Single color
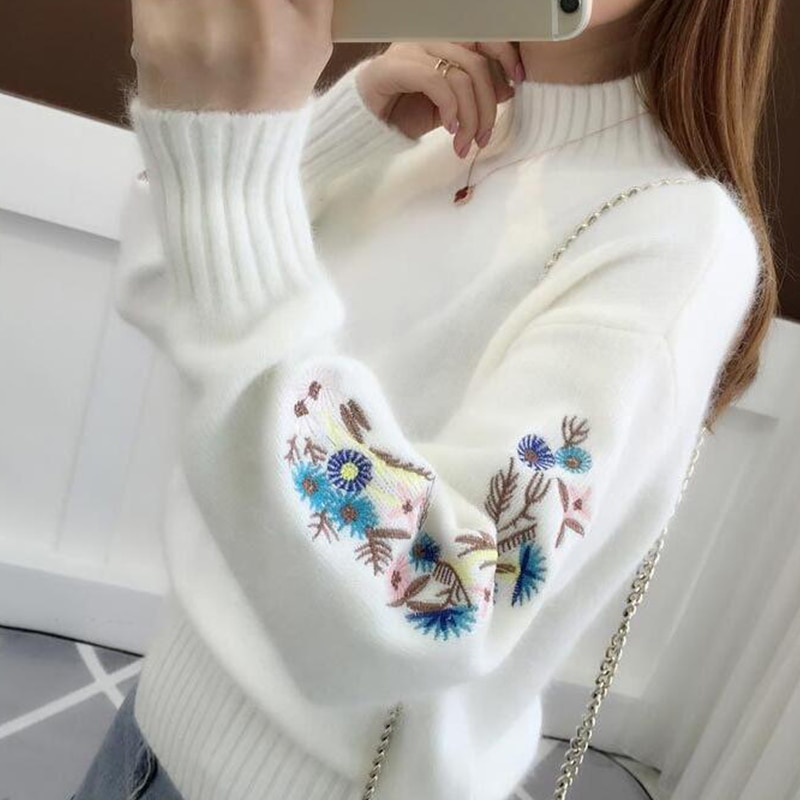
They are modernized and given special stitches suitable for embroidery on knitwear:
Looped (knitted). Repeats the pattern of the fabric and lies flat. Suitable for fabrics with large knitting. The finished work looks as if the pattern was knitted.
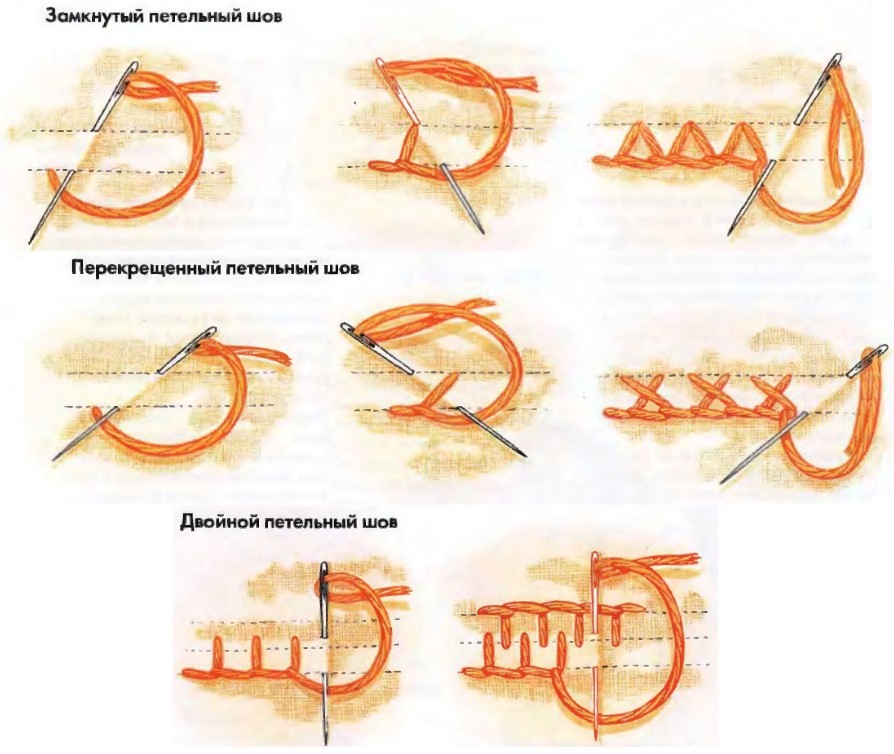
Loop stitch
"Stalked". Based on the “back needle” stitch, only the needle is brought out in the center and above the previous stitch.
"Daisy". Based on the tambour principle, but they are used not to embroider chains, but petals secured with a stitch in the center of the loop.
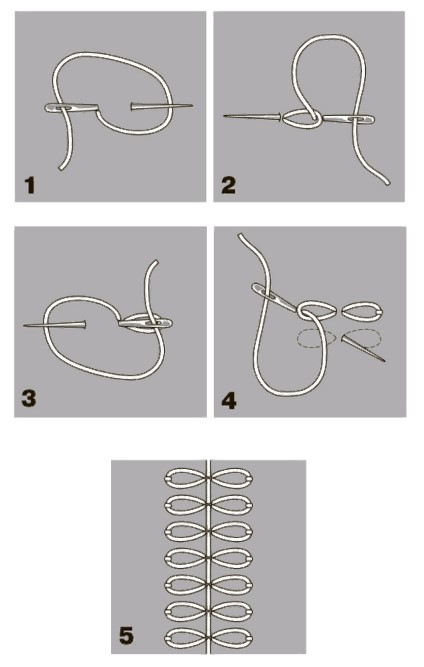
Daisy stitch.
Smooth surface. It is based on a “forward needle” seam. Suitable for embroidering large elements.
Seams of two or three colors
These are usually simple wool stitches with the addition of one or two threads of different colors. The most commonly used options are:
"Wave". Lay a series of “back needle” stitches and braid them with one thread of a different color, forming a cross loop on top.
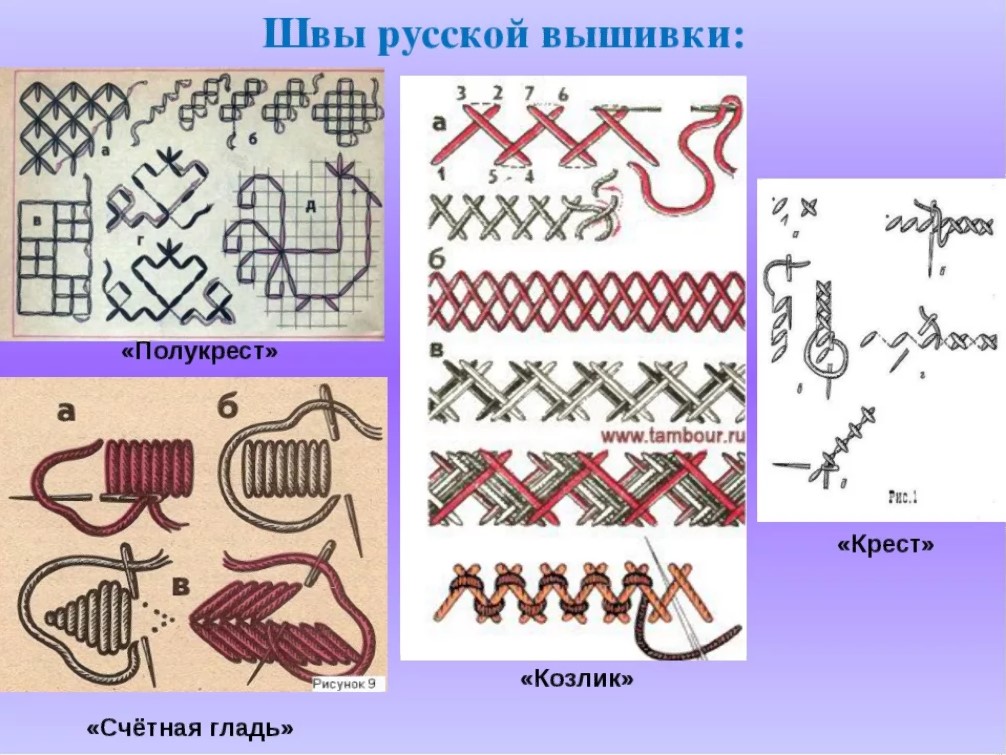 Twisted seam. Sew the stitch “forward needle” and also braid it with a second thread, but tighten it tighter and do not intertwine the loop crosswise. By adding another braiding thread, on the other hand, you get a three-color seam.
"Goat." Two or more seams mirrored over each other in different colors.
Straight vertical stitches weave together from above and below, forming loops that pull them together.
Chain stitch often performed in several colors, in two options: alternating loops; braided with an overlock hand stitch on one or both sides.
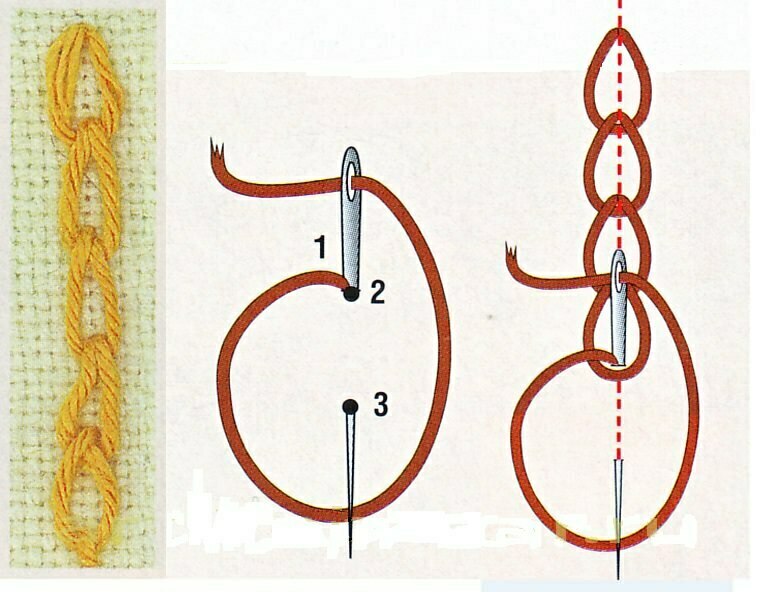
Chain stitch.
There are countless colored stitches. There are no clear rules in their creation, so using their imagination, craftswomen come up with their own options.
Advice! To make the loops of the fabric even and not stretched, the material is wetted with water and dried, and then work begins.
Types of complex Rococo seams
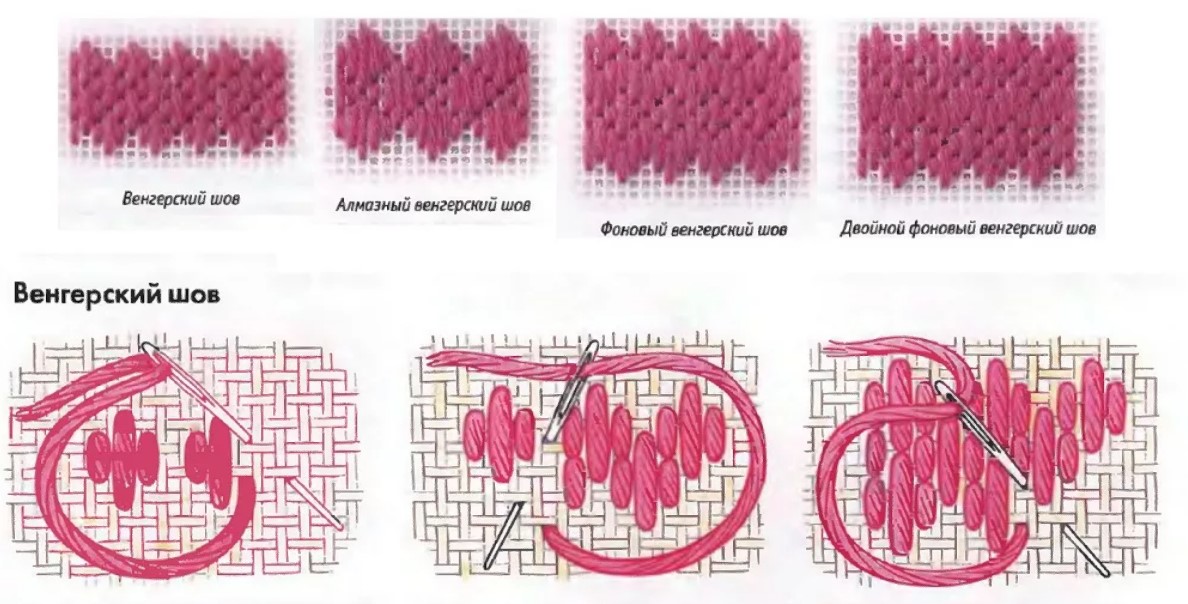
This technique is based on thread winding. Used to add volume to a drawing. Three seam options that should be studied before work:
Knot. Bring the fastened thread from the inside out onto the face. Wrap the end of the needle three times with thread and pull it through the turns. Next to the previous puncture, holding the coil, insert and pull the needle to the wrong side.
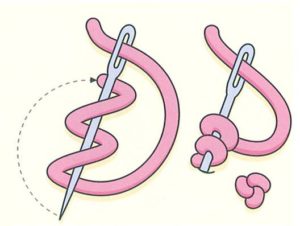
Knot in rococo seams.
Petal. Do everything the same as in a knot, but wind 10 - 12 turns. Insert the needle at a distance the size of the petal and pull it to the wrong side.
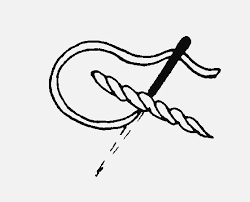
Petal embroidery in “rococo”.
Berry. Fasten the thread and bring it to the front side. Pierce the fabric at a distance of the height of the berry, and the second puncture in the place where the thread was pulled out. Without pulling the needle through, pull the thread out of the eye and wind it around the ends of the needle. Wind the last turn with a figure eight.
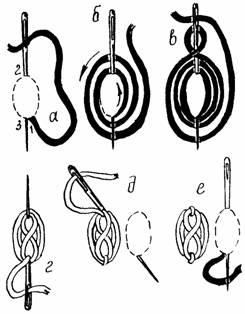
Embroidery stitch “berry” in “rococo”.
Insert the thread back, holding the threads with your finger, secure with a small stitch at the top and bottom.
Important! To create rococo stitches, it is better to use threads that are not very twisted, otherwise they will get tangled.
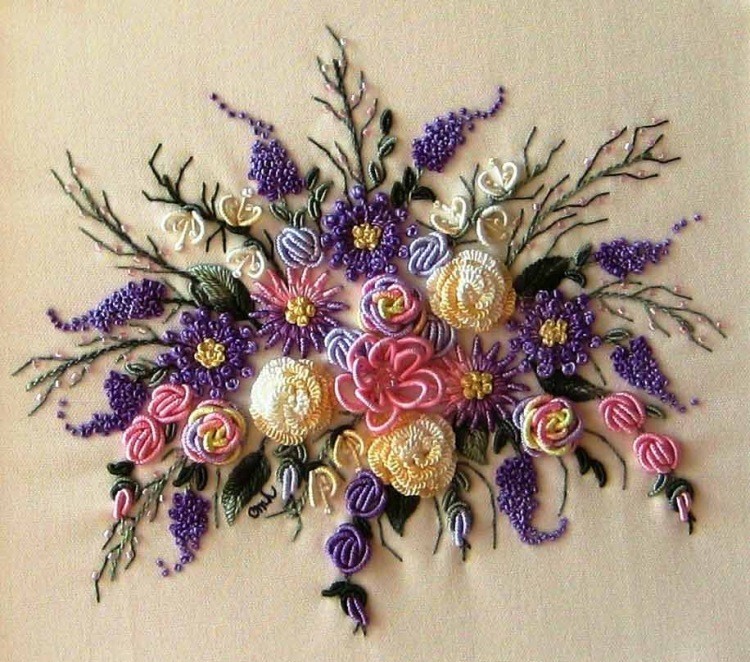
Embroidery in Rococo style
Satin embroidery
This type of embroidery is considered classic. Suitable for any type of fabric, and due to the manufacturing technique it looks beautiful and natural.
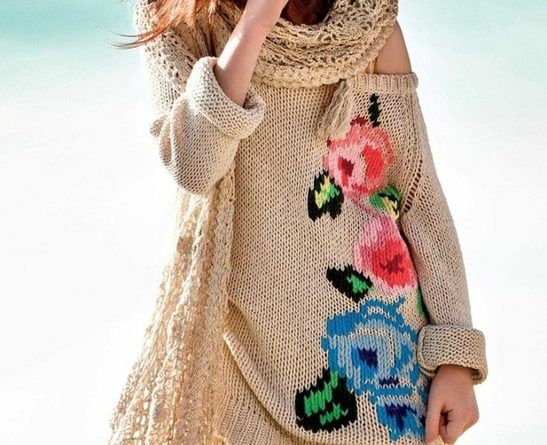 You shouldn’t make a design that takes up too much space; just select a small, flat area on the shelf, back or pocket.
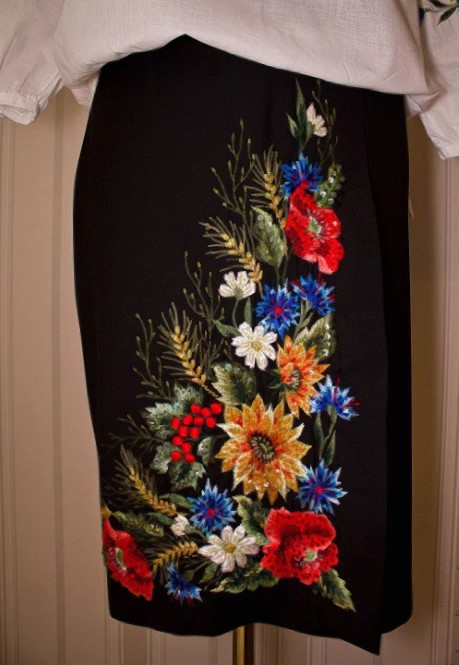 Work order:
- Select and transfer the drawing onto tracing paper.
- Sew the tracing paper to the product, using loose stitches, along the contour of the design.
- Remove the tracing paper so that the stitches remain in place.
- When embroidering flowers, start from the center. To create smooth color transitions, the stitches of the next row are placed in the voids of the previous one.
- The stems are embroidered with backstitch, stem or chain stitches.
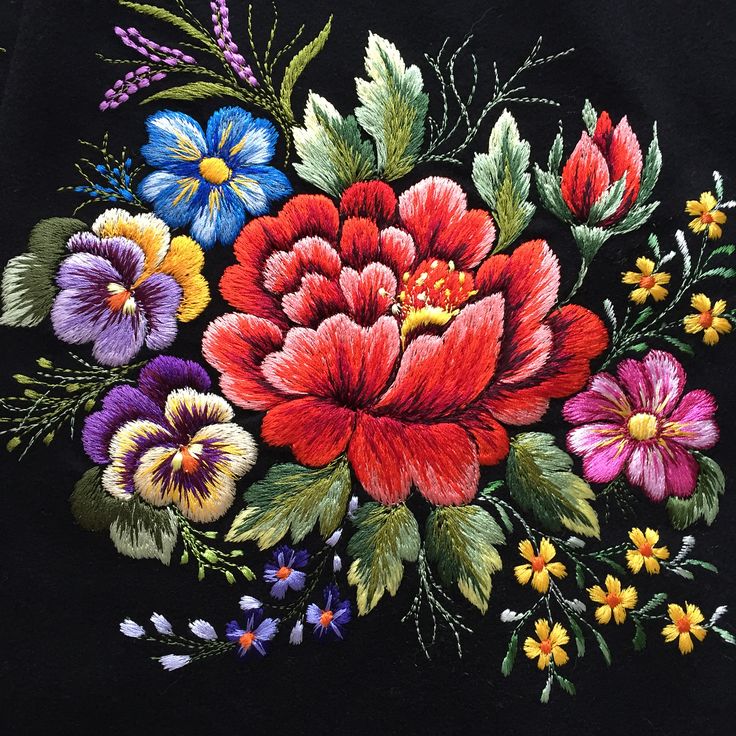 This type of embroidery uses simple stitches, so even a beginner can easily do it.
Cross-stitch
Knitted fabrics are similar in structure to canvas, but instead of cells you can use loops as your guide. Therefore, it will be convenient to cross-stitch on knitted items. You just need to transfer the diagram to the product.
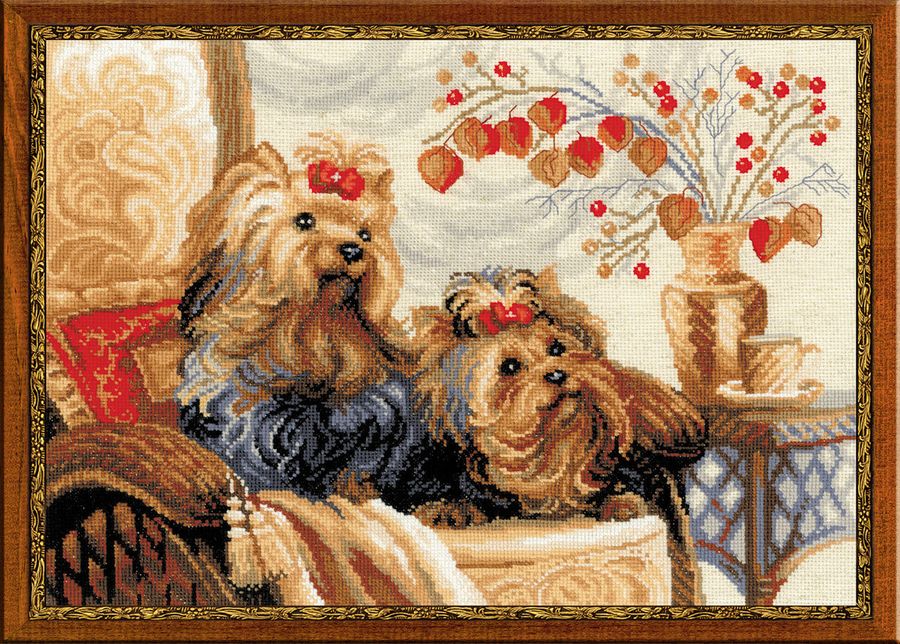 Experienced needlewomen combine various techniques in one work. This adds originality to the pattern.
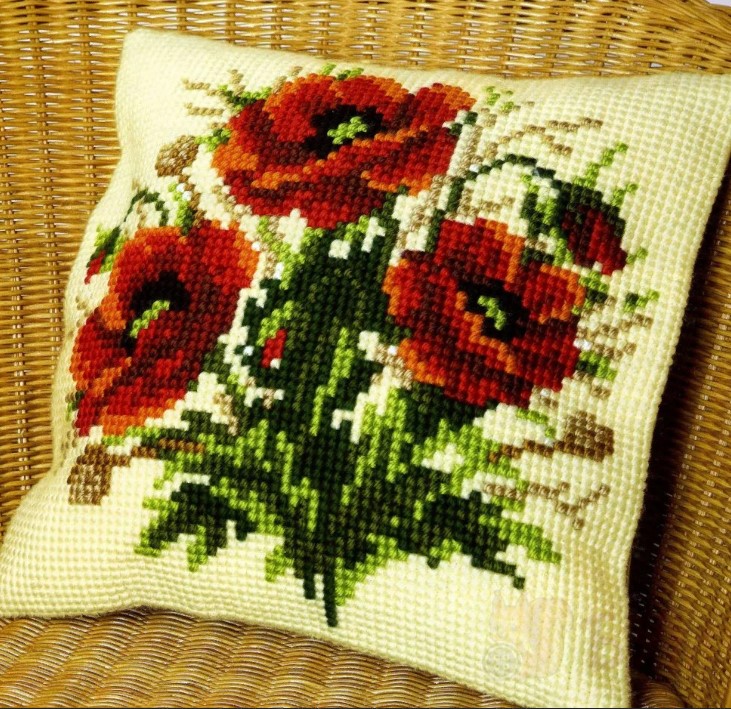 Knitted dresses, sweaters, bags are decorated in this way, and pillows, napkins and tablecloths made of knitwear with embroidery with woolen threads also look interesting.


 0
0