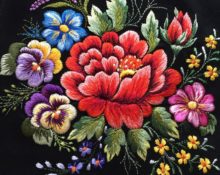
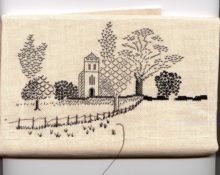
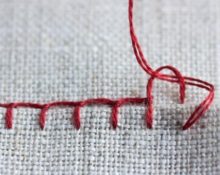
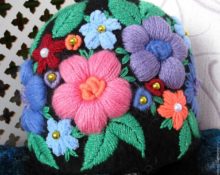
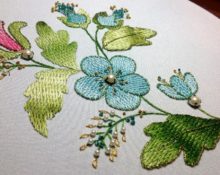
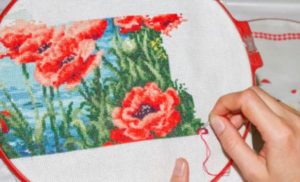
 The desire to embellish fabric with decorative stitches goes back thousands of years, and at least one thing about embroidery has not changed in all this time. No matter how complex the result, embroidery is surprisingly simple. If you can use a needle and thread, you can embroider. Let's look at various embroidery methods, such as satin stitch, cross stitch, etc.
Preparing for satin stitch embroidery
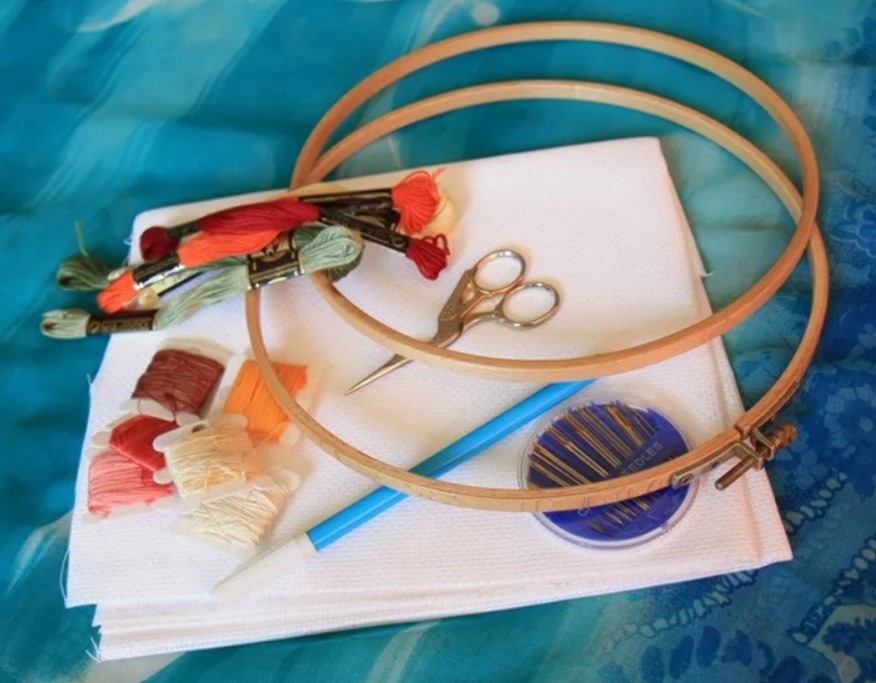 What you will need:
- copy paper;
- smooth materials for creating temporary patterns on fabric;
- silk thread for more shine;
- wool yarn for canvas and other fabrics;
- embroidery floss;
- a pencil for transferring drawings onto tracing paper with a hot iron;
- embroidery scissors;
- hoop;
- embroidery needles (thin, sharp needles for thin fabric).
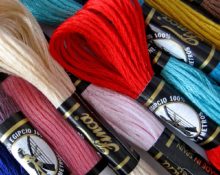
Embroidery threads and yarn come in different colors and textures. The standard is Cotton Embroidery Floss, a clear thread made up of 6 strands that can be separated from each other to create finer designs.
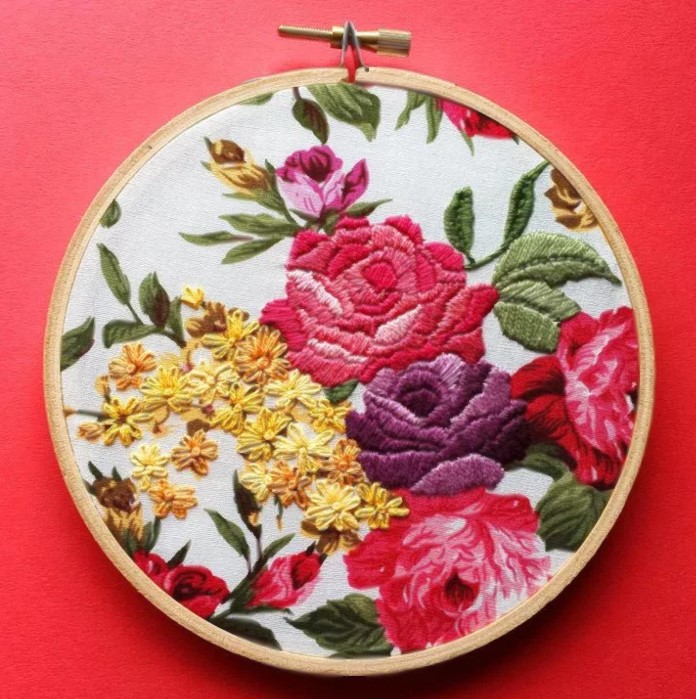 Silk and viscose threads also perform this function. Two strands are suitable for most fabric fabrics; one strand is suitable for light vintage fabric. Wool yarn has a weight and also 3 or 4 plies, so it is best suited for fabrics such as canvas or thick linen.
Important! Be careful not to break the rules: bulky thread on thin fabric will tear the material, and light threads may be difficult to distinguish.
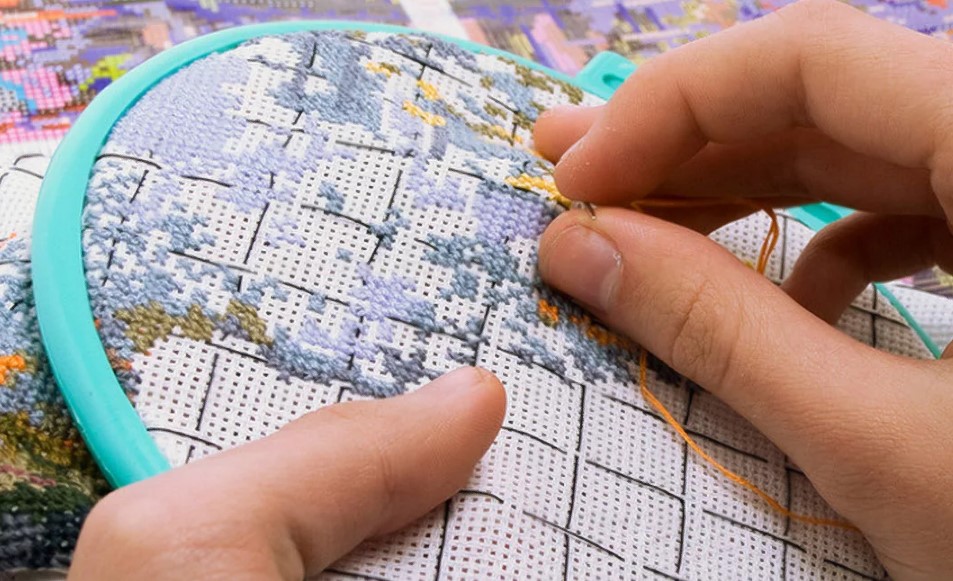 For beginners, it is recommended to use floss thread. It comes in different colors and is relatively inexpensive.
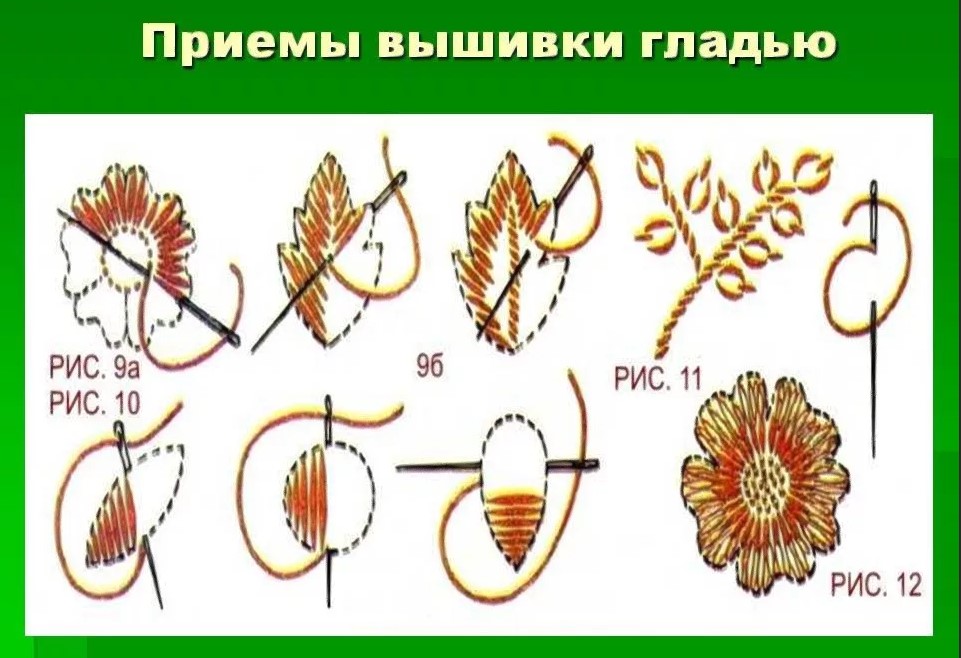 For the fabric or piece you will be working on, choose fabrics with a visible weave. Linen is ideal, but woven cottons or wools also work. Natural creams and whites are traditional backdrops, while pastels and brighter or deeper colors provide a more dramatic effect.
Selecting a stencil and transferring the design to the fabric
You can always buy ready-made fabric items from the store, which will help give you some ideas. Calligraphy tutorials, coloring books and old Christmas cards are rich sources of letters and numbers.
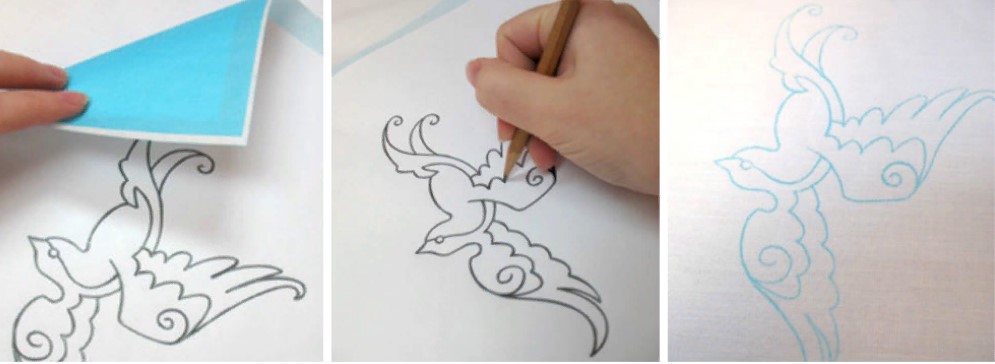
Transferring a design to fabric using transfer paper
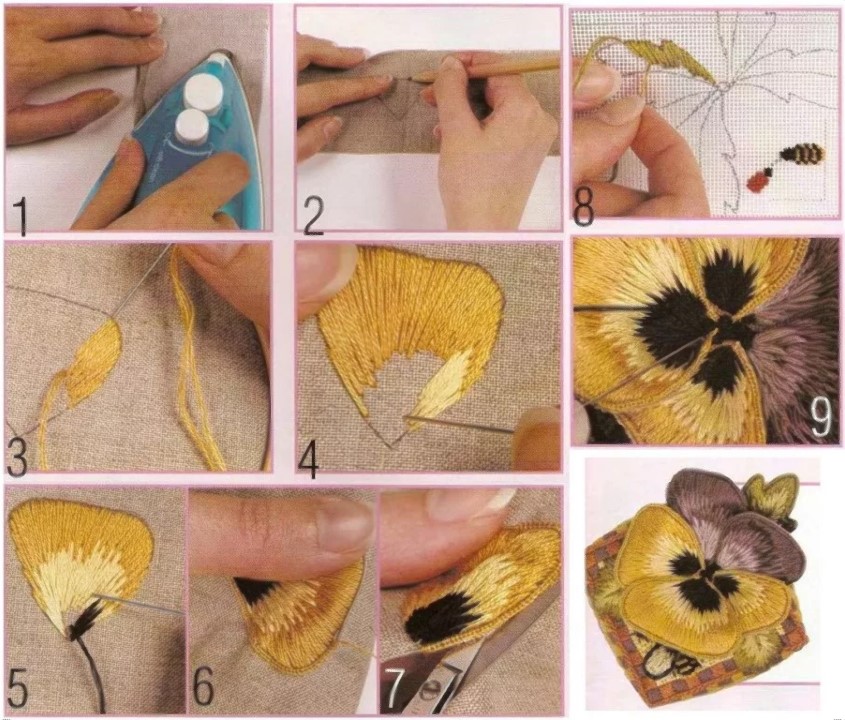
Books about the natural world can be useful if you want to embroider birds, trees, leaves or flowers. You can copy the pattern (drawing) in a mirror image onto tracing paper, and transfer it with an iron to fabric (except synthetics).
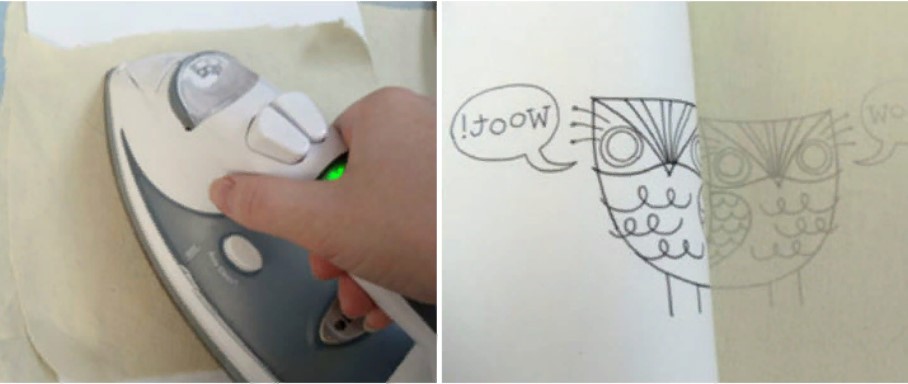
Transferring the design onto tracing paper with an iron onto cotton fabric
Use photocopiers to reduce or enlarge the image. Explore a large number of images on the Internet. Try using drawing software so you can get an image that's just right.
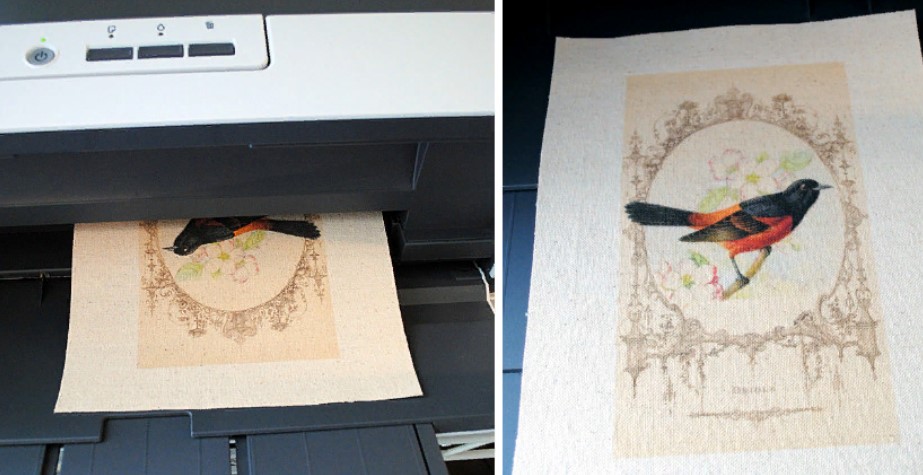 Design pieces can be transferred to fabric. The heat transfer pencil allows you to draw the design (in reverse) or you can use a "light table". Simply place the lamp under the glass of your table and place it on a piece of cloth.
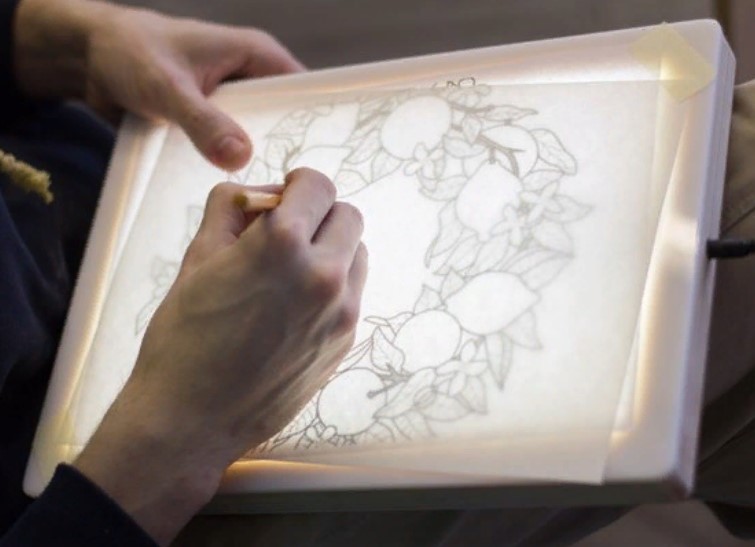 Use a sharp pencil or disappearing ink marker to trace the design onto the fabric. Placing your fabric in an embroidery hoop will help create tension.
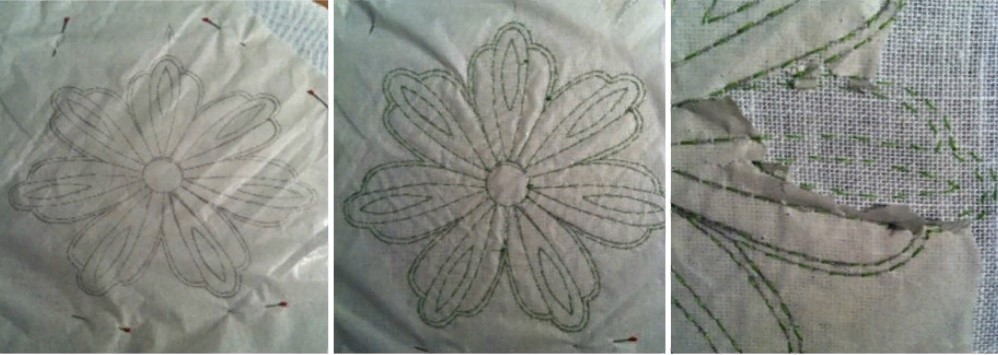
Transferring the design to fabric by stitching
Step-by-step instructions for embroidering with floss threads
The first step is to secure the thread to the fabric. For this you will need three main methods of fastening and several others:
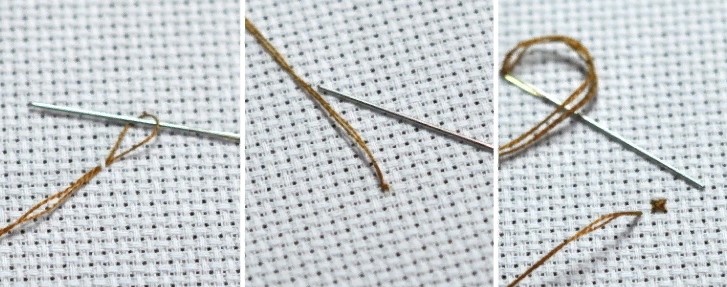
Loop method at the beginning of embroidery
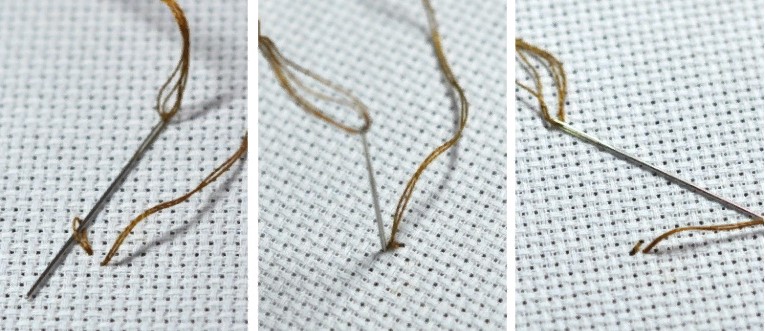
Loop method 2 at the beginning of embroidery
First way consists in creating a stitch on the inside so that the tip peeks out, after which another stitch is created perpendicularly. Then the tail of the thread is hidden under the stitch so that the main thread pulls it tightly.
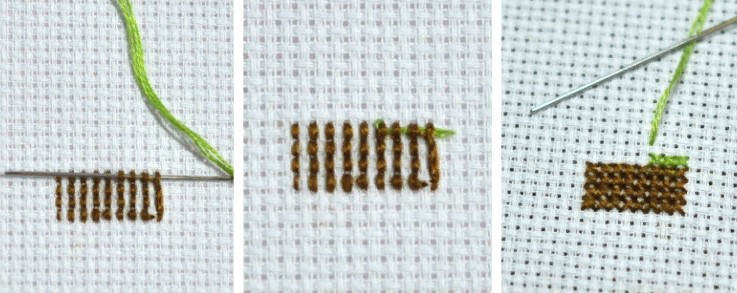
Securing the thread under the stitches at the beginning of embroidery
Second method. When you embroider with 2 threads, insert the thread folded in half into the hole of the needle, place two fibers of fabric on the needle, then pull out the thread, insert the needle into the loop formed, and tighten the thread tightly.
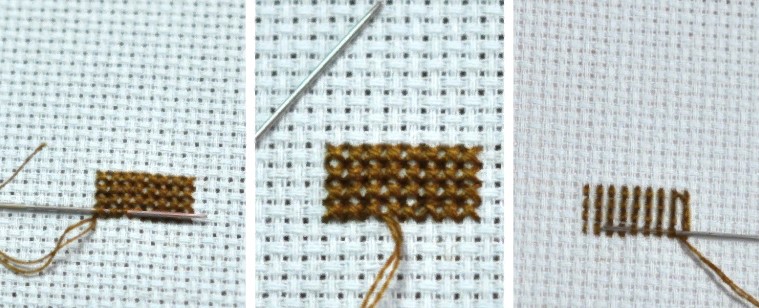
Secure the thread under the stitches at the end of the work
Third method involves creating some broach under the stitches made on the inside, and the tail is removed with scissors.
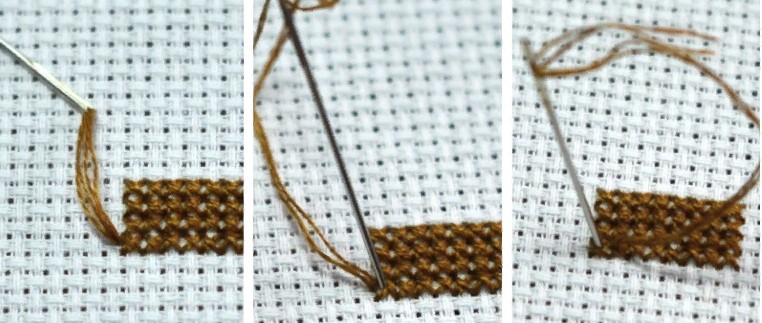
Securing the thread with a microstitch at the end of the embroidery
Basic types of stitches
Satin stitch
Execution is done at an angle or straight across.
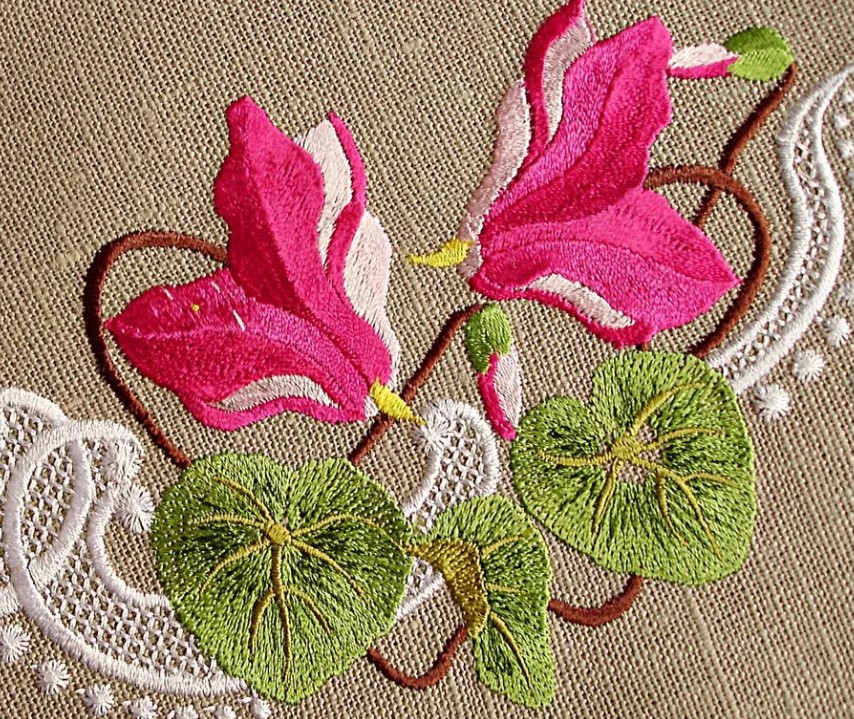
Satin stitch embroidery
To perform this type of stitch, you need to pull the needle from the wrong side of one contour of the design, then stretch it to the other contour of the front side. The threads must fit tightly to each other to obtain a high-quality pattern.
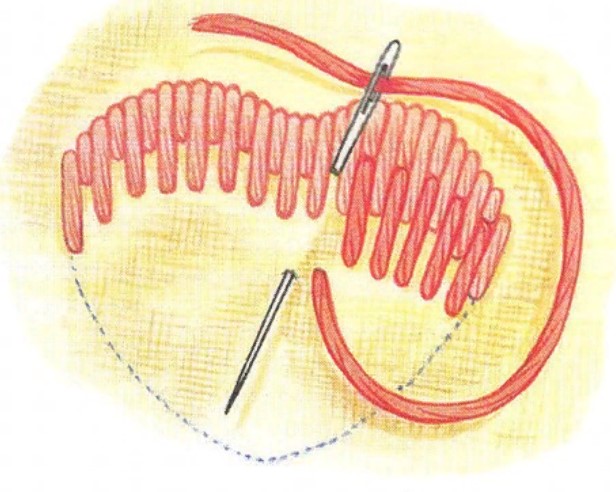
Satin stitch embroidery
Backstitch
The easiest embroidery stitch. Insert the needle from the wrong side of the fabric, then pull it back and pull the thread taut. Then you need to insert the needle again into the fabric, and pull it out a distance equal to the length of the previous stitches. This is the first step for the next line.
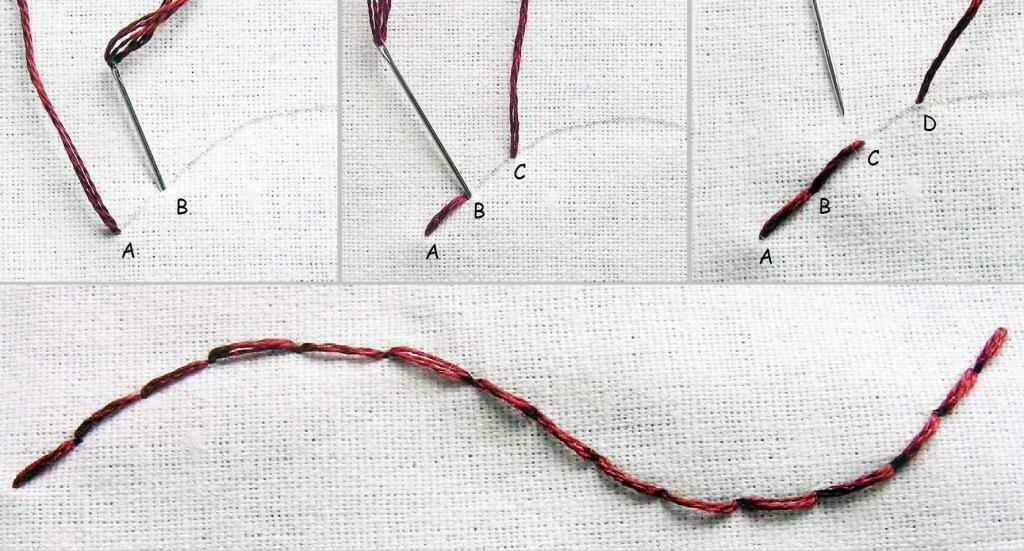
Embroidery: backstitch stitches step by step
Cross-stitch
To make cross stitch, first stitch a series of evenly spaced diagonal lines.
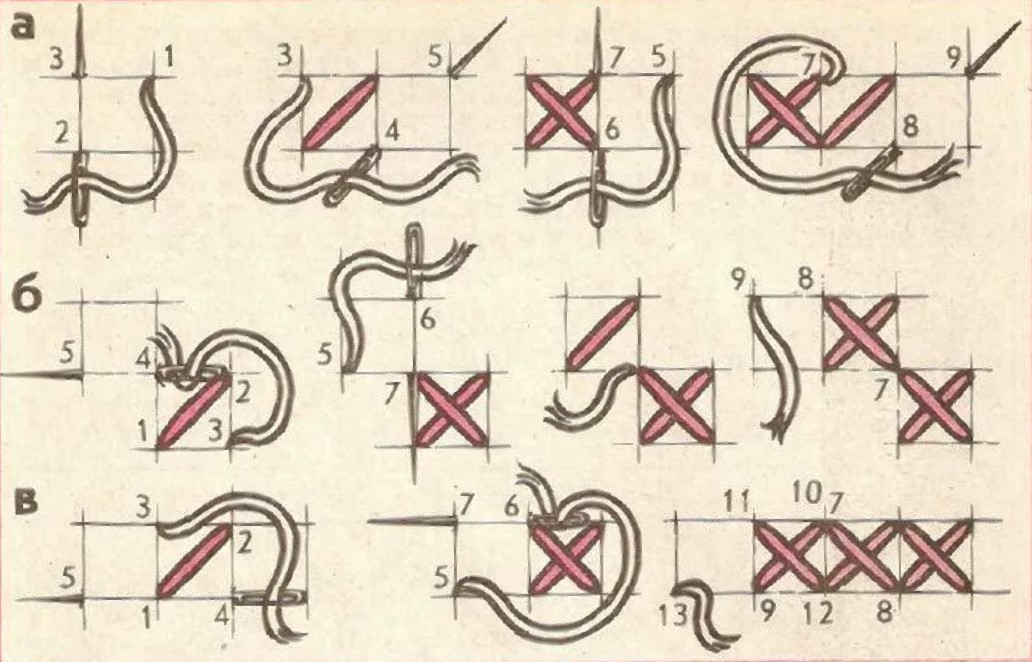 After that, create a cross as you go. Use the same holes whenever you can. The lower part should be sloping.
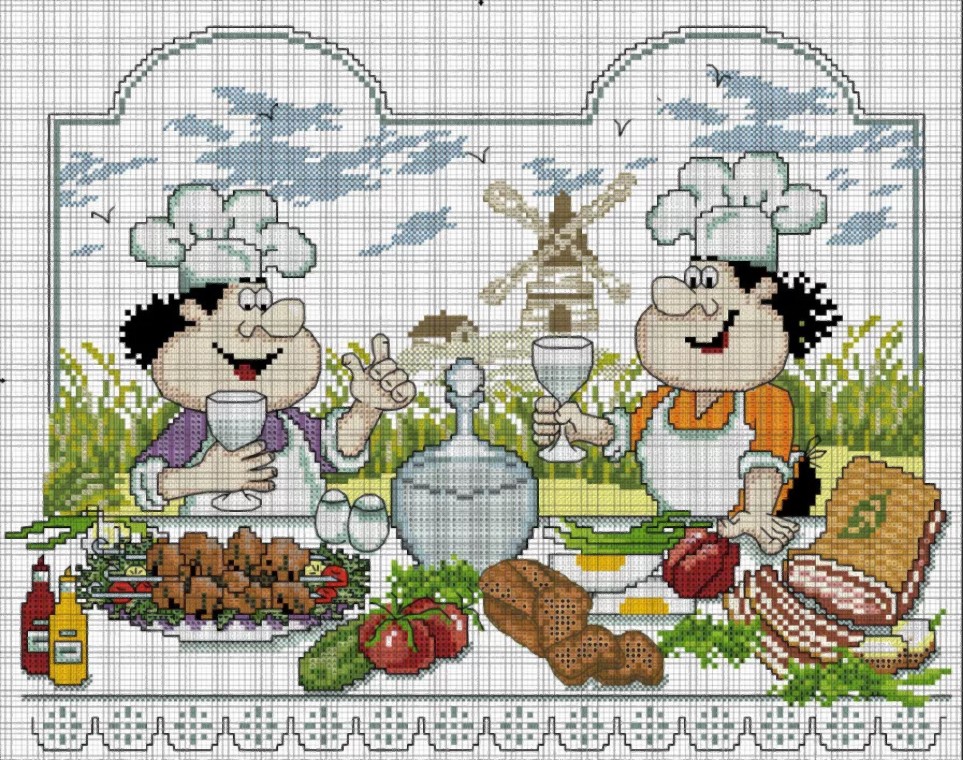
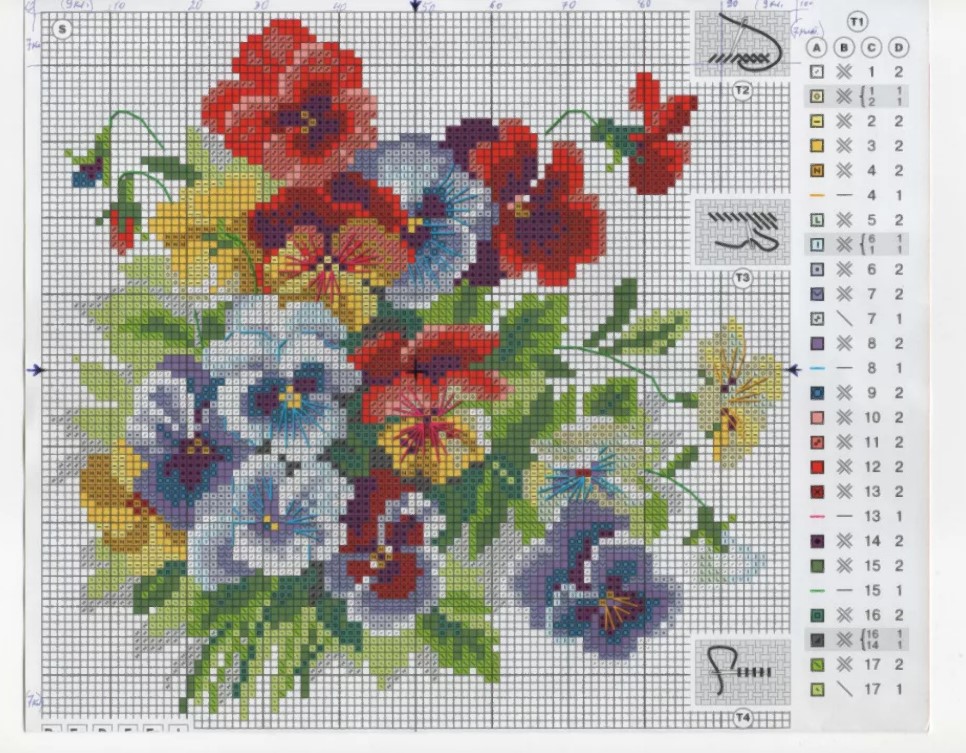
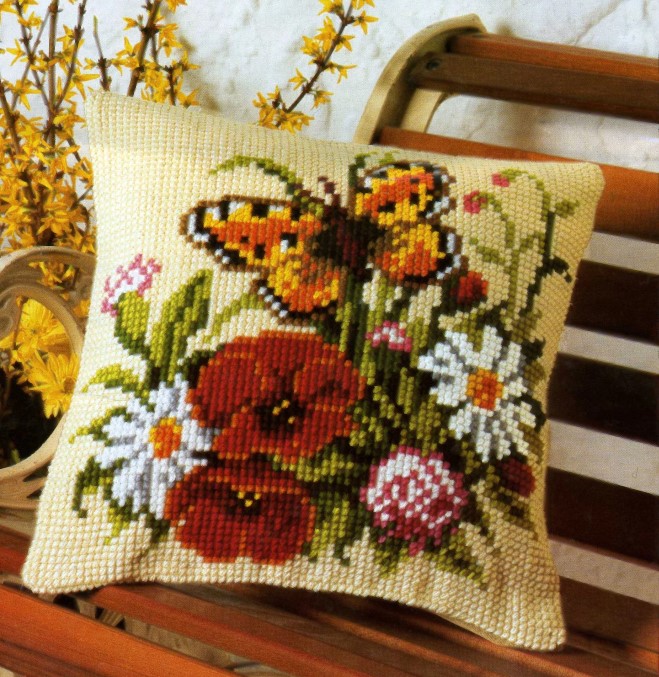 Interesting patterns for cross stitch:
Basic mistakes
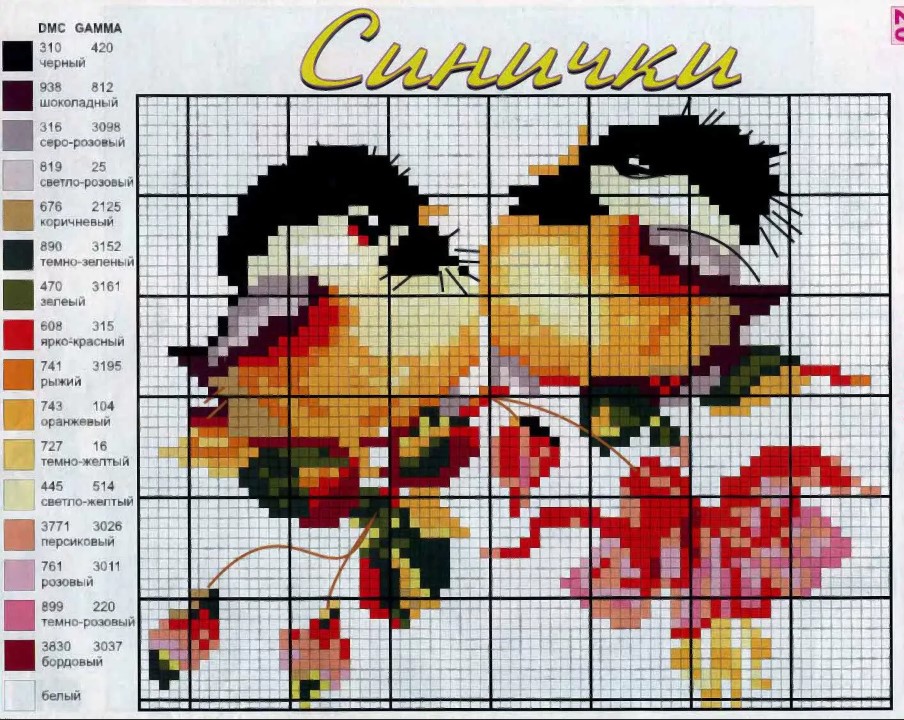
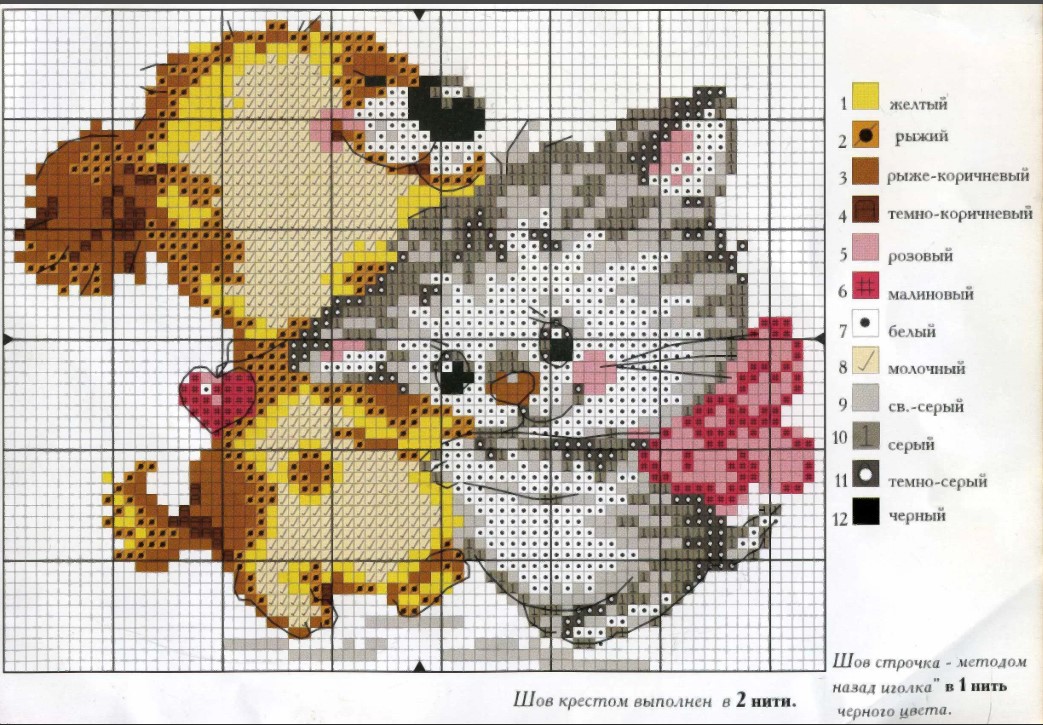
When embroidering with satin stitch, some mistakes may occur for beginners. Basically, they are associated with a lack of experience. The fabric may become wrinkled as a result of handling. This means that you have loosely tightened the stitches or, conversely, tightened them too much.
If the fabric shows through the embroidery, then you did not place the stitches tightly enough.
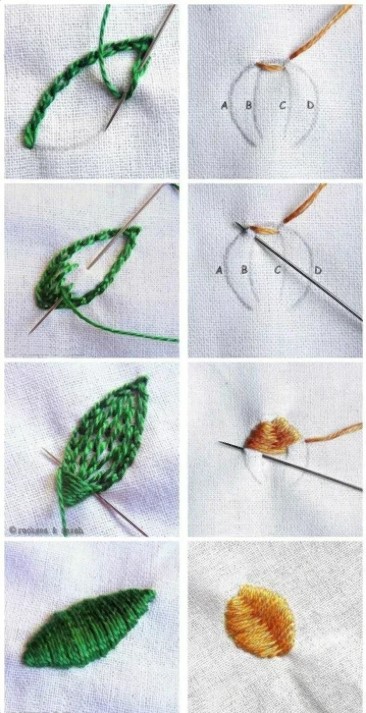
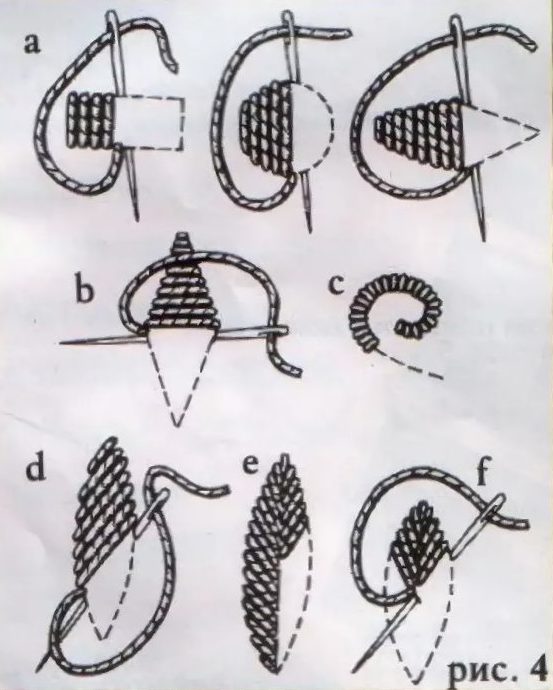
How to embroider a petal correctly?
Long satin stitches:
More complex satin stitches:
Adviсe
If you are a beginner and want to quickly learn how to embroider, it is recommended that you watch videos on this topic before starting embroidery. They describe in detail all the features of embroidery. The article provided several tips to help you do your own embroidery. Follow them and you will succeed.


 0
0