A basket for the home made of knitted yarn will definitely come in handy around the house. It can be made large or small, bright or plain, high or low. Depends on the method of application. The main thing is to know that it is not difficult to do. Below we will look at baskets of different shapes that even a beginner can handle.
By the way, you can not only buy yarn, but also make it from unnecessary T-shirts.
Symbols used:
VP - air loop crochet, st.b/n - single crochet, dc - double crochet, sst. b/n - connecting single crochet or half crochet.
VP – the basis of the craft, indicated on the diagram by a white horizontal oval or a black dot.
Art. b/n – the base element, forms the edges of the product. Designation in the photo: x, +, I.
Dc - indicated as a vertical stripe. Depending on how many yarn overs need to be made, the strip is crossed out the required number of times.
Sst. b/n - a small black horizontal oval.
Crochet rectangular basket made of knitted yarn: Master class
You will need:
- Yarn
- Hook No. 7
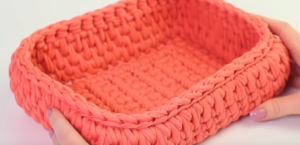 Fishbone pattern. An easy way to knit a rectangular bottom is to knit it using turning rows. In this case, there is no need to make increments.
- We wrap the yarn around the hook and secure the free edge of the yarn. Tighten the loop a little. The width of our product is 10 vp.
- Add one lifting loop. We don’t knit it, it will set the height.
- Insert the hook into the 10th ch and pull out the free edge of the yarn
- Now you need to knit them. Such an element is called Art. b/n.
- Next, insert the hook into the next loop and pull out the free edge of the yarn. Let's knit 2 loops at once.
- We go across the entire width.
- Next we add a ch for lifting. We continue processing.
- We knit st. b/n. We also crochet the 10th loop and finish the entire row of sts. b/n.
- Add a lifting loop and turn the knitted piece over.
- We knit back st. b/n
Bottom width – 10 columns. There is no way to influence the width, so we determine it right away. Choose the length of the product yourself, whether you need a small or large basket.
- Adding a lifting loop
- In our case there will be 13 rows.
Now the resulting rectangle needs to be tied around the perimeter before starting to work with the walls. Here is our last loop, when we finished the 13th row. Insert a hook into this loop and knit st. b/n. This will allow you to turn to the side.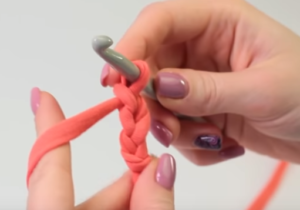
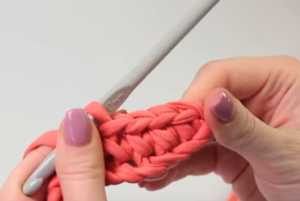
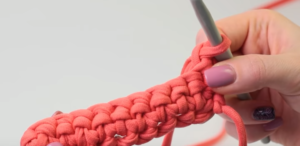
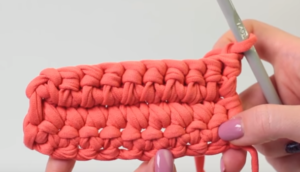
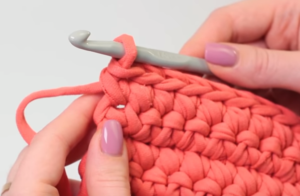
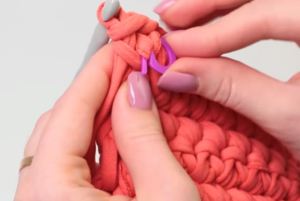
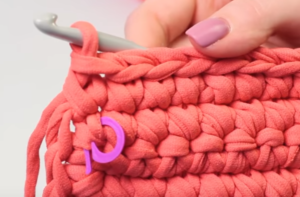
We mark the beginning of the binding with a marker.
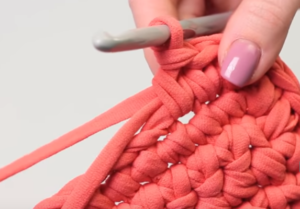
Having tied 2 tbsp. b/n, turn to the side. Insert the hook under both walls of the loop, knit st. b/n. Next, insert the hook into the next loop and make a st. b/n. This is how we work with the entire side part. We reach the last loop. We find a corner loop, make a st. b/n. To turn around, knit 1 more stitch. b/n.
Advice! To hide the tail of the yarn, place it on a row. When you continue knitting st.b/n, the tail will remain inside the row.
We tie the row. Again we reach the corner loop, knit 2 tbsp into it. b/n to turn around and proceed to the other side part. This is how we processed the entire product.
Rectangle walls:
We take out the hook, insert it under the next loop and thread the tail of the previous loop. We pull out this tail on the other side. We knit ch.
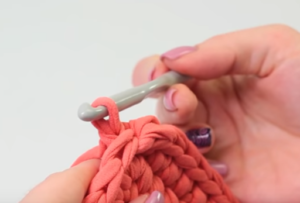
Attention! We knit the walls behind the back wall of the loop.
So the wall will go perpendicular.
- The first row is knitted st. b/n
Insert the hook behind the back wall of the loop and knit st. b/n. Mark the beginning with a marker and knit the bottom along the perimeter.
- We knit the second row with the selected pattern.
Take a larger hook. Insert the hook into the loop, it is located under the connecting loop. Pull out the free edge of the yarn and insert the hook into the place marked in the photo below.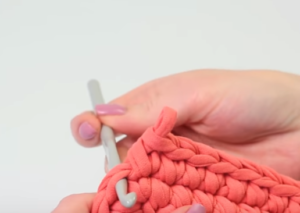
We also stretch out the free edge. The result is 3 loops that need to be knitted. Afterwards we place the hook at the indicated point, as in the photo.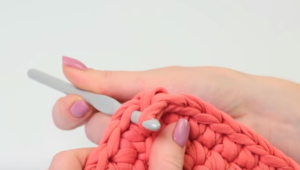
Next we extend the free edge. We insert the hook into the next “tick” and pull out the edge of the yarn. We knit the resulting 3 loose loops. We process the row in this way.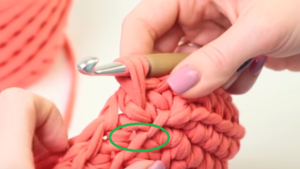
What should happen is shown in the photo. Connecting the rows. Now insert the hook into the last loop and put a loop on it. Pull out the loop, knit a ch.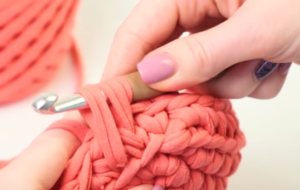
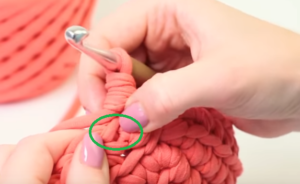
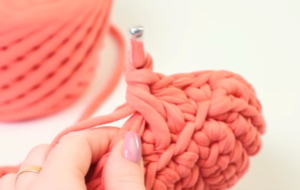
At this point, take a close look at the side. We have formed 2 types of checkmarks: long, short. In the next step we only need short ones.
We continue to make the fishbone pattern.
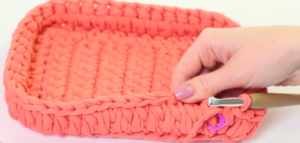
We insert the hook and loop into the middle of the tick, pull out the yarn (do not knit), then insert the hook down the next tick, pull out the free edge of the yarn. We knit 3 loops at once.
This way we knit the height you need.Additionally, you can tie the resulting height with connecting loops.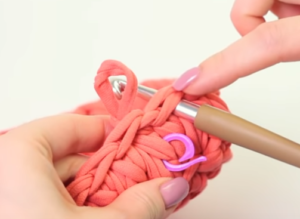
Scheme for beginners
Baskets made of natural shades will look good in the interior. Also suitable as a gift.
The photo shows a master class using twine. The material is affordable, durable, and has a pleasant caramel color. You need to buy several skeins of rope, hooks No. 4, No. 5. To strengthen the bottom of the basket, you can buy cardboard.
Another knitting pattern:
Crochet round basket made of knitted yarn: Master class
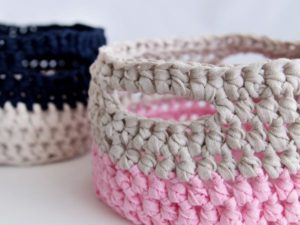 You will need:
- Yarn, ribbons
- Hook No. 10
We perform amigurumi ring knitting (see as indicated in the photo).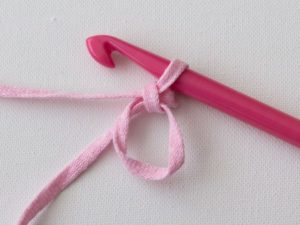
We fix it. We knit 8 tbsp. b/n.
The first row ends them with a connecting half-column. We tighten the remaining thread. For the second, we make increases in the resulting loops.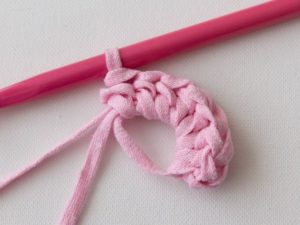
Add 8 loops. Knit 1 ch, 2 tbsp. b/n, 2 tbsp. b/n until the row ends. you need to finish with st.b/n.
For the next row, add an increase every other row.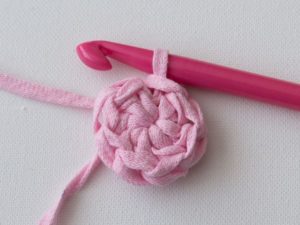
Next is the diagram: 1 ch, 1 st. b/n, 2 tbsp. b/n and continue until the end of the row.
In the fourth row, don’t forget the increase.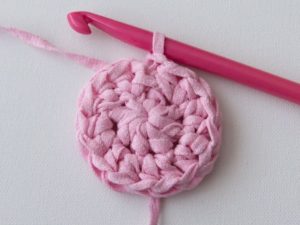
1 ch, 1 st. b/n, 1 tbsp. b/n, then 21112. You need to finish st. b/n.
For subsequent rows we add increments with increasing steps. Add 8 ch.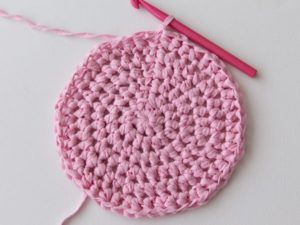
After another 8.
The base is ready, now let's work on the wall. 1 ch and 1 st. b/n under one side of the loop. We fix the beginning and the end.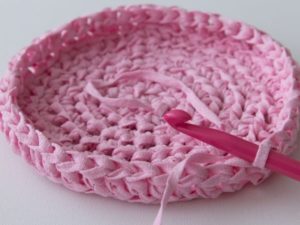
We continue to knit connecting stitches without a crochet. Now insert the hook into the top chain loop of the beginning of the circle.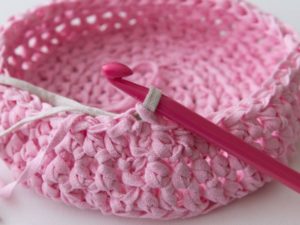
Take yarn in a contrasting color. Let's knit the st.b/n. 1 ch and dc around the perimeter. We complete the row of double stitches and knit another row.
The work is done.
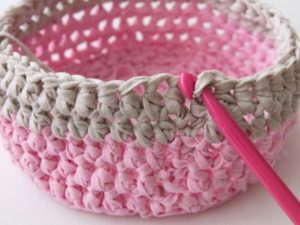
Scheme for beginners
It’s easy to make such a basket by following the instructions in the picture.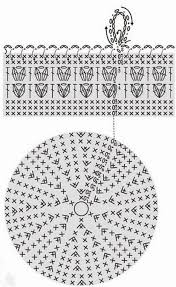
We knit the bottom and single stitches, then move to the sides.If desired, you can add decor in the form of braid or ribbon. You can also add a handle by sewing it to the sides. A light, beautiful basket for the home is ready. We recommend using bright, contrasting yarn.
Crochet square basket made of knitted yarn: Master class
To understand the principle of operation, we will knit a small basket.
You will need:
- Hook 7
- Yarn
Process:
- The basket is knitted in the round.
- For the 1st row, as in previous MKs, amigurumi is used.
- Then we knit 7 double stitches and end the row with a connecting loop. We do VP lifting.
- To form a square basket from a basic round one, you need to add loops in 4 places. This is done for each row.
- For the 2nd row we will add loops, which we will continue to add for the next rows. At the very beginning we knit 2 stitches in 1 loop. This is the 1st of 4 additions.
- Then we knit 1 tbsp. b/n.
- Second, third, fourth place increase: knit 3 tbsp. b/n in one. Then we knit a single crochet and make an increase.
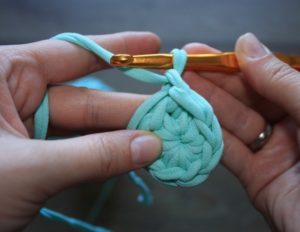
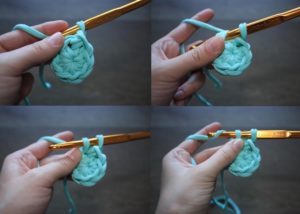
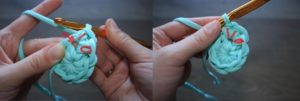
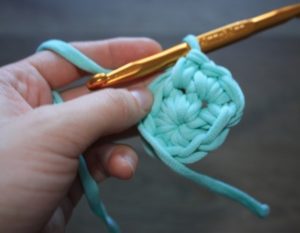
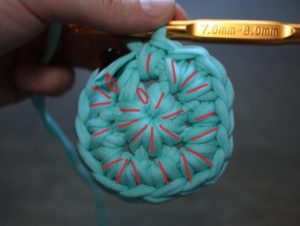
Then again a column without a cape and a fourth place increase. Connect the beginning and end of the row and create a ch for lifting.
- Third row: knit instep. We make 2 columns into one.
Now we alternate 3 stitches without a cape and an increase (3 tbsp. b/n in one). In this row these are columns 5-9-13.
- Fourth row: we also knit an instep. We make 2 columns into one.
Now we alternate 5 stitches without a cape with an increase (3 tbsp. b/n in one). In this row it is 7-11-15 stitches. We secure the connection between the beginning and end of the row.
- Fifth row: knit instep. We make 2 columns into one. We alternate 7 tbsp. without a cape with an increase (3 tbsp. b/n in one). In this row it is 9-13-17 stitches.
Connecting the beginning and the end.
Important! Eventually, For each row, an increase is made in 4 places. First we knit 2 tbsp. b/n to one point. In the following additions, we added 3 tbsp. b/n in one.
Let's figure out how to knit walls with a braid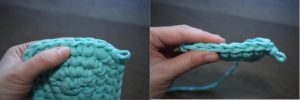
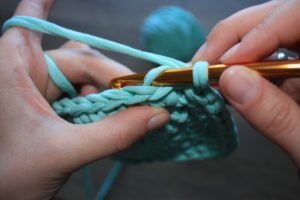
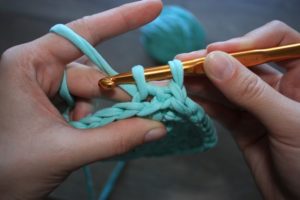
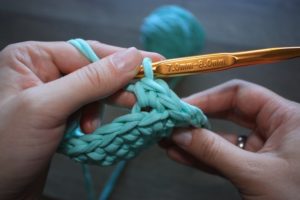
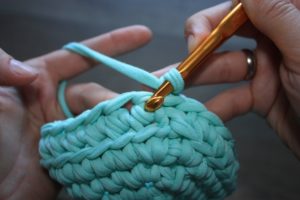
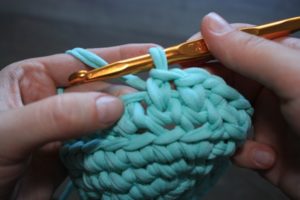
In order for the wall to be strictly perpendicular, we knit 1 row behind the back of the wall of the upper chain:
Continuing the rows, we knit in a simple way, for each of the walls of the column. To knit with a braid, you need to insert the hook in the middle of the st. b/n.
Scheme for beginners:
To make such a bright, neat basket, you will need thick yarn of two colors, hook No. 7. First you need to complete the parts separately: bottom, 4 walls. A handle is provided. If you wish, you can not add it. You can adjust the sizes of the parts if you need a larger basket.
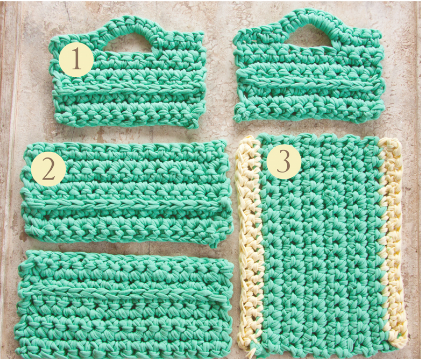 The parts are connected with simple non-woven columns. According to the specified pattern, the parts are then simply connected.
We have sorted out 3 types of simple knitted baskets. Having learned once, you can make a large number of different products in color, size, and density. You can make a whole composition from plain baskets and decorate the interior of your apartment or your workplace with them. It will definitely find its use. And also don’t forget that you can decorate the baskets however you like. For the nursery, make a bright patch, add ribbons and bows. For the kitchen, decorate with neat white ribbon. Your imagination is not limited by anything here.
This basket can be used to store linen, toys, for small items in the bathroom, to store cosmetics, items, dishes, indoor plants and much more.
It is enough to try to knit such a product once and you will be unstoppable


 0
0