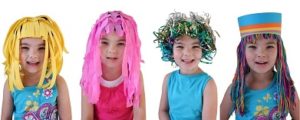
Have you been invited to a costume party? A child is having a party in the garden and needs a fairy-tale character costume? Do you want to have a family photo shoot in unusual costumes? To make such images complete, you need a matching wig. You don’t have to spend money on a purchase; you can easily make it yourself from scrap materials.
The subtleties of creating a wig from yarn
 This element of the costume can be of very different shapes and colors, depending on its purpose. The manufacturing technology is that threads of a certain length are attached to the base (hat, knitted mesh, piece of fabric with an elastic band) using ordinary needle threads or a hook and scissors.
The thickness and length of the “hair” can be easily adjusted. The process is quite painstaking and will require patience and perseverance from you. But the big advantage in the end will be that it was made with your own hands, which means with love and care.
Important! When creating a wig from yarn, consider the weight of the finished product.Hair that is too heavy will not stay on the head, which will create inconvenience during use.
 If you frequently use homemade hair, do not forget about care. The scalp sweats under the abundance of warm threads, and the outside of the product becomes covered with dust. It is recommended to wash once every 3-4 months or when dirty. For washing you will need a little powder and warm water. There is no need to squeeze too hard; the wig dries at room temperature. You need to comb your hair after drying so as not to damage your hairstyle. To do this, it is better to use a wide-toothed comb.
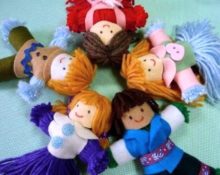
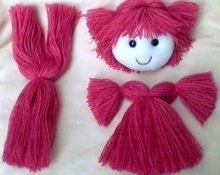
In addition to humans, children's dolls often need new hair. Parents of girls know firsthand about the problem when a child’s favorite toy becomes almost bald. Fast A wig made from yarn for a doll will help correct the situation.. In this way, you can not only save your favorite toy, but also entertain your child and involve him in creating a new hairstyle for the doll. This process can be exciting for children; in addition, it develops fine motor skills, attentiveness, and perseverance.
What is necessary? Choosing yarn and tools
 To create an artificial hairstyle you need a small set of materials. Usually, all the necessary components are available in any woman’s home; if necessary, they can be easily obtained from friends or in the nearest store.
First of all, you need to decide on the color and type of thread. Today, handicraft stores offer a huge selection of a wide variety of knitting materials. The properties of the future wig depend on their composition and characteristics. A fluffy woolen thread is not the best option, the hair will constantly get tangled, and your head will be hot in such a suit. Silky and synthetic threads will fit better into your hair, and it will be easier to make a wig from such threads. Acrylic yarn is also suitable, it is convenient to create voluminous hair with it.
Important! Threads that are too thin will constantly tangle; it is better to choose a medium thickness.
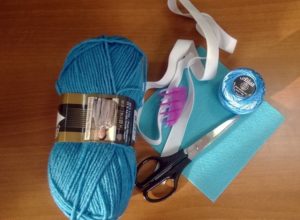
We will need:
- 1–2 skeins of yarn;
- knitted hat (or crocheted);
- simple threads to match the yarn;
- scissors;
- elastic bands, bows, hairpins.
Important! The hat should fit tightly to the head and be of a similar color to the yarn so that it does not show through.
Step by step guide
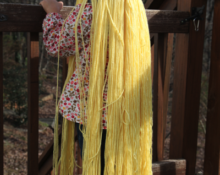
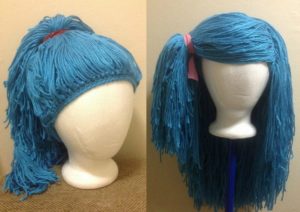
Here's an example of a yarn wig with two ponytails from Danna Villar, a young creative mom from Texas:
 To begin with, you need to draw a straight line on the blank cap along which the hair will be parted. It can be in the center, on the side, or separately for bangs.
- Next, we measure the threads of the required length; it is better to collect them in small bundles for further sewing.
- We take the prepared bundle and lay it out perpendicular to the line on the hat. If the parting was planned in the center, then the bun should intersect the line in the middle.
- Sew a bunch of threads to the cap along the parting line. If you have a sewing machine, you can speed up and make this process easier. We repeat this with all the threads until we cover the entire line on the cap.
- All that remains is to style your hair. To do this, at the parting place, we divide the threads into different sides. Next, we tie the hair into ponytails or braids, distributing the threads so that there are no gaps.
- We trim off the excess and decorate, if desired, with hairpins, bows, etc.
 To begin with, you need to draw a straight line on the blank cap along which the hair will be parted. It can be in the center, on the side, or separately for bangs.
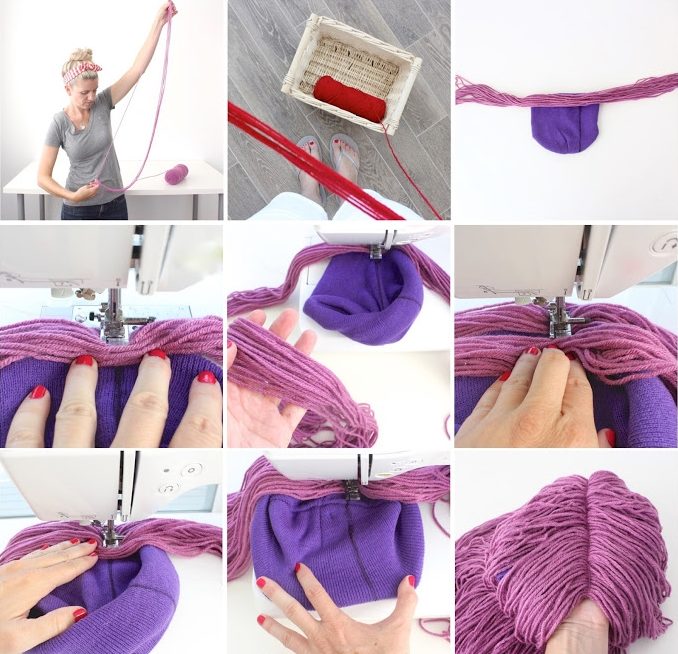
There are many master classes on the Internet on how to create similar wigs with your own hands using different techniques. Anyone can choose the method they like and make this element of the costume without much difficulty or expense.
What is the difference in creating a wig for an adult and a child?
 The creation technique for adults and children is the same. The difference may only be in size: a child’s head is smaller in circumference, so The size of the wig must be appropriate so as not to fall off. For better fastening, you can consider special elastic bands or ties.
It also needs to be taken into account that a wig made from yarn based on a cap is very warm. If you wear it for an event in a warm room, for example, in a kindergarten, the child will quickly become hot. To prevent overheating, it is advisable to periodically remove your hair.
A way out of the situation could be a base not made from a hat (which in itself warms the head), but from a thin mesh base crocheted. Strands of hair are attached to it in a different way. To do this, thin strands of thread folded in half are inserted into the holes of the cap, forming a loop. Next, the ends of this strand need to be threaded into a loop and tightened. We do this throughout the entire area. Hair density can also be adjusted.
Important! To achieve the effect of wavy hair, it is enough to unravel the thread, which is usually twisted from two or three components. The process is long, but if you have enough time and desire to make an original costume, then the result is worth it.
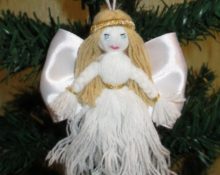
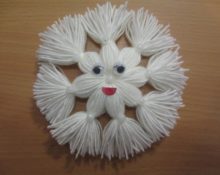
Another example is a thread wig with a crown:
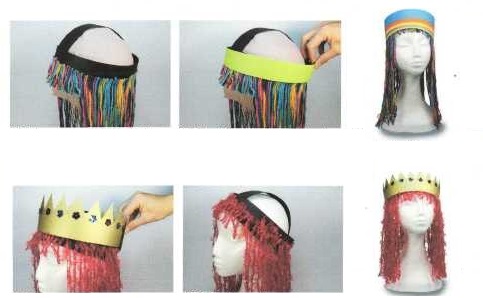
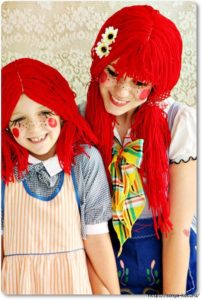
By combining different colors in your work, you can achieve a bright and unexpected effect. You can decorate your wig with a variety of decorative elements, ribbons, clips, hairpins, depending on the image you are creating. Don’t be afraid to experiment, and the images you create will bring positive emotions not only to you and your loved ones, but also to those around you!
 0
0