crafta.ua
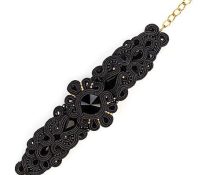
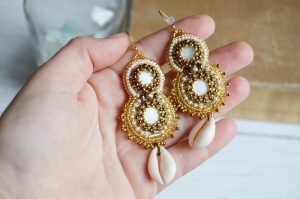
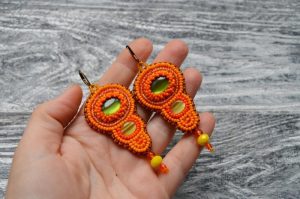
Earrings embroidered with beads look elegant and original. Such jewelry is perfect for a festive or everyday outfit. Beads can be complemented by embroidery, sequins or rhinestones. They will add additional shine and beauty. Each earring is made in stages. To think through the appearance of the accessory in advance, the selected materials should be laid out on felt, which will become the basis for the product. At our own request, we adjust the location of beads, large and small stones. It is advisable to take a photograph of a suitable option. This will make further work easier.
Many needlewomen, when making embroidered earrings, draw special patterns. The elements are given symbols so as not to get confused during the work. A photograph or diagram of the future masterpiece forms the basis. All that remains is to prepare the material and tools, and you can start making the jewelry.
Exclusive earrings - bead embroidery, master class
Let's look at the process using a specific example. Let's use black felt as a basis.Lay it out on a flat surface and secure the main element. This will be the middle of the earring. A large stone or oval rhinestones will do. To fix it, use a little glue. Then let the workpiece dry for a while. There are sewing holes on both sides of the rhinestones. Sew a transparent bead into them. Further work algorithm:
crafta.ua
- We sew the stone with silver beads, using a stitch with a needle back. We step back a little from the rhinestone and thread the needle from the inside out. We put on one bead and pierce the fabric again. We put on the second element, using a needle we make a puncture as close as possible to the previously sewn part. We go around the entire middle in a circle.
- Let's start working on the next row. Let's make it from sequins and beads. We pierce the felt from the inside out, put one sequin and one bead on the needle. Again we go around the entire circle with such analogues of colors. We place the elements as close as possible, they should touch the edges.
- We complete the row of sequins. Now we process the decoration with crystal beads. The top bead is attached strictly opposite the sequin flower. This way the row will be even. We go around the entire circle, carefully securing the parts from the outside and back.
- At the top and bottom of the earrings, in the middle, we sew two large, transparent beads. Visually they will give the product a finished look. You can use silver or white parts - it all depends on the wishes of the needlewoman.
- The result is three rows - crystal, silver beads and sequins, as well as the core of the product. Using a row of white beads, we again go around the circle, closing all the details into a ring. After completing the white stripe on the wrong side of the earring, tie the thread into a knot. The end of the thread needs to be cut.
- Now strictly along the contour we cut off the excess felt around the product. You can leave a millimeter or one and a half along the edges for trimming and stitching.
- We place the finished part on the remaining material. Using chalk or a pencil, outline the shape of the earring. It should clearly coincide with the first part. You can use a stationery knife.
- Using a needle and beaded thread, we connect the decorated and back sides. An edge overlock stitch is used here. While making each loop, add one black bead. This will create a beautiful edge.
- After both parts have been sewn, we will select the location for attaching the fastener.
- We pierce the earring at the top with a needle, after putting a couple of black beads on it.
- We string the decorative elements again and put on the clasp.
- We put the beads on the needle again and stitch it with two stitches.
- We make a strong knot with thread and cut off the ends.
One earring is finished. The second product is made by analogy. It is necessary to carefully observe the sequence of rows and the location of the beads. Both parts must be completely identical.


 0
0
