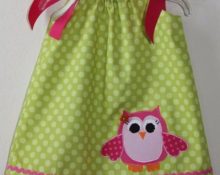
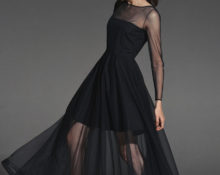
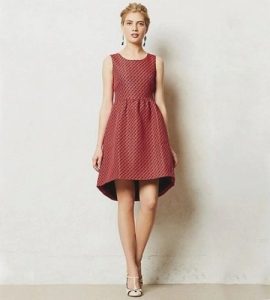
A bell dress is perfect for both a great evening in pleasant company and a business event. This outfit will highlight all the advantages of the figure and hide the flaws.
It often happens that you cannot find a dress of the desired style, color, length in stores, or you simply do not feel comfortable in it. Then you should definitely try to make such a dress with your own hands! It’s not difficult, and the result will please you every time before going out and at the event itself. Moreover, you will stand out, since the item will be exclusive.
To work, you will first need a soft and well-draped fabric. Other tools you will need are scissors, thread, chalk and needles or pins as an alternative. You also need a pattern and a compass. If the latter is unavailable, you can use a mug or other object with a round base. It will be a little more difficult, but it won’t cause much inconvenience.
Sewing the dress itself consists of two stages:
- working with the dress itself (base);
- working with sleeves.
Since making sleeves is nothing special, and there are various forms and techniques for creating them, we only have to figure out the first point of the plan.
What to pay attention to before sewing
It should be taken into account that, despite the loose silhouette of the model in this kind of dress, bell dress sizes exist and are mainly made for girls of fragile build, which emphasizes their neatness.
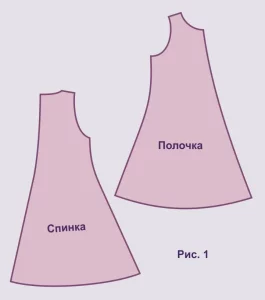
The standard set of patterns for this dress includes patterns for the front and back parts. A sketch of the patterns with marks can also be viewed.
Pattern process
Now it won’t hurt to use an algorithm that beginners should follow when making a bell dress.
To cut the fabric, you need to fold it in half and align the edges. They should be parallel to the edge of the table on which all work takes place.
Now you need to place the front and back patterns on the fabric as usual, that is, with the middle seams towards the fold and edges. Now we set aside allowances for the middle, side and shoulder seams by a centimeter. We cut out the armholes, sprout and neckline following the outline line of the pattern. Regarding the lower allowances, it is up to you to decide: some leave it equal to 1 centimeter, while others consider its length to be equal to 2 centimeters in order to equalize the length in the future.
It’s better to leave a little fabric to even out the length, since this process is typical for all skirts or dresses with a sun-shaped or flared hem.
To prevent the dress from looking disproportionate, you need to try to “balance” the product. To do this, many experienced seamstresses create deflections along the middle seams of the back and front.
As a clarification, I would like to note that the “top” and the inside of the dress are cut out the same way. Their ratio relative to each other is up to your taste. This concludes the short excursion. All that remains is to implement all the recommendations and steps outlined above. Good luck with your dress making!


 0
0

