To mend a hole in children's tights or restore a sweater whose sleeve has split along the seam to its original appearance, you don't have to go to a workshop. Such problems can be solved at home with the help of the simplest sewing accessories. We are talking about a needle and thread of a suitable color and density. It must be threaded through the eye of a needle and tied into a strong knot. Don't know how to do this? Let's study together. After all, without this, all the efforts spent on creating a strong seam can go down the drain.
How to tie a knot on a thread with a needle?
To make sewing more convenient, it is important to take a piece of thread that is not too long. Otherwise, it will constantly get confused and work will not be very convenient. In addition, if possible, it is important to use threads that are neither too thin nor too thick. It will be difficult to tie strong knots on them that will not tear or come apart.
The ability to correctly make a knot on a thread with a needle allows you to maintain an attractive appearance of clothing and create a reliable seam.After all, there is nothing worse than stitches suddenly coming apart, revealing to the world a hole in the knee. And large and sloppy knots also do not add neatness and attractiveness to the image.
Simple methods for a fixing knot
In the process of hand sewing, the thread is usually tied twice: at the beginning and at the end of the work. The first is necessary to ensure that the thread is held in the material. The second allows you to secure the created seam so that it does not diverge.

You can tie a knot on a thread threaded into a needle for hand sewing in the following ways:
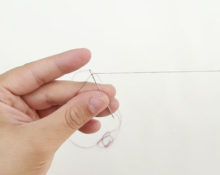
- Rolling up. The long end or both are wrapped several times around the index finger and the thumb is applied to it. With light movements, roll the threads into a ball until a loop is formed. It is removed from the finger, clamped and the end of the thread with the needle is pulled so that a small but strong knot is obtained. The remaining tail underneath can be cut off with scissors.
- Creating a temporary node. It is usually used for basting parts. A loop is made on a long thread into which the thumb and forefinger are inserted. Then they grab the thread from above, which is pulled into the loop. As a result, you get another one, only smaller. It can be easily moved down and untied if necessary.
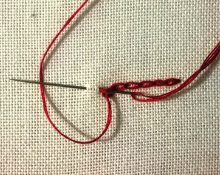
- Combined method. You can create a backstitch knot by rolling. The needle is then inserted into the tissue and pulled out to the knot. Afterwards, a stitch is made at a distance of 3 mm and using the “back needle” method, they again return to the first fixing element. A series of stitches begin from there.
Important! You can also make a securing knot using a thread threader.
Instructions: how to complete a line
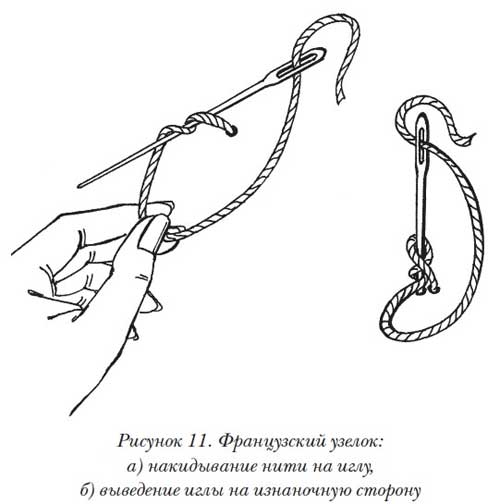
To prevent the seam from coming apart at the end of the work, it must be secured with a knot. There are several techniques you can use to do this:
- Simple knot.The thread is pressed against the fabric with your finger and made one turn around it. Insert a needle into the resulting loop and tighten the knot. The result is a reliable and inconspicuous element.
- Bonding. At the moment of laying the last stitch, you do not need to completely pull the thread out of the fabric. A needle is passed under it and tightened. If necessary, the action can be repeated.
The most inconspicuous way is to fix the stitch by creating a few more stitches. The best option would be to walk along the line with 2-3 stitches using the “back needle” method.


 0
0