For beautiful handmade embroidery or sewing, you can use original and functional stitches. They can really decorate clothes, disguise a hole, and it’s fun to hem the edge of a product using a regular needle and your talented hands.
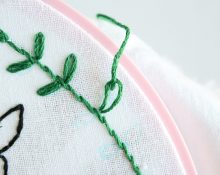
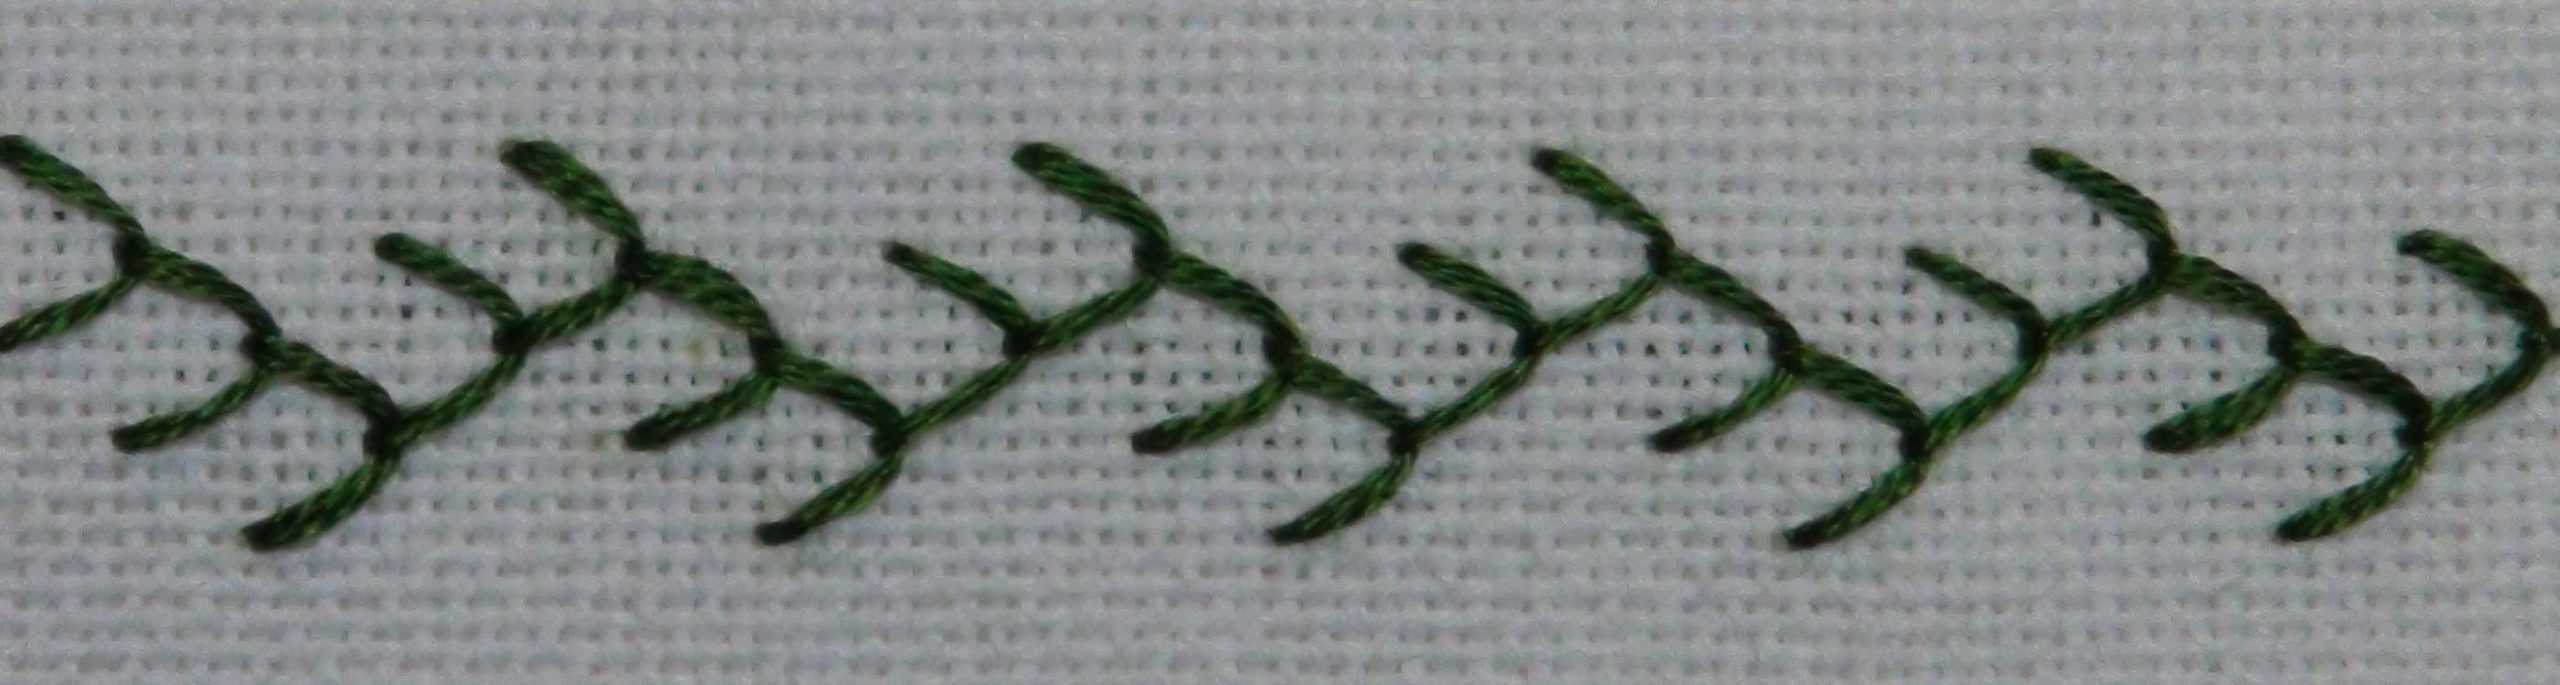
Fern
The easiest way to do it is on embroidery canvas, where there are squares for easier orientation. To be honest, it looks more like a spruce twig to me.
- We bring the needle to the front side.
- We make a diagonal puncture 2 cells down and 2 cells to the right.
- Then a horizontal puncture along the wrong side down to the left by 1 cell.
- We make a diagonal puncture - 2 to the left and 2 to the right.
- The next puncture is 1 square below the place where the needle was originally withdrawn.
- Repeat steps 2–5.
Attention! From the wrong side, you can secure the thread simply by tying a knot or, holding the end, later fix it with other stitches.
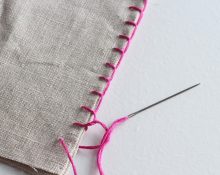
Looped
This is the simplest the seam for processing the edges of things, a kind of manual overlock.
- Fasten the thread and bring it to the front side.
- Make a puncture, retreating 4-5 mm from the edge, throwing the thread onto the needle. After pulling through, a loop is formed; continuous stitches run along the edge of the fabric on the side. On the front side you get identical vertical stripes, equidistant from each other.
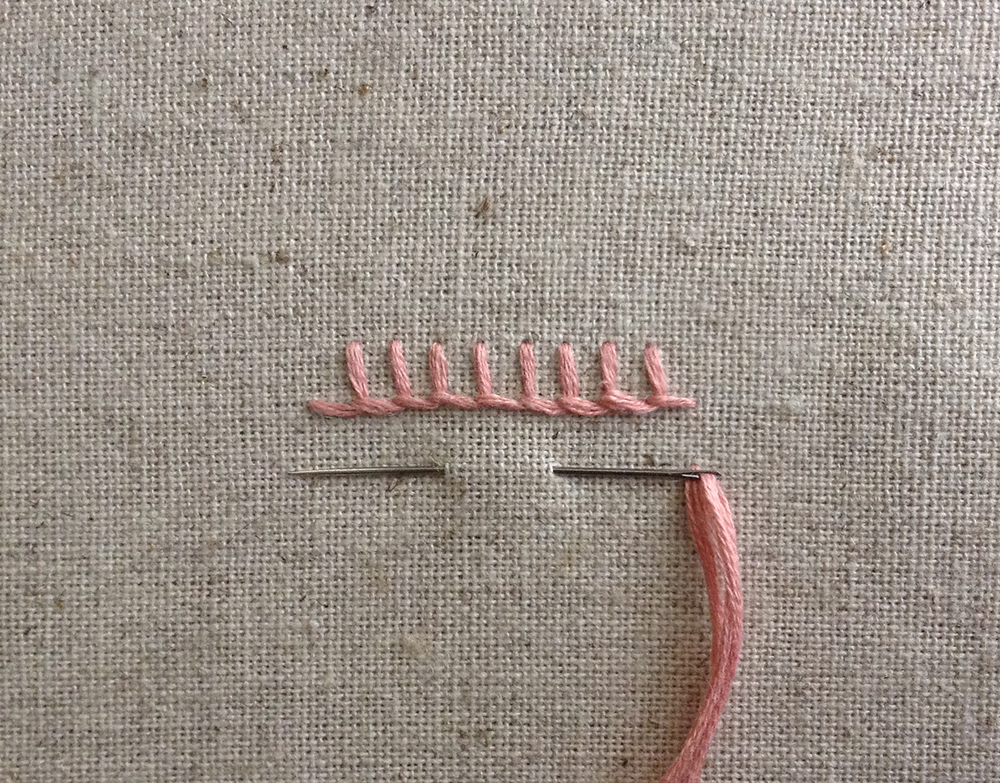
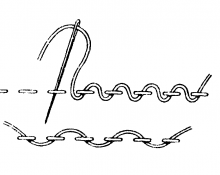
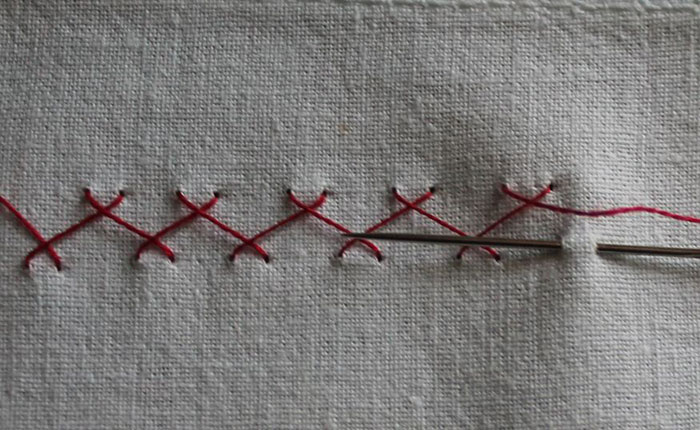
Goat
It can be used both as a decorative stitch and as a hemming stitch; it perfectly imitates an overlock stitch. The fabric is folded only once for this purpose. It is advisable to choose fabric for this seam that does not fray at the cut site.
- We insert a knot from the back of the hem, the thread is pulled out.
- The needle is inserted above the hem and to the right of where the thread exits onto the front, the thread is held at an angle.
- A stitch is made from right to left to the required length.
- With a mirror inclination of the thread, the needle is inserted to the right in line with the point of the first thread exit (with a knot), two layers of fabric are pierced.
- The needle is inserted to the left of the last puncture to the same stitch length as in step 2.
- Steps 2–5 are repeated.

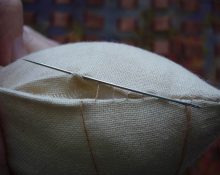
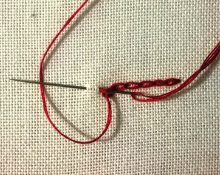
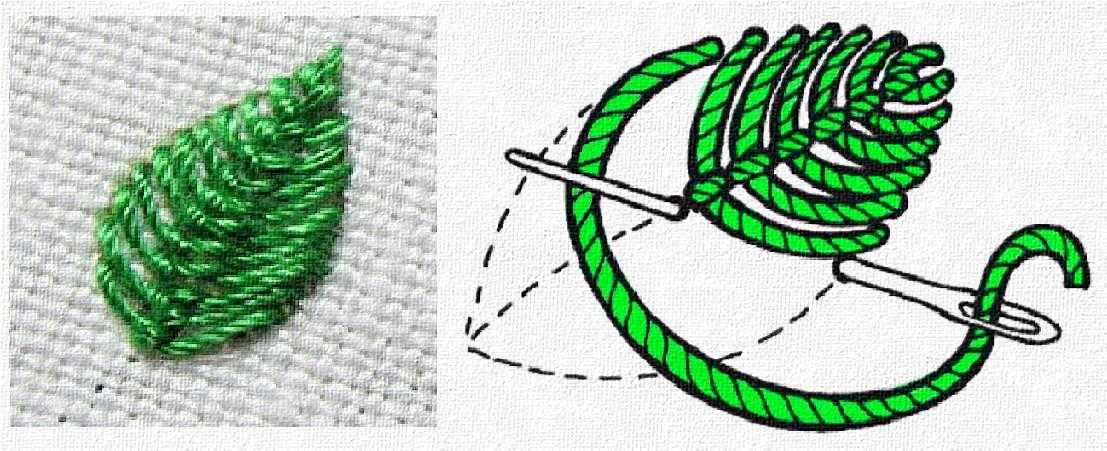
fish skeleton
Ideal for embroidering leaves. It is advisable to draw the borders of the leaf with a pencil before starting embroidery.
- The needle is brought out to the front side at the top of the leaf.
- Then it is inserted down along the imaginary center line of the leaf, output at a point located just below the top of the leaf on one of its sides.
- We insert the needle into the opposite part of the sheet, with approximately the same distance from the top, and bring it out below the puncture along the center line of the sheet. At the same time, the thread falls under the needle - a half-loop is formed.
- The thread is secured - insert the needle just below our half-loop, and bring it out towards the sheet.

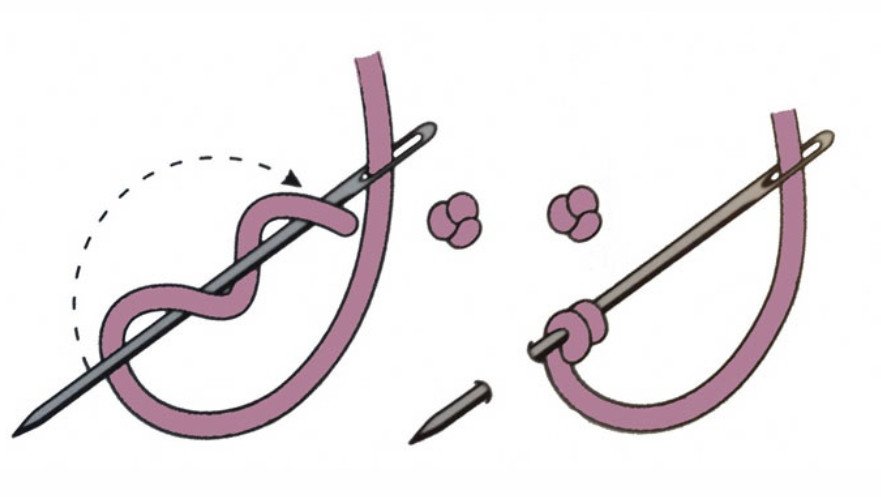
French knot
Purely decorative element. It protrudes slightly above the surface of the fabric, serves to highlight the core of the flower, primitive eyes, and when placed close to each other, it resembles curly hair.
- The needle is brought to the front side of the work.
- With the hand free from the needle, the thread is wrapped around the needle 2 times.
- Perpendicular to the tissue, the needle is inserted near the exact exit.

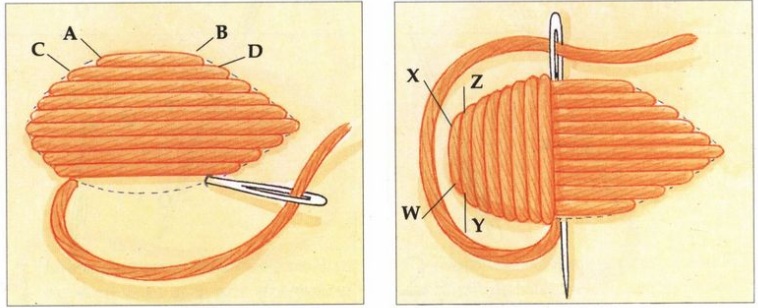
Flooring
Similar to the previous one, can be used to imitate leaves.
- Two straight stitches are made next to each other.
- The thread that will wrap around the main stitches is brought out to the front side near one of them.
- The needle is pulled under the first stitch and at the same time over the second, after turning around it is repeated in the opposite direction. This continues until the end. The fabric is not pierced. An element rises above the work.

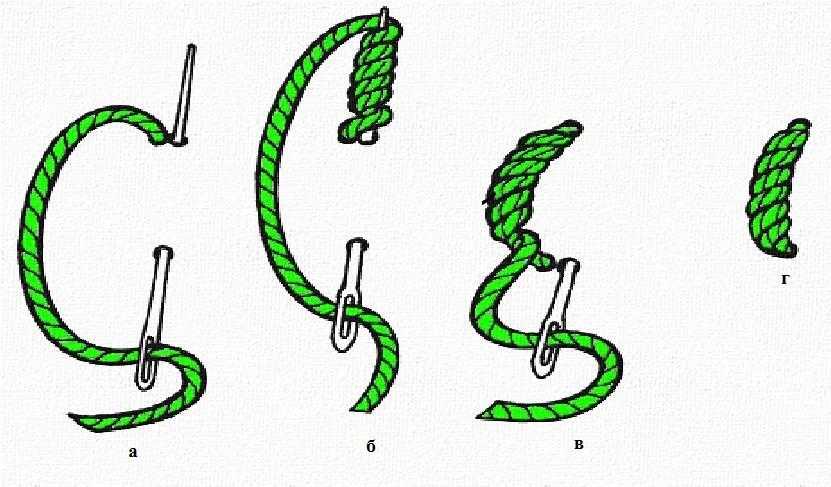
Rococo
The thread wraps around the needle several times. A volumetric element comes out. He is not easy to work with, but the result is worth it. Imitates wool, used in embroidering rose petals.
- The thread is brought out to the wrong side, a stitch of half a centimeter is made, returning to the exit point inside out, the needle is not pulled out.
- The needle is wrapped around the thread the required number of times, then it is pulled through the fabric and wrapping.
- To secure, insert a needle into the beginning of the stitch. The wrap is distributed evenly across the fabric between stitches.

Decorative mesh
Suitable for quick and original design of large elements.
- Sew the entire space of the form with straight vertical stitches of suitable length with equal indentation.
- Stitches are made in the horizontal direction using the same principle.
- To attach a pattern to the fabric at all intersections of the thread, a cross is made. It looks more interesting if you do it in a contrasting color.

The seams described above are not just beautiful. Some of them are extremely functional, while at the same time looking presentable and neat.The technique for making these seams is not complicated, you just need to practice your hand and your sewing will acquire a special charm.

 0
0