With all the variety of modern sewing techniques, the ability to sew by hand remains basic and still necessary in the world of needlework. Large items, of course, are better and easier to sew on a sewing machine or using a more specific technique. But minor repairs can be entrusted to skilled hands who know basics invisible (or hidden) seam.
Features and Benefits
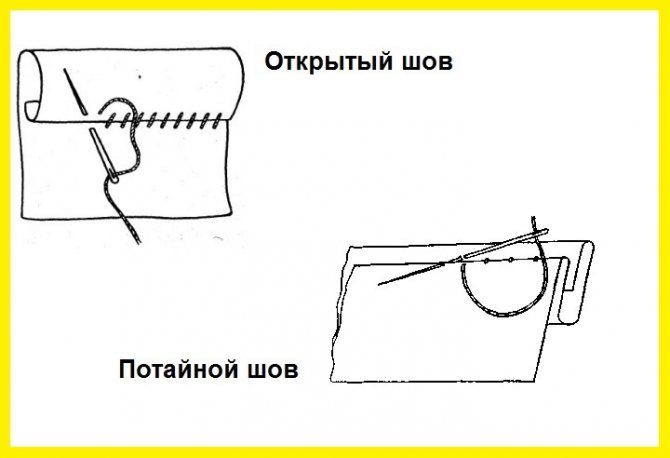
This seam is used for sewing up holes, shortening the bottom of items, for working on toys, as well as for joining and repairing elements of knitted items. The essence of this seam is to insert a needle into the fabric from the front side of the fabric in a special way, so that as a result the thread is hidden on the wrong side.
Varieties
There are several hidden seams, slightly different from each other. They are used for repairing or sewing small items, although with due perseverance and skill level it is possible to process quite large items with their help.
Advice! If possible, it is better to iron the parts by bending the allowance.It is also advisable to take a thread that best matches the color of the fabric. To prevent the seam from unraveling, you need to make a knot in a convenient way for you at the end of the thread threaded through the needle.
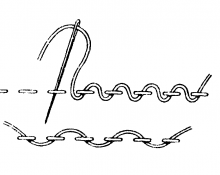
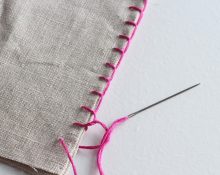
Ladder
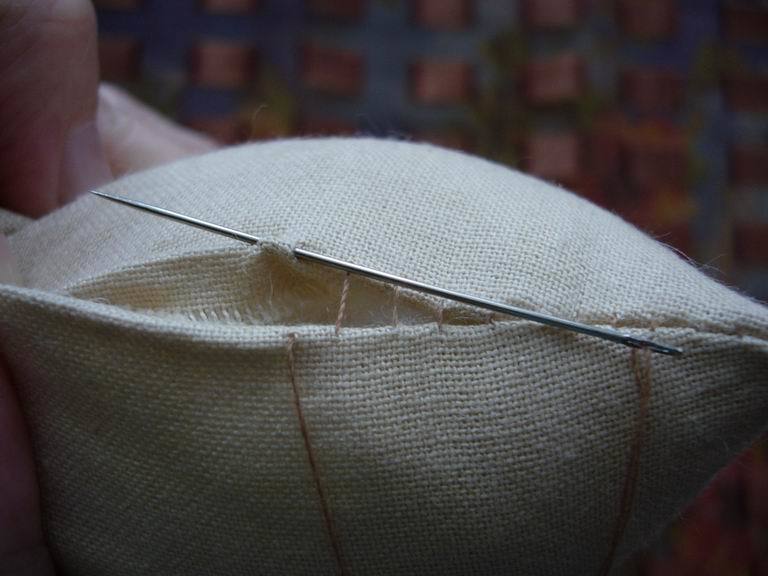
It's simple and quick to do, a fairly universal option. It is perfect for cases when you need to sew something up at the seam or connect some parts together. The seam is literally designed to sew lining to outerwear. It is also perfect for masking the last hole on the toy, which remains when you turn it right side out and where the filler is placed.
- The needle is inserted into the fold of the fabric at the seam allowance. If this is sewing up a small hole in a finished part, the needle is inserted next to the last stitch.
- The bends at the edges of the elements of the product must be pressed against each other and the needle must be inserted alternately into one or the other. The puncture on the second should be made opposite the place where the needle came out on the first bend.
- For more uniform seams and faster work, it is better to pierce one of the bends, withdrawing the needle in it after 0.3–0.5 cm and then moving to the second. So you need to move to the end of the hole or part.
- It is recommended to complete the work by securing the thread. To do this, I usually insert the needle into one of the stitches, pull the thread not all the way through, forming a loop, and go into it with the needle twice. This results in a more reliable node.
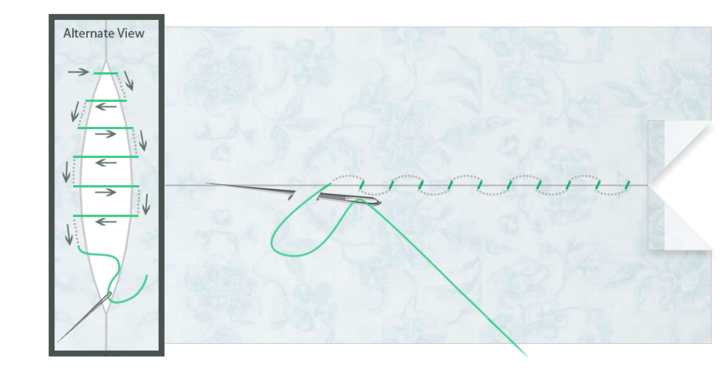
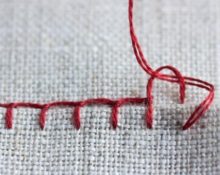
Hemming
The purpose of this type of hidden seam is easy to guess from its name. It is used for hemming trousers, skirts, and any similar processing of the bottom of the product. You can choose a drawstring this way. For example, at the waist of a dress by inserting an elastic band into it.
- To hem the bottom of the product, it is advisable to bend it to the desired length and iron it. Then fold the edge inward and iron again.Further work is carried out from the inside of the product.
- Having received a neat hem, we insert a needle with matching thread and a knot at the end from the inside into the edge of the hem, “looking” inward.
- On the main fabric we grab only a few top threads next to the hem.
- We insert the needle into the rib in the same place where it came out in the previous step. Having advanced in it to the required stitch length, remove the needle and repeat the steps. So we move until the end of the work. There are no stitches visible on the front side of the product.
Important! It is necessary to carefully monitor the thread tension, otherwise the hemming manipulations may be noticeable on the “face”.
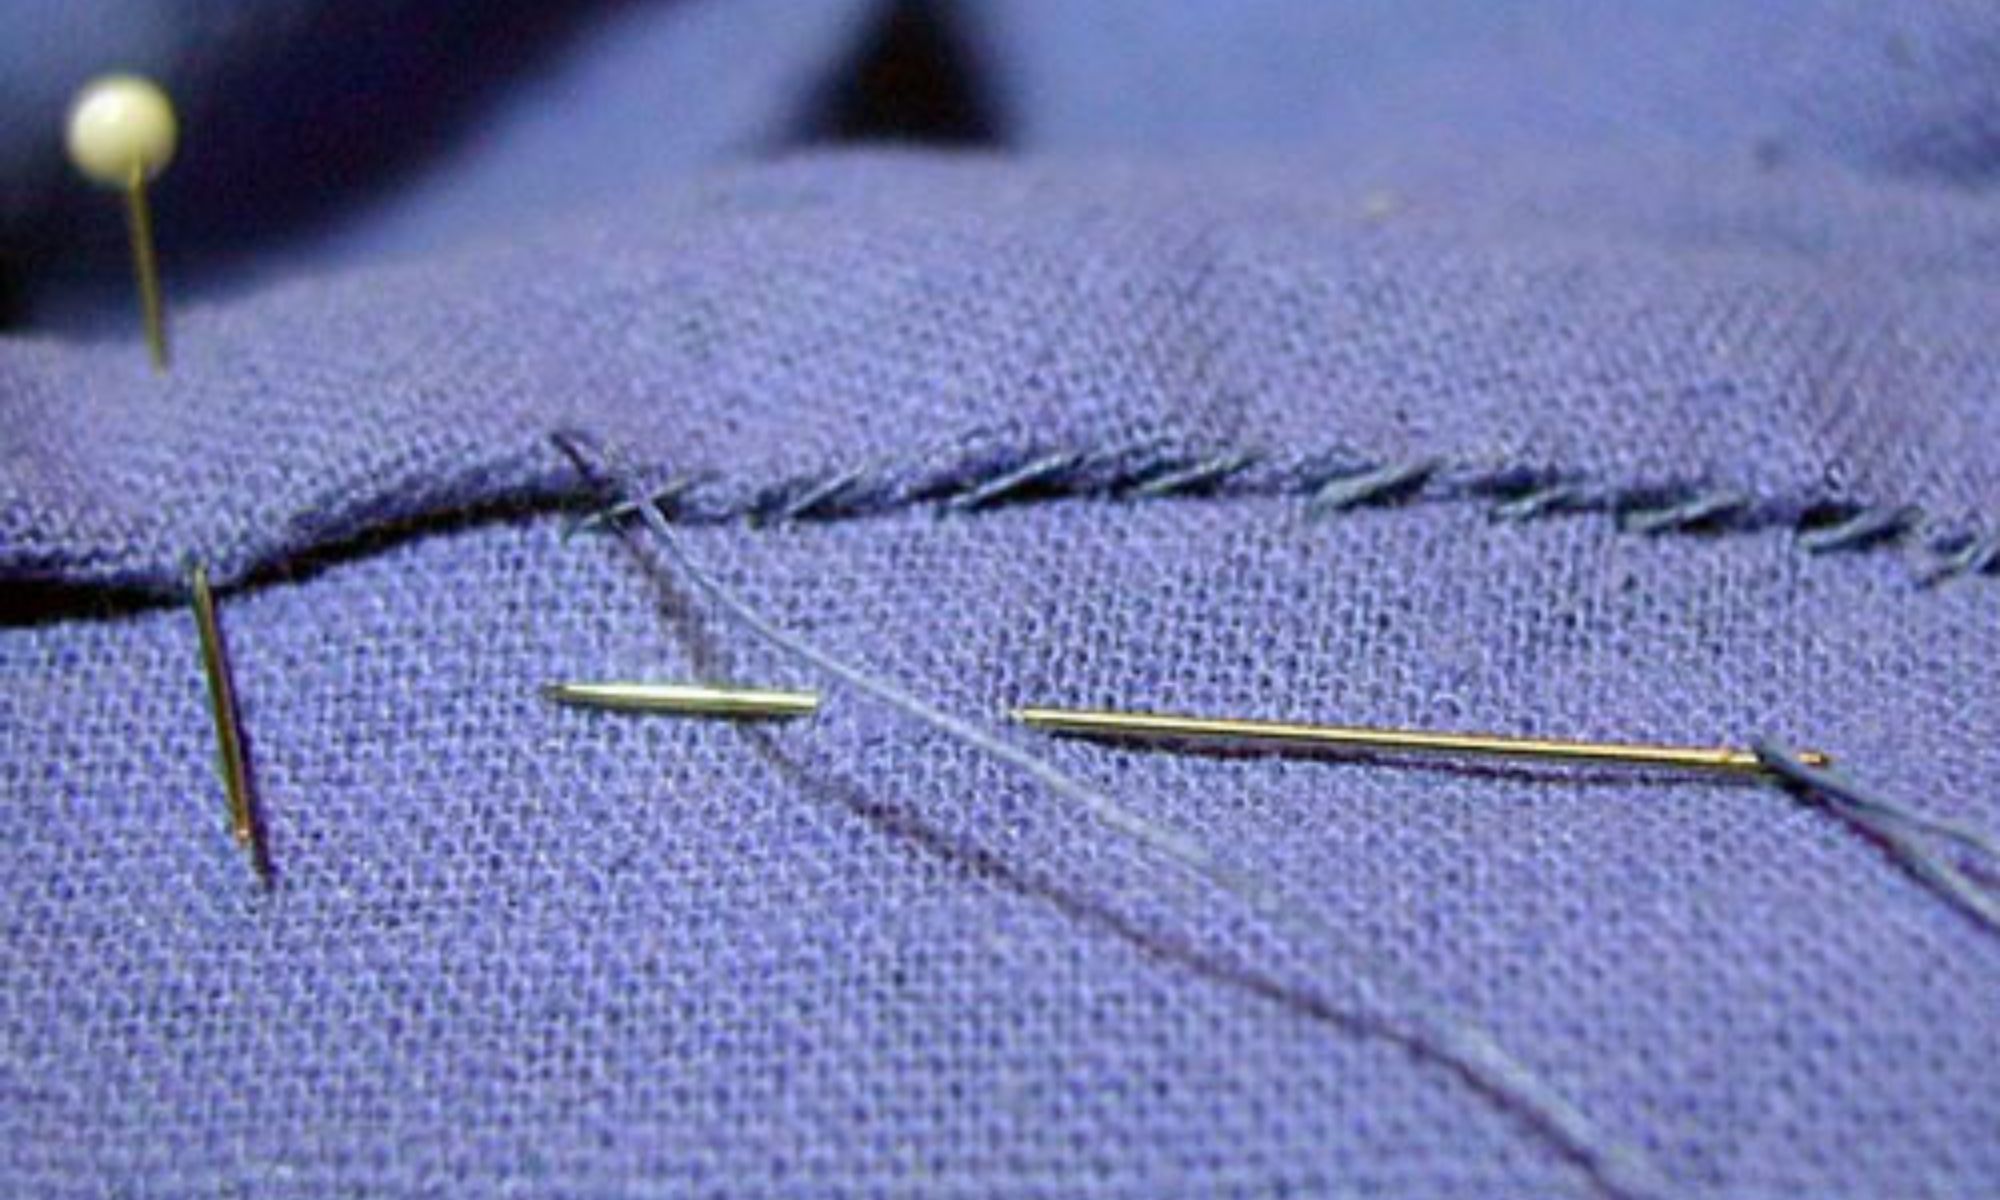
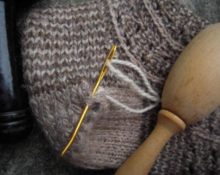
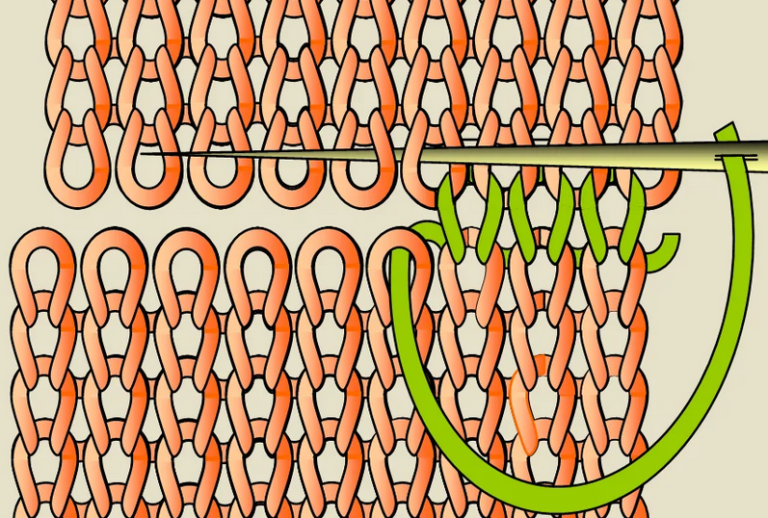
For knitwear and knitwear
The main thing when holes form on knitwear or woolen items is to react in time and have time to eliminate them. This is especially true for knitted fabric, because... holes they crawl on it in the blink of an eye.
- We bring the torn threads to the wrong side of the product.
- Having selected the thread in color, its end is either tied to the broken thread, or secured to the “surviving” loop closest to the edge of the hole (knitted fabric consists of loops).
- From the “face” of the product, the needle is inserted into two loops on one side of the hole, then into two on the opposite side.
- This way we get an additional row of knit stitches from our thread. These manipulations are carried out until the end of the work. The main thread is secured on the wrong side.
Hand stitches will save the needlewoman more than once in different situations. The types of hidden seams described today will help you repair or adjust an item quickly and reliably in situations where sewing equipment is powerless in dealing with small delicate issues.
 0
0