There are a lot of techniques in sewing that have been proven over decades, and one of them is processing the neckline with bias tape. It is needed so that the fabric in this place does not stretch more than necessary and holds its shape well. You can purchase a ready-made part or make it yourself.
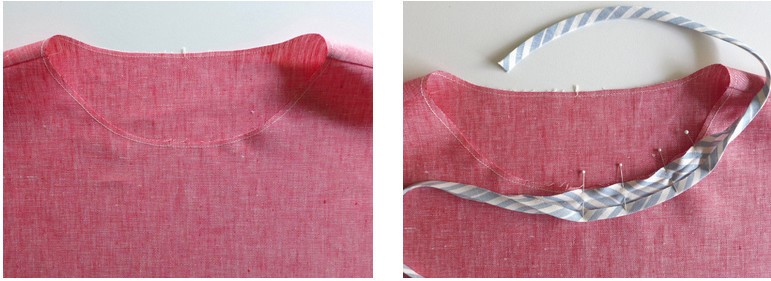
Features of processing the neck with bias tape
This is a fairly simple method, which, however, must be done carefully. A special plus is that you can easily make bias tape yourself. And not necessarily from the same fabric from which the product itself is sewn. The combination of generally assorted materials looks very interesting. But, of course, the modern clothing industry offers a lot of ready-made options, varied in color and texture. What exactly to use in each of the works is decided by the craftswoman herself.
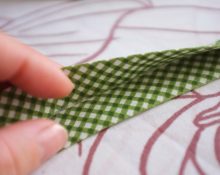
Required for careful sewing For bias binding you need to use an iron. Moreover, it is extremely desirable during preparatory processing, ironing, to give it the shape of a neck.At the same time, the bias binding will sit where necessary and stretch somewhere, often forming a semicircle. The standard width of this element is about 1 centimeter when folded. The factory version is already folded in half with the seam allowances folded inward on both sides and ironed on the fold. When making it yourself, you need to cut the part 3.5-4 cm wide.
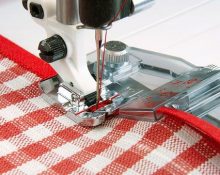
Advice! Today you can buy an interesting foot for a sewing machine that is specifically used for sewing on bias tape. This tape is tucked into it on both sides and sewn to the product with one seam.
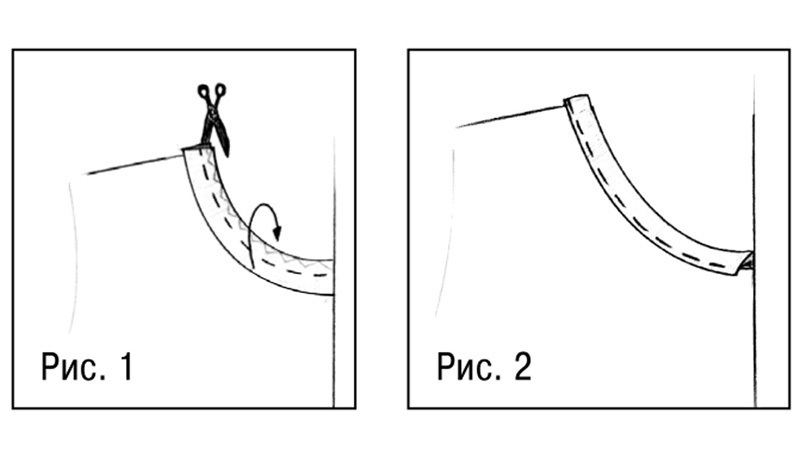
How to Sew Bias Trim to a Neck: Step-by-Step Process
But if you don’t have such a foot at hand, you can safely process this part with a universal one. This will turn out even more accurately, because you will have complete control over the process. And also working with a simple foot will allow you to sew it from the inside out, making painstaking selection of parts to match unnecessary. Consider this option of sewing bias tape to the neckline.
- Prepare the part by ironing it and giving it the required shape.
- Machine stitch along the neckline. This step will make the cut less stretchable, which is especially important for too “mobile” tissues.
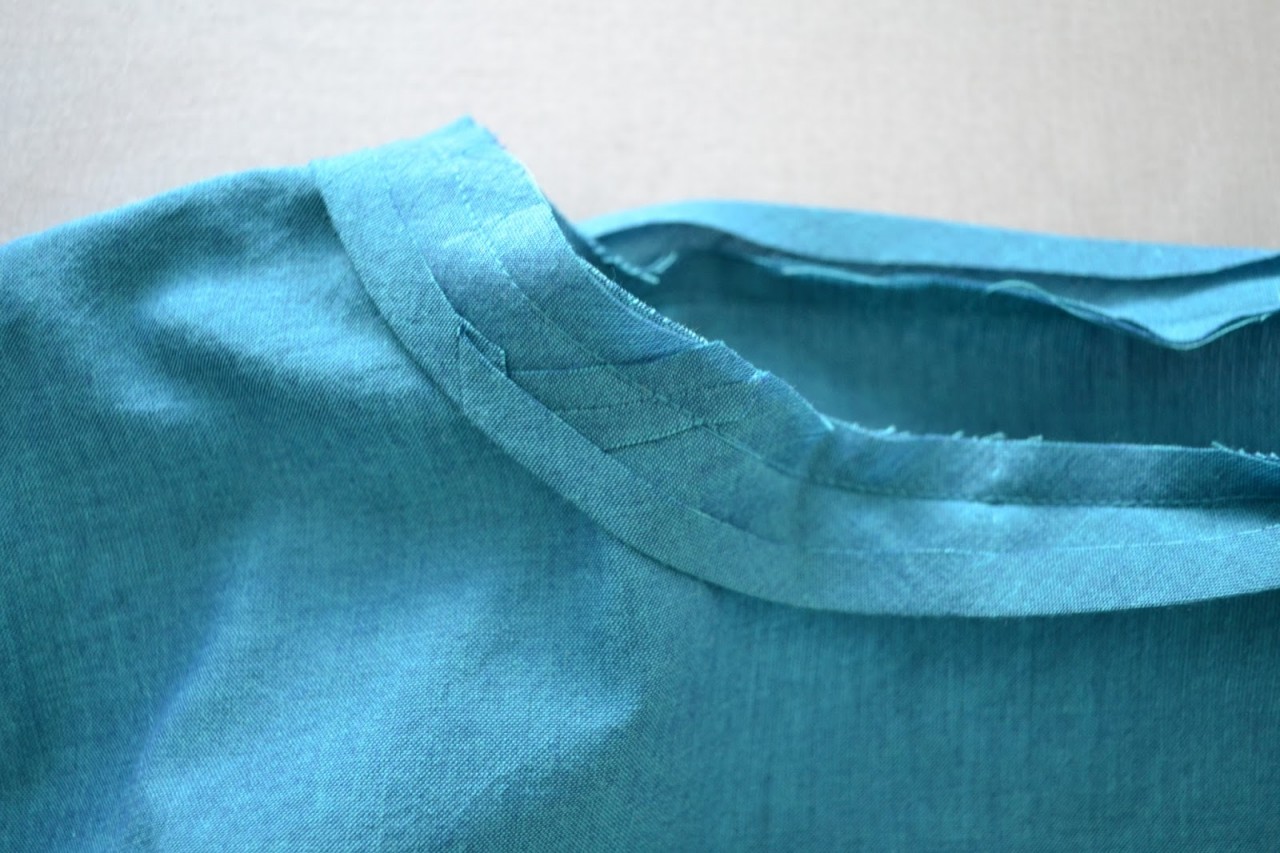
- Apply tape to the neckline and baste in the place where the marking line was made. At the same time, its fold bends, and the seam fits exactly into it.
- We grind the detail. The line should lie close to the basting line, which is immediately removed after stitching.
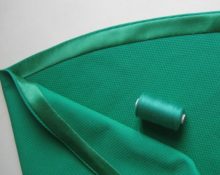
- Fold the binding inside out of the product, baste it so that a transitional edge is formed, then iron it.
- Secure the inner edge of the part with a blind seam manually. Or, as a more popular option, stitch it very close to the edge.
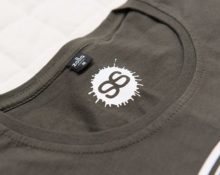
Attention! When using the binding in a more conventional version (when it is not hidden inside out), it is stitched on the wrong side, then folded over to the front side and attached there. This is an ideal choice for sheer fabrics, organza or chiffon, if you need to highlight the neckline with a contrasting detail or if you are cutting it yourself.
@m.123ru.net
Useful tips
The trim is called such because it is cut from the fabric on the bias - at an angle of 45 degrees. That is why it is much less stretchable than if it were made from a straight cut. To make working with the neck easier, I will give a few tips that I use myself:
- To iron the part, giving it a shape as similar as possible to the neckline, you need to trace the cutout of the product on a sheet of cardboard and lay out the bias tape along one edge along the resulting contour and iron it. For good fixation, you can attach it to the cardboard with pins and let it cool completely.
- In fact, the exact width is not regulated anywhere. I find it very convenient to cut the binding on the fabric, determining the required dimensions using a ruler. I fold a square piece of material into a triangle, align the edges, iron the fold, then, unfolding the fabric, apply a ruler to it from the inside. I trace it along. And by rearranging the ruler, aligning it along the previously outlined border, you can cut out the required number of these parts.
- To connect the cut pieces of bias tape, you need to align their edges at right angles, then put one piece on top of the other face to face, turning one of them 90 degrees (i.e., a right angle is formed from two lines). The line is laid diagonally from one corner, obtained by applying one piece of tape to another square, to the opposite corner. The resulting “tail” of triangles needs to be cut off.
Processing the neckline in this way is, of course, not useful in all cases, but it often helps when working with highly mobile fabrics or thin, transparent ones. This is the easiest way to make a neat neckline if you know the intricacies of working with this element. You can cut it out yourself, or buy a ready-made version - it all depends on the effect that the craftswoman wants to achieve.


 0
0