creativecommons.org
Panel "Seasons" – This is a great way to introduce your child to nature, weather and the seasons in a playful way. The most popular versions of a developmental composition are a model of a clock or a tree. For kids, the clock is divided into four parts, each of which depicts the characteristic features of the season.
For older children, the task can be made more difficult. All twelve months can easily fit on the dial. It is enough to come up with several associations with each of them. There is a hand in the middle that rotates like a watch. The child moves it, it stops at a certain month. Based on the indicated signs, he needs to guess what fell during the month.
Panel «Tree» more made for kids. It’s quite difficult to fit twelve months on it; it’s easier to limitthere are seasons.
Panel “Seasons” for kindergarten - description, examples
This is an educational game that has recently been actively used in all children's institutions. Its advantages:
- the child develops a general understanding of how the seasons change and how they differ from each other;
- the baby begins to watch the weather and its changes with interest;
- respect and love for plants, animals, and nature in general is formed;
- the game promotes the development of fine motor skills through the use of small objects on the board;
- RThe baby’s vocabulary expands, he gets acquainted with basic facts O everyohm seasone;
- atAn attractive activity with panels contributes to the development of spoken language, horizons, attention, and memory.
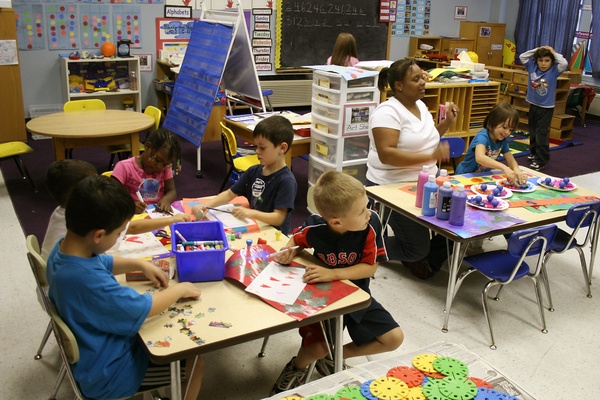
There are many examples of the game. In the format of a clock, a tree, a globe or a book, each season can be described sequentially. For this, various stickers, materials, figures and other decorations are used. It is important that the child can touch them, hold them in his hand, and examine them. To make the “Seasons” tree you will need:
- several multi-colored gouache or watercolor paints and brushes;
- a set of white napkins;
- adhesive stick or stationery glue;
- paper knife, scissors;
- several simple pencils;
- old newspapers for preparations;
- thick cardboard - two sheets. The size depends on the size of the panel.
creativecommons.org
Tree panel “Seasons” for kindergarten: how to make it yourself
We will look at what a paper panel manufacturing scheme looks like. But there are other variations. A cardboard tree can be covered with a special fabric so that objects with Velcro can be attached to it. This will make it easier for the child to remove the toys and return them. You can use regular fabric. Make small slits in it for some decorations on hooks.The baby will be able to pull them out, play with them, and hang the objects in place.
A paper panel is easier to make. Items are mainly laid out on a circle. Some plasticine figures or small toys can be leaned against the trunk. How to make a paper game–tree:
- To create a model of the tree, we will use old newspapers. It is enough to draw two identical sides of the tree.
- Cut out shapes from newspaper and attach them to cardboard. Carefully trace with a pencil and cut out the cardboard trees along the drawn lines.
- We conditionally divide each fragment in half with a vertical line, draw it from the beginning of the trunk to the top of the head.
- We cut one part along the line from the bottom to half, the other fragment - vice versa. We start cutting from the top, moving also to half.
- We connect the two blanks by inserting them into the slot. We get a tree divided into four parts.
- We make the base in the shape of a circle. It should be proportional to the tree. We fix the figure in the center of the circle. To make the layout durable, you need to apply glue vertically and horizontally along all the joints.
- We dilute the glue with a small amount of water. We glue napkins to all surfaces. The cut area should not be noticeable. For receiving the relief structure of the foliage on the tree, the trunk and the surface around it, we crumple the wet wipes a little during the gluing process.
- We leave the layout to dry for a couple of hours.
- Using paints, paint each quarter in the appropriate color. For autumn we choose yellow, orange, brown tones. Spring – a mixture of white and soft green; you can add snowdrops and tulips. Winter in cold shades of gray, blue, white. We make summer bright, yellow, green, blue.


 0
0