Oven mitts are an indispensable item in the kitchen. Even trendy designs and decorations cannot do without such a practical and convenient accessory. After all, where they cook, such an item will undoubtedly come in handy. And for lovers of crafts and handicrafts, we offer you to decorate the potholders with your own hands. At the same time, it is not necessary to spend money on fabric and filler. You can make everything from scrap materials.
How to sew oven mitts for the kitchen with your own hands
The textile industry has long stepped forward and offers various accessories and kitchen supplies for purchase. But a handmade thing is much nicer: it is a pleasure to use it, knowing that the work was not in vain.
We suggest involving children in production. For them this process will be exciting and interesting.
Materials for manufacturing
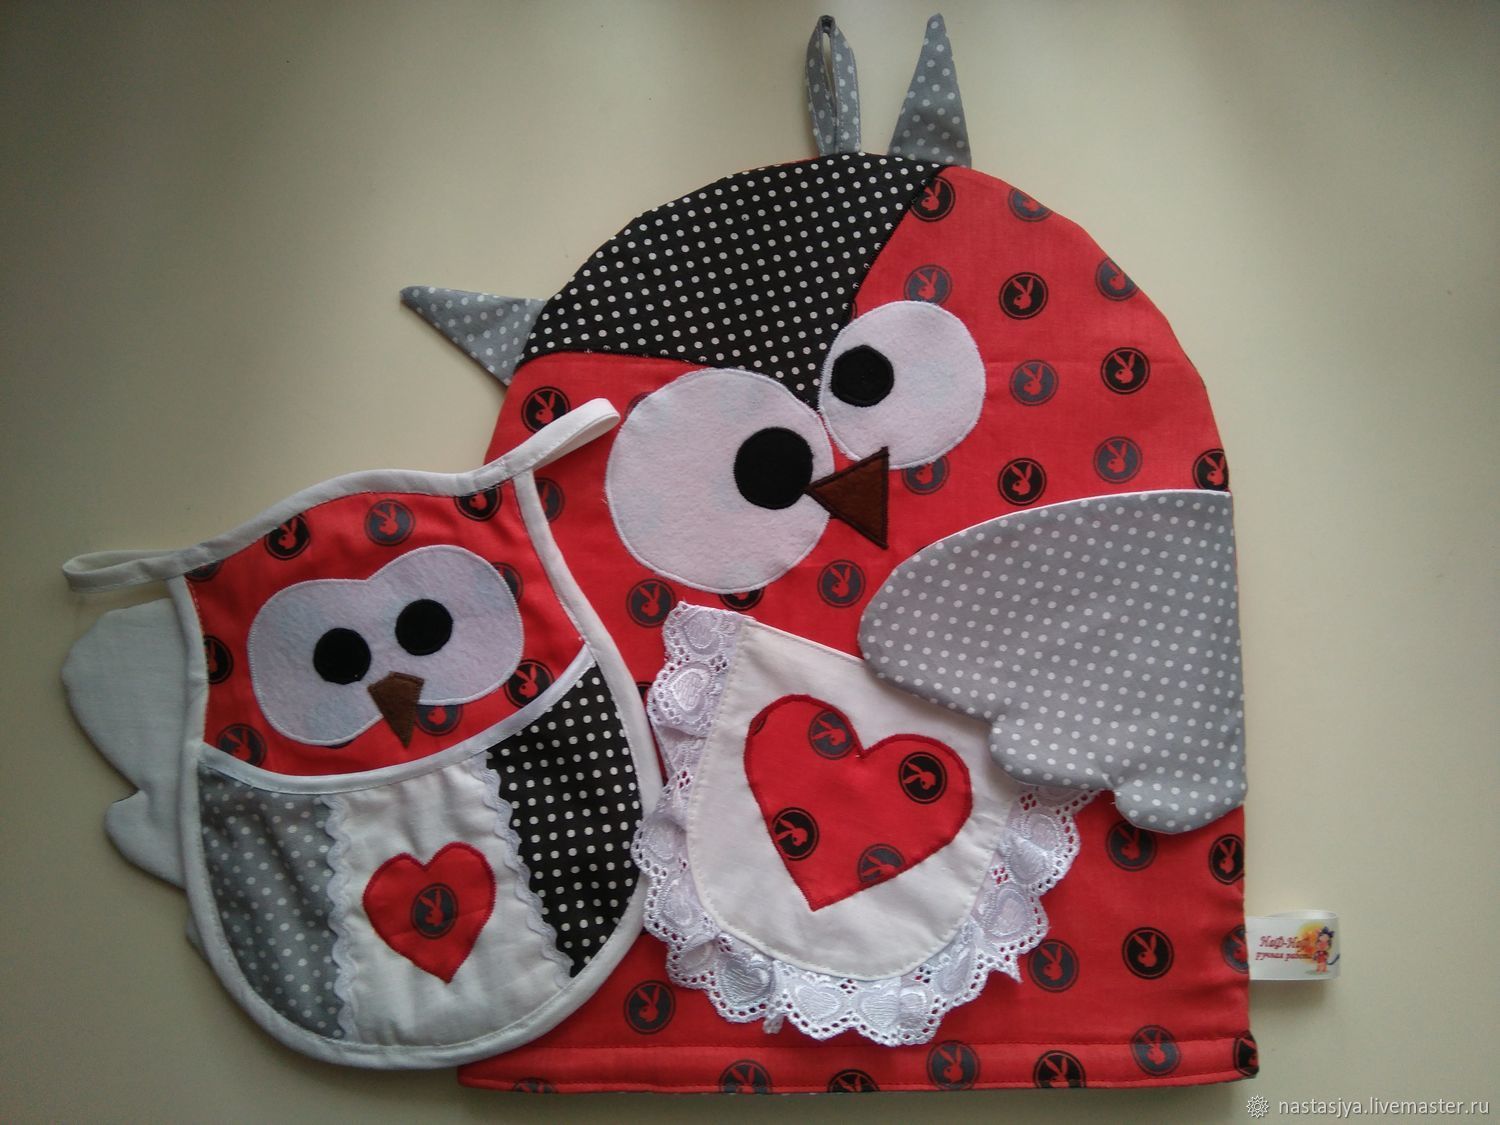
For the outer shell of potholders, natural fabrics are usually chosen - chintz, cotton, linen. The thickness of the filler is usually 3–4 mm.It is made from felt, cloth, padding polyester, batting, felt and other fabrics.
It is allowed to use old and unnecessary household products. For example, fold a piece of a leaky blanket into 4-5 rows and sew according to the pattern. Thick enough to avoid getting burned when working with hot surfaces.
Depending on its shape, it performs certain functions. The glove is convenient to put on your hand and remove pots from the fire. And on square products or those made in the shape of a heart or star, it is convenient to place hot dishes.
Tools and related materials
The work does not require any special equipment other than a thread and a needle. It's good if you have a sewing machine at home. In this case, the work will go faster. Old buttons, beads, openwork or satin ribbons, embroidery and much more are prepared for decoration.
Creating a pattern
The shapes of the potholders are not very subtle, so anyone can draw them on thick cardboard. Choose a sketch that is closer and more attractive. Create a design on paper and then transfer it to fabric.
For one potholder you will have to make six blanks. Two of them are cut from thick fabric for external decoration, and four are for internal filling. Check that the template parameters match and there are no discrepancies.
DIY kitchen mitts
Having prepared everything necessary, we get to work. Act carefully and carefully so that the product turns out smooth, reliable and does not crumble after several weeks of use.
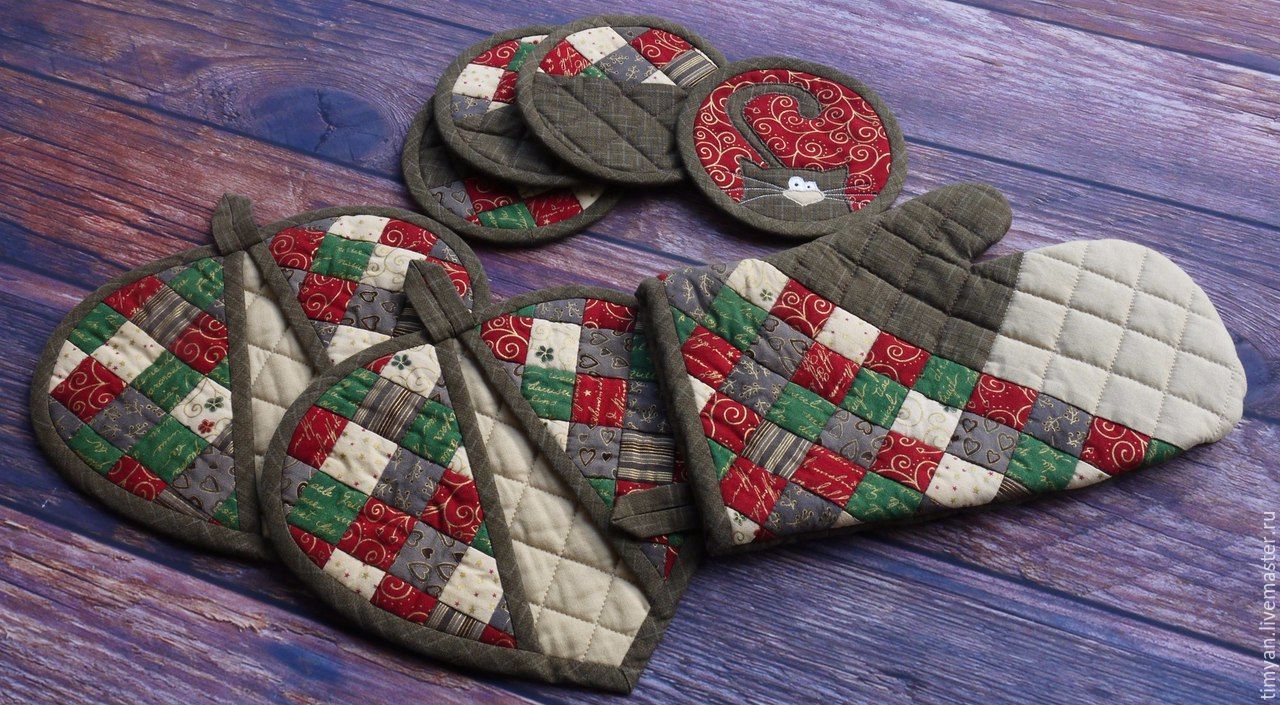
Mitten
You will need to draw a pattern on cardboard and cut out six blanks. We recommend combining two pieces of padding polyester with a pair of cotton templates for finishing the inside.On the outside they use bright fabric with ornaments.
Having folded the cuts together, fasten them with pins, then sew them together and stitch them on a machine. The potholder is ready. You can decorate it with openwork or satin ribbons, ruffles and other decorative elements.
Square
The simplest option that is available to everyone. It is enough to cut four pieces of fabric and also connect them with pins. Check that the edges line up evenly with each other, then the potholder will be nice and neat.
Sew the napkin on three sides, turning it inside out.
Then place the workpiece on your face and iron it with an iron. Then fold a loop from the remnants of the fabric and sew it in, sewing the fourth side in parallel using a machine. The product is ready for use. You can additionally decorate it with a thin satin ribbon edging.
Heart
This potholder looks original and very cozy. Cut out two hearts from pieces of fabric, using a thick cardboard stencil as a guide. Similarly, separate the felt to fill the pot holder when sewing.
Next, fold the “sandwich” of the prepared cuts into the finished product and place stitches along the edge. Then stitch in the center. It will make it possible to conveniently use the potholder, bending it if necessary.
Take another fabric and cut out two more blanks. Then divide them in half. Place the pieces next to each other and sew with several lines along the outline and in the center. A thick tape edging wouldn't hurt. Next, place the blanks on the heart.
It is important that the bottom edges of the fabric do not meet each other. The distance is about 0.5–1 cm.
Sew the finished heart with a machine stitch, securing the edges. Remove any excess fabric that extends beyond the seam outline. Make the decoration in the form of a thick ribbon. The potholder is ready for use.
Butterfly
Draw a template for the future product, measuring its shape with the size of your own hands. Next we proceed according to the scheme:
- transfer the design to the prepared fabric;
- cut out six parts, two of them are the body of the insect, four more are the wings;
- Separate the padding polyester in the same way, making three pieces in total;
- fold and stitch the main body of the butterfly, first filling it with felt or padding polyester;
- sew the wings on a machine and secure the inner line of the wing on the wrong side;
- fold and sew the parts together;
- make the edging in the form of a thick binding.
You can additionally form decorative antennae. Form them from thin ribbon or braid.
Patchwork style
A fairly simple option that even a beginner can implement. To create such a potholder you will need at least two colors of fabric. You can use leftover material that was previously used in crafts.
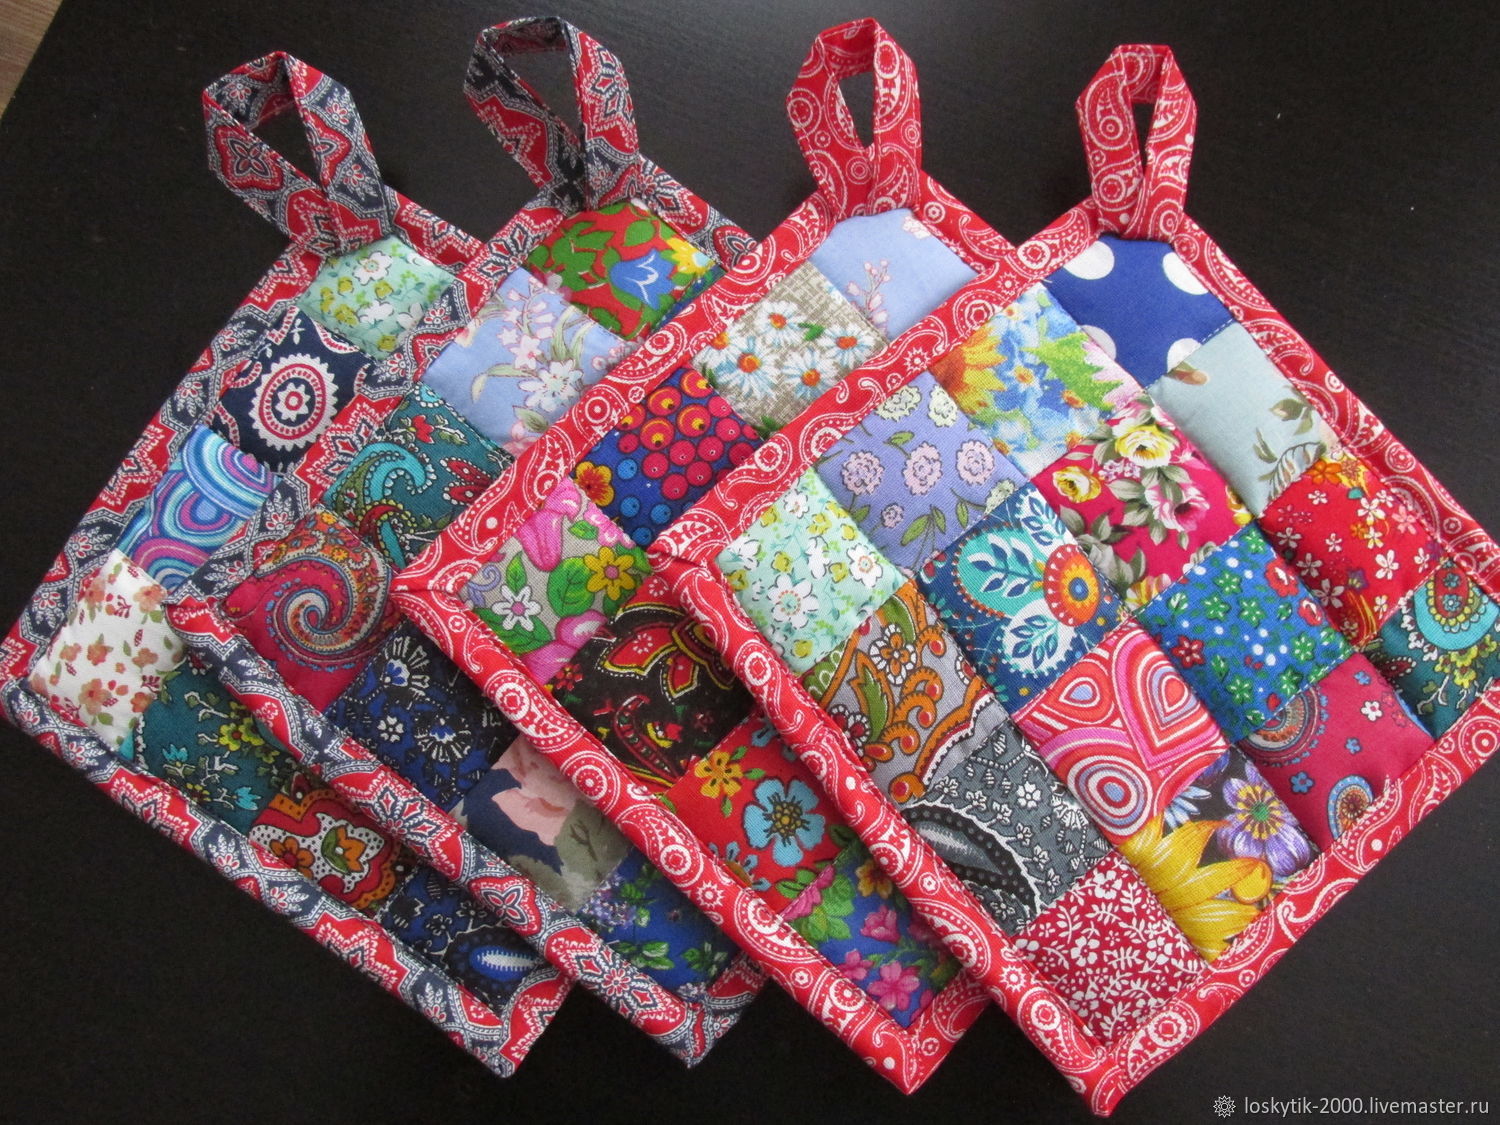
We cut out a template from cardboard - a square with sides of 7 cm. We separate pieces of fabric from it; 18 elements are needed. Lay them out on the table surface and turn them face down.
Next, we stitch together “for profit” in strips of three squares. We sew on the machine and fasten them together, getting a square of nine pieces. Turn over and iron thoroughly.
Then we sew one of the sides, fill the potholder with padding polyester and sew along the remaining straight lines of the napkin. We cut off the excess fabric at the allowances, decorate the edging with bias tape and form a loop. The product is finished.
DIY oven mitts will decorate any kitchen and will help when working with hot dishes during active cooking.


 1
1
