creativecommons.org
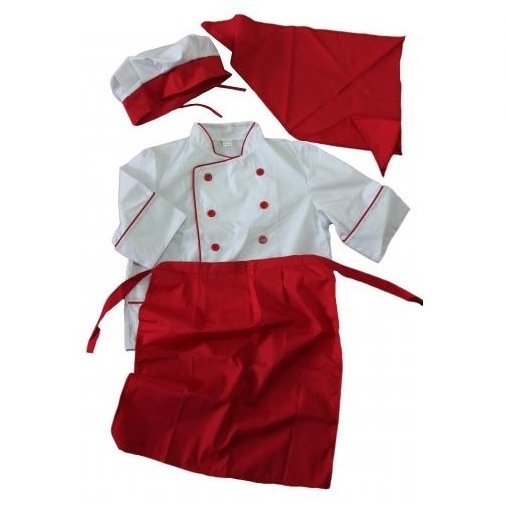
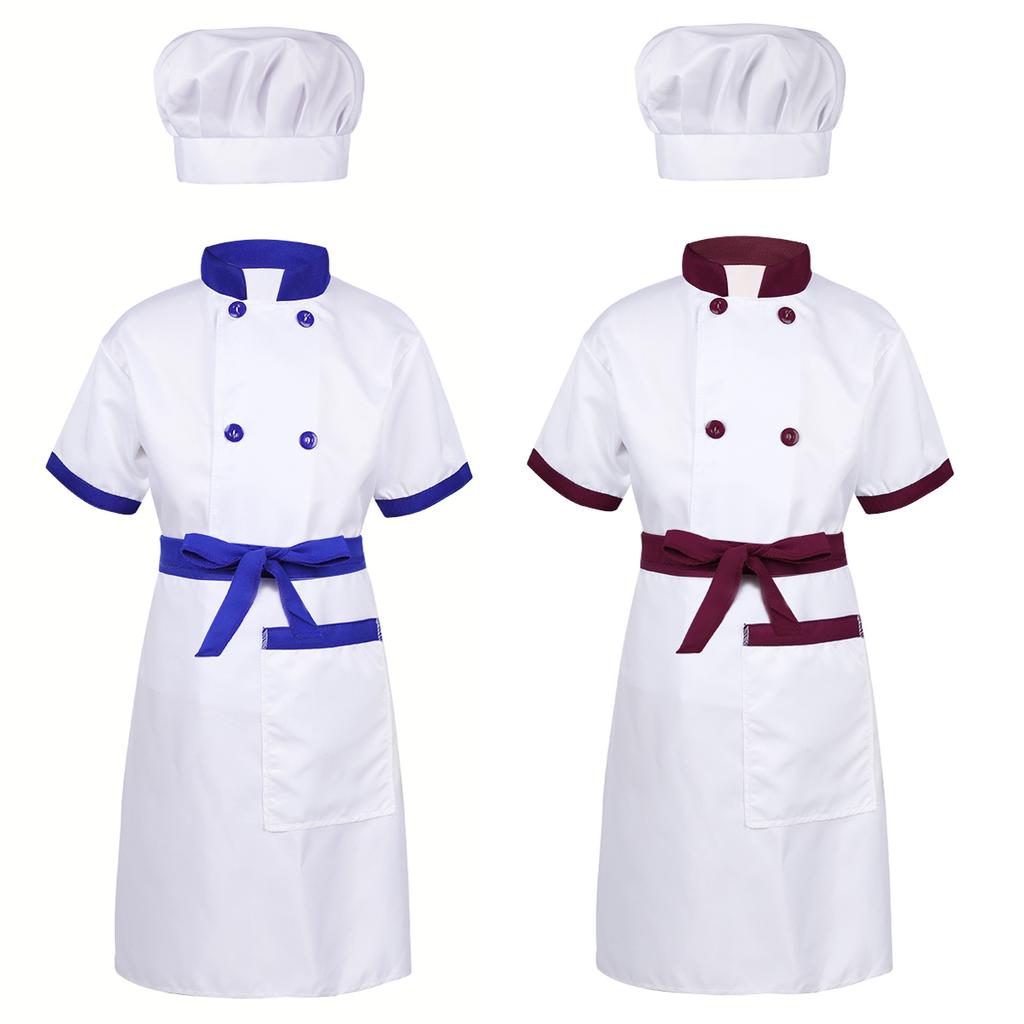
A chef's suit is one of the most memorable uniforms. Let us warn you right away that this is a task for truly brave parents. And it’s not just that sewing a children’s chef’s costume is most likely not suitable for beginners. The easily soiled white color means that your child is careful enough to put it on and keep the snow-white fabric clean until the end of the festive evening. But don't despair if your child is a true Redskin leader: replace the white apron fabric with a light gray one - and add white appliqués to match the child's chef's hat.
History of the chef's costume
The first association with a chef's suit is snow-white, which does not go well with the rather active work of the cook in the kitchen: squeezing a slice of lemon, kneading blueberry sauce or mulberry jam, it is difficult to keep your suit presentable.But chefs weren’t always like this. From ancient times until the reign of Napoleon Bonaparte, their work clothes were quite practical. Napoleon changed everything. More precisely, he himself, of course, did not participate in any way in the transformation of the chef's attire, but his admirer and, part-time, personal chef Marie-Antoine Caremu decided to so zealously support his reforms that he himself became a reformer, replacing gray fabrics with white ones in order to demonstrate to everyone the cleanliness of the kitchen. Despite the absolute illogicality, this innovation could not have come at a better time: in those days, uncleanliness was the cause of many diseases. Therefore, the quirks of Napoleon's chef, which were met with ridicule, made a significant contribution to the health of the courtiers.

creativecommons.org
Step-by-step diagram on how to sew a children's chef's costume with your own hands
Before work, you need to take all the necessary measurements from the future owner of three Michelin stars. Since a children's chef suit must fit perfectly, measure the following parameters:
- Head circumference
- Desired height of the cap (remember that rank depends on height and if you have enough fabric, make your baby a chef)
- Apron hem length
- Apron chest length
- Waist
The tailoring of a chef's suit has changed significantly over the past 200 years: a double-breasted jacket made it possible to quickly hide stains on snow-white clothes, the size of the cap began to correlate with the rank of the cook, special fasteners were sewn to the sleeves (this makes it easier to roll them up), a scarf began to be tied around the neck to wipe away sweat, and Closed shoes protecting against boiling water appeared. Although in this matter there is a place for traditions: for example, modern chefs, thanks to the air conditioners running in the kitchen, wear a scarf solely as a decoration.And some even allow themselves unheard-of insolence and replace the entire uniform with a simplified one, using only an apron and a cap: just like in our children's cook costume.
Let's start with the cap for a children's chef costume:
- First, correlate the parameters of the model with the scheme we have proposed, and complete the construction of the pattern. You should end up with two shapes: a rectangle and a circle. The crown will be sewn from the rectangle - the straight part of a child's chef's hat, adjacent to the forehead, and the circle will turn into a fluffy top. The height of the crown should not be less than 7 and no more than 20 cm so that the product is comfortable to wear. Don't forget to add 1 cm on each side at the edges. In the finished product, the crown should be two-layer, that is, the resulting rectangle will need to be folded in half widthwise to get the actual height of the crown.
- Fold the rectangle in half and sew the open edges, leaving 1 cm from the edge. Fold the edge and iron each in its own direction. To give an additional frame, use an iron to secure the non-woven tape at the fold. It should be on the forehead of the little owner of the chef's suit. The part is folded so that the tape and its edges are in the inner part. To save time, it is advisable to iron all corners and edges at once.
- The size of the fluffy top is calculated as follows: the circumference of the head, transferred to the pattern and increased in radius by four times. If you don’t have enough fabric for a children’s chef costume or don’t want such a fluffy cap, you can reduce the radius to twice the size. If you have enough experience in cutting, you can draw out the necessary parameters directly on the fabric, skipping the pattern stage.
- A ready-made piece of fabric from the top of the cap needs to be secured to the edge of the crown, adjusted to the size of the seat and the drapery tucks evenly distributed. It is believed that the optimal size of tucks is 1.5-3 cm, and it is better to form them manually. All tucks should be the same size and “look” in the same direction.
Let's move on to the less complicated stage of creating a chef's costume for children - cutting out and designing the apron.
We sew an apron for a children's chef's costume with our own hands:
- Using one of our patterns, cut out either a solid front part of the apron (suitable for toddlers) or two parts of a chef's suit (option for tall ones). The rules are the same as for the pattern of a chef's hat and any other product: in all products you need to retreat 1 cm so that the edge can be processed.
- Depending on the option you choose, either the top, side and bottom parts of one solid product are hemmed, or all sides of two parts are hemmed.
- If you choose a two-piece option, connect them by securing the binding ties. If you have a one-piece apron format, simply sew the ties into the side seams of the chef's apron.


 0
0


