creativecommons.org
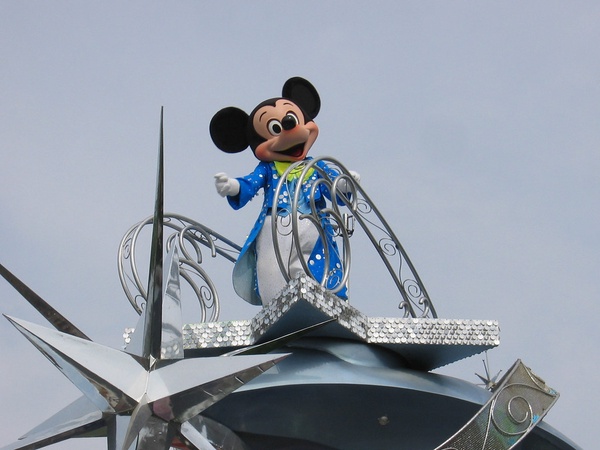
Mickey Mouse is the favorite cartoon character of many children. For many years, he has been delighting little viewers with his cheerful smile and funny jokes. You can find hundreds of varieties of Mickey Mouse toys on store shelves. However, a baby will probably like a mouse he made with his own hands much more, because a piece of his loving soul will be invested in it. A Mickey Mouse costume is much more difficult to sew than a stuffed toy. The Mickey Mouse pattern is made independently; for this you do not need to make complex measurements and calculations. We will tell you further about how easy it is to please your baby.
How to make a toy yourself - Mickey Mouse pattern
In order for the pattern to be correct, all proportions must be observed. You can choose any size of the toy. It could be a small mouse or a cartoon character over fifty centimeters in size.It is better to choose paper for the pattern that is not too hard so that it can be easily attached to the fabric with pins. Next we proceed as follows:
- On paper we draw a figurine of our favorite children's hero. To make it as realistic as possible, you can find a beautiful picture on the Internet and redraw it on a sheet of paper. Another option is to cut out a picture from an unnecessary poster, attach it to paper and carefully trace it. This way the proportions will be kept exactly.
- Cut out the drawn mouse. It is better to use small scissors to clearly cut the shape.
- We divide the resulting application into parts. Separately cut off the head, legs, torso and other details drawn in the picture. It is advisable to number each element so as not to get confused in the future.
- The pattern is ready.
We prepare in advance the material that will be needed during the work. Felt is perfect for the toy itself. We will need five pieces of felt of different colors: black, white, yellow, red and orange. In addition to fabric, you will also need a needle, thread, scissors and pins. You also need chalk to trace the pattern when transferring the details onto the material.
creativecommons.org
Mickey Mouse pattern - sewing pattern for the toy
It is better to start working from the head of the toy. We cut the paper pattern into pieces - cut off the ears and nose separately. This results in four parts. On black material we lay out all the elements at a short distance from each other. We fix them with pins. We trace the outline of each part with chalk. Further:
- Using scissors, we cut out the details of the front part, having previously detached the pattern.
- Then we put all the elements on the fabric again and trace them; this will be the back of the head.
- As a result, we have six elements: ears – 4 pieces, head – 2 pieces.
- Cut Mickey's head again, separating the black part of the muzzle.
- An orange color is suitable for the muzzle - it looks bright and cute; We place the muzzle pattern on orange felt, secure it with pins, trace it, add a smile, cut it out. It is better to outline the smile with chalk first.
- Using black thread we make lips along the line of the mouth.
- To make a fold under the nose, sew the fabric in the right place.
- Now we work with the eyes. Cut them out from a paper pattern. We make the pupils from black fabric. The eye itself is cut out of white material. We sew the details to the muzzle one by one, and the muzzle to the black head.
- Next are the ears. We sew the circles together, leave a hole for filling, stuff a little padding polyester, and sew them together completely. We secure it to the head with pins.
- We attach the resulting head and ears to the back of Mickey Mouse's head, sew it not completely, leaving a hole. We fill it with filler. All that remains is to attach the black nose, made by analogy with the ears. The head is ready.
The body is made by analogy - all the parts are fastened in turn, stuffed with padding polyester and sewn together. There is also a knitting technique, but it is more complex.
 0
0