creativecommons.org
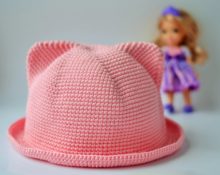
Many people associate the Solokha costume with an abundance of beads, painted vests, embroidery and a play by Nikolai Gogol. Indeed, it was the main character of this story who became the trendsetter of a new fashion. Now the accessory is again gaining popularity among girls who want to create a non-standard look. The right decoration can add a special uniqueness to an outfit. Fashionistas have come up with many ways to diversify their image with the help of Solokha. In stores you can find thousands of different options - these are classic models, hoops with frames or elastic bands. Even hair bands began to be produced in the form of solokha. They are distinguished by the presence of small ears that look flirtatious in their hair.
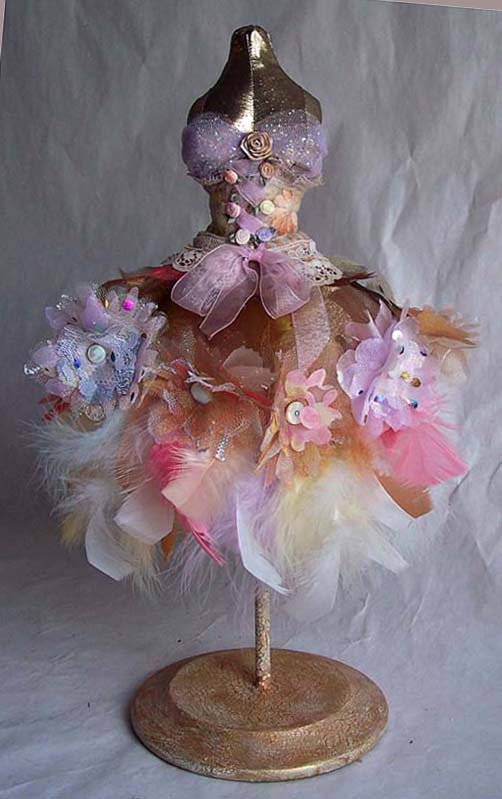
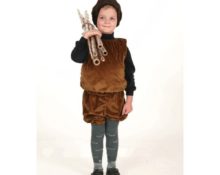
As it turns out, making your own exclusive solokha is not at all difficult. This is not about making a Solokha costume with your own hands. This is really difficult work. It includes a painted long sleeve shirt, a red vest, a long skirt and an embroidered apron.But the main element is the non-standard headband, which is not difficult to make at home.
Solokha - pattern of a classic model
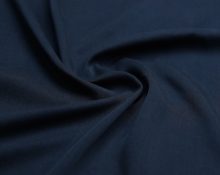
To sew the classic model, dense material is used. This excludes other, additional tissues. To design a bow, you can use several options. For example, some girls prefer rounded ears, while others like pointed ends. It is advisable to choose bright fabric for the accessory. Printed materials look good - with flowers, stripes, polka dots or other patterns. Plain models are also in demand, the main thing is to choose the right design to match the clothes. What you need to make a classic solokha:
- Just a little thick cotton fabric with any pattern.
- A needle, several pins, a set of threads in color.
- Chalk for outlining.
- Scissors.
- Sewing machine.
When choosing a material, its characteristics should be taken into account. Dense, elastic fabric will keep its shape. Loose material will allow you to make a hoop with hanging ears. Sewing procedure for a classic accessory:
- Choose the material you like and calculate the required size. When calculating the width, take into account the desired width of the hoop, multiplied by two. Add a centimeter and a half for allowances.
- We calculate the length based on the circumference of the head with the addition of the desired length of the ears. You also need to take into account the knot and allowances. It is also recommended to take a centimeter or one and a half for the allowance.
- We make a pattern on the fabric. We draw a stripe in accordance with the set parameters.
- Fold the strip in half lengthwise so that the front side is on the inside. To cut out the ears we use a pattern.
- You can sew the hoop using a sewing machine or by hand.There should be a hole no more than four centimeters long on one side. It is necessary in order to turn out the straw.
- We give the desired shape to the ears - pointed or rounded. Now the product needs to be turned inside out, after which the hole is sutured.
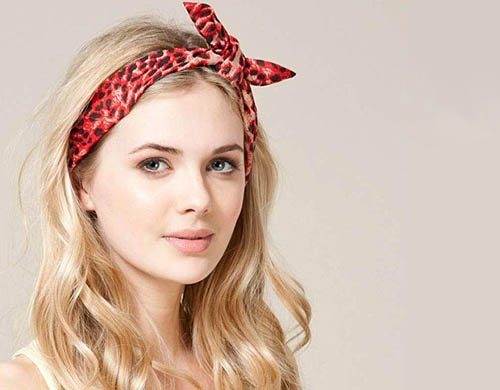
- Using an iron, iron the accessory well. We tie a bandage around the head and shape it into a bow.
A material that contains a small proportion of elastane is very suitable for such products. They adhere perfectly to the hair, do not fall off and look very nice.

creativecommons.org
We sew a straw in a hurry - the easiest way
An interesting way to make a quick accessory is to sew a lazy straw. If a classic model needs to be regularly tied and a beautiful bow created, then with such a headband there are much fewer problems. How to sew a lazy accessory:
- Take an elastic band or rubber band. The width should be five to seven centimeters less than the volume of the head.
- Let's make a pattern. The pattern does not include ears or knots.
- We measure the length of the elastic so that it fits comfortably around the circumference of the head.
- We bend the material in half lengthwise and machine stitch along the edge. We sew the elastic and complete the seam, securely fastening the fabric with the elastic.
- Separately, we make a pattern for the ears. Draw two identical elements. When calculating the length, we take into account the double length of the ears, the knot and the allowances. We stitch each element. All that remains is to turn it inside out and sew up the hole for turning it inside out.
- The ears are tied with a single or double knot around an elastic band. To keep them firmly in place, you can sew them with a needle.
 0
0