creativecommons.org
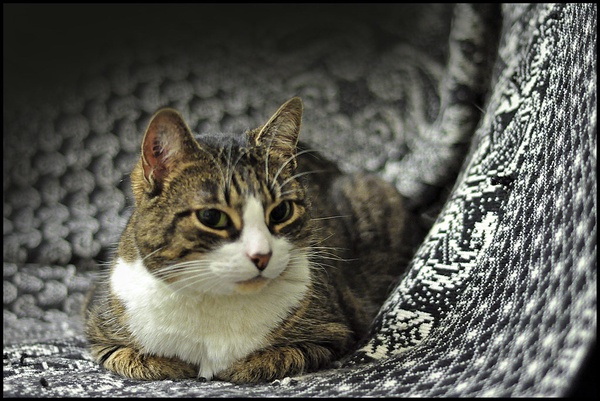
A cat is a freedom-loving animal that needs its own space. The pet loves to come into the arms of its owners, relax on sofas and beds, but it always wants to return to its territory. A cozy house is an irreplaceable thing that every cat will appreciate. Nowadays, pet stores offer a huge range of houses. You can choose any size, color and design style of the booth.
In most cases, cardboard is used for manufacturing; there are wooden and plastic structures. The products are covered with fabric or fur, creating an original design. You can make a house for your pet with your own hands. You just need to select the material and decide on the parameters.
How to sew a house for a cat with your own hands - important nuances
Before you start working on a homemade cat house, you will need to decide on the following nuances:
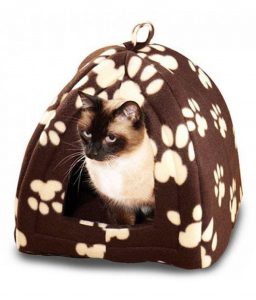
- Booth design. An animal that doesn't like noise will probably like a closed house.This option is suitable for pregnant cats; they subconsciously look for a secluded place for their future children. Pets who consider strangers a threat will happily hide in a closed house. The design assumes the presence of walls and a roof. For sociable and active animals, staying in a closed booth will be a burden. They want to be close to people, so an open bed or nest would be the best option.
- House size. If a kitten appears in the house, then you should make a booth for growth. The pet should be free and comfortable in its nest. However, cats will not appreciate an overly spacious area. A big house will seem uncomfortable to them. The height of the ceiling should be calculated based on the height of the cat in a sitting position. You can leave a few centimeters in reserve, but no more.
- Safety. When building a home, it is important to carefully select the material. It should not be toxic or overly aromatic. It is best to use natural material that does not attract dust. It is not advisable to make sharp corners; all parts must be processed so that the cat does not get injured. Houses need frequent washing, so you need to choose fabric that does not fade.
- Materials. For interior lining, it is better to choose soft fabric. The best option is to decorate the house with faux fur or other fleecy materials. The cat will appreciate both chintz and cotton finishes. If the cat is fluffy, it will be hot in the fur, it is better to choose a smooth fabric. For cats with smooth fur, on the contrary, fleecy material is suitable.
A simple way to sew a house for a cat
creativecommons.org
Making a house for an animal is not difficult. The patterns are quite simple; you can draw the layout yourself or look for analogues on the Internet.Let's look at step-by-step instructions on how to make housing for a cat in a simple way.
- Take a sheet of paper and draw a rectangle with sides of thirty and forty centimeters. Above it, in the form of a triangle, we make a model of a roof up to thirty centimeters high.
- Cut out the blank from paper. She will be the template for the future home. We place the material from which we will make the walls on a flat surface. We attach a paper model and cut out four equal shapes. These are the inner walls of the house.
- We make the outer walls in the same way. We apply the pattern to dense material and cut out four shapes. Leave seam allowances of two centimeters on all sides of the pattern.
- We make the floor in the form of a pillow or lounger. On the material we draw a square figure with edges of forty centimeters. The seam allowance is two centimeters. We cut out the part in duplicate.
- We cut out the foam insert. We make the walls from foam rubber one and a half centimeters thick. For the floor you will need thicker material. You can take double foam rubber of one and a half centimeters or purchase a piece of soft material with a density of two and a half centimeters. When cutting foam rubber, we do not leave an allowance.
- We sew together three layers of the wall - we put thick fabric down, a layer of foam rubber on top and soft upholstery for interior decoration.
- The fourth wall should have an entrance for the animal. Cut a hole of the appropriate size. To do this, draw a circle on the fabric using a compass. You can circle a round plate. We connect two layers of material and process the edges of the entrance with a zigzag seam. Otherwise, the material will begin to crumble over time.
- We connect the floor parts along the edges. Additionally, you can make stitches in a square so that the foam rubber and the material are bonded more securely.
- We sew the front wall with the entrance to the adjacent wall from the wrong side of the product. By analogy, we connect all the parts of the product. Lastly, we sew on the floor, after which we turn the finished house right side out. We level the structure.
 0
0