prom.ua
What is thermal decal or, in other words, thermal stickers, is clear from the name alone. These are pictures that are glued to surfaces or fabrics by heating. Today they are used almost everywhere - in the design of clothing, interiors, equipment and even cars. The production of thermal stickers for clothing is carried out at special enterprises, but the procedure can be handled at home.
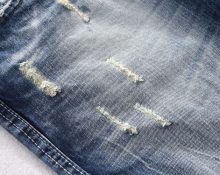
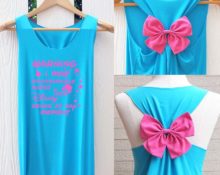
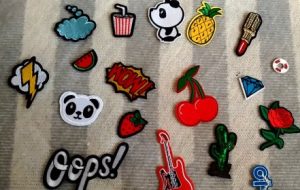
It is enough to spend a little effort to turn a plain black T-shirt into a bright exclusive or personalized item. Thermal appliqué is a simple, inexpensive and original way to transform wearable items. The applique is applied to the front side of the garment. She is sometimes able to perfectly hide a stain or hole on a favorite item, giving it a second life. Stickers can be completely different:
- sports - with logos of famous brands;
- nominal;
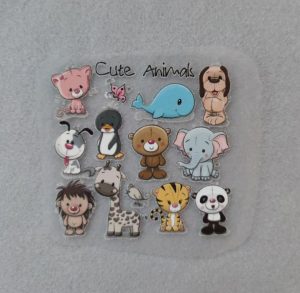
- children's - with toys, birds, cartoon characters;
- women's - with lace, embroidery, decorated with stones and others.
The template for any thermal appliqué on fabric is available on the Internet, so making it yourself will not be difficult.
How to make iron-on stickers on clothes with your own hands - making iron-on stickers
With the advent of modern printers and other equipment, it has become possible to do a lot at home. For many years now, thermal paper for printers has been on store shelves. It comes in two types:
- Dark printing is done on thick sheets with a white backing. This option is not suitable for transfers, as the image may not be transferred onto the fabric well.
- Light prints are created using transparent sheets. They are suitable for working with thermal applications. Despite the absence of a background, before the iron-on adhesive is transferred to the fabric, its contours must be carefully cut out. Otherwise, there is a chance that the edges of the image will be visible.
You can choose thermal paper for a laser printer or inkjet device. You need to choose a picture according to its size. It should have a dark outline so that it is visible on clothing. Letter stickers should be mirrored when applied. How to make a thermal sticker:
- Select an image.
- You can pre-print it on a regular sheet of paper to ensure your choice.
- Print on thermal paper.
- Cut along the contours.
- You can stick the picture on the fabric.
Images that are properly applied by heating are quite durable. They do not peel off when washed and do not crack. The application will please the eye for a long time.
How to make a thermal sticker on clothes - we translate the applications ourselves
olx.ua
Initially, you should prepare your workplace. The best option is to glue the picture on the ironing board.If there is no ironing stand, place a thick, dense layer of fabric on the floor or table. Lay out the product on the surface. We carefully remove folds and bruises so that the application area is perfectly even. Let's start working with a self-made iron-on adhesive:
- We attach the image to the material and select the location. The applique should be facing the fabric. At the top there is a paper layer of the sticker. It should be remembered that you can move the pattern only before pressing on it with the iron.
- When choosing the temperature of the iron, look at the maximum permissible value for the material.
- We cover the decal with paper to protect the item from the effects of a hot iron.
- Place a heated iron on top of the paper with a flat sole. We press it with maximum effort and hold it for fifteen seconds. If the sole is smaller than the picture, you will have to press it in sections across the entire sticker.
- We pay special attention to small details and edges. They need to be ironed as thoroughly as possible.
- Let the picture cool down. Otherwise, the paper may tear when you remove it.
- When the paper covering becomes cold, remove it from the drawing very slowly so as not to tear the image. At the same time, we check the uniformity of the translation and the presence of defects. If any are present, we go through the iron again.
- If there are no flaws, we completely remove the paper and get a finished application.
In just a few minutes you get a bright picture and actually a new thing. There are special sites on the Internet with a huge range of templates. Their size can be changed using the simplest programs, selecting the appropriate parameters.
 0
0