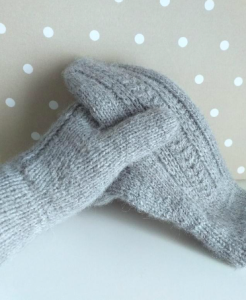
Mittens are especially popular. In them, all the fingers are gathered together, which allows them to retain heat longer. Usually only children wear them, but adults often prefer them, because they are more comfortable and practical to wear.
Knitting mittens seems quite simple. However, difficulties arise at the moment when it is the thumb that needs to be knitted. Beginning craftswomen are often afraid to start work precisely because of this stage.

Thumb knitting methods
The first and most common way is to simply leave the required number of finger loops and return to them when the rest of the part is already knitted. In this case, some discomfort may occur during wearing.
There is also another method and a huge number of its variations - wedge.
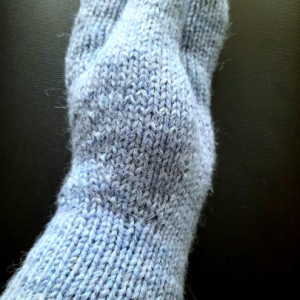
Anatomical method or wedge

Cuff
On the knitting needles, cast on a number of stitches that are a multiple of 4+1. Calculate it yourself depending on the required size. Next, continue knitting, alternating 2 IP and 2 LP.Close each row into a circle. To do this, knit the initial loop as an LP and pull it through the final one. Carefully tighten the thread between them so that the circle is even. Mark the beginning of the circle with a marking.
Knit 14 rows in this way. Knit the next two rows completely.
Next, knitting the wedge for the thumb begins directly.
On one of the knitting needles, select 2 loops, separated from the edge by 2 more loops. Highlight them with a marker or pin. Knit the distance between the two markings. At the same time, add 1 loop near the last marker. Increase in every even row and end when there are 12 stitches between the marks.
Attention! The number of loops between the markings depends on the volume of the thumb. In each specific case it may be more or less than specified. It is important that it is even.
After this, transfer the loops to a holder or an additional knitting needle and continue knitting the main part of the mitten. Having tied it, return to the thumb.
Raise the remaining stitches onto a working needle. From the opposite side of the hole, pick up 2 loops. Divide the resulting number of stitches equally onto 2 knitting needles. Mark the beginning of the row using markings.
As a rule, it is enough to knit 16 rows for the thumb. They are knitted completely LP.
In the 17th row, reduce the number of loops by half. To do this, knit two loops as one each time.
After this, cut the thread, leaving an end equal to approximately 10 cm, and pull it through all the remaining loops.
This completes the knitting of the thumb with a wedge.
Finally, here are some general tips for knitting thumbs and mittens in general.
- Thread selection. The best option would be wool or acrylic. They retain heat perfectly. For children's mittens, you should choose acrylic yarn. It is synthetic, hypoallergenic and more pleasant to the senses.
- Spokes. As a rule, the recommended needle size is indicated on the label of the ball of thread. If the mittens are planned with voluminous braids, then it is worth preparing 2 options for knitting needles of different diameters.
- Measurements. Each person has their own palm size, so the number of loops and the length of the product will be individual. Before you begin, you should take the following measurements:
- the length of the palm from the desired beginning of the mitten to the end of the longest finger;
- the distance between the beginning of the palm and the thumb, as well as the little finger;
- thumb length;
- wrist circumference length.
By following this simple method of knitting, the thumb of the mitten with a wedge always turns out uniform and does not pinch.


 0
0


