Among the variety of goods in the store, we often find only the same type of things, but our soul asks for something exclusive? Then hooks, knitting needles, threads and a little patience come to our aid. Today we’ll talk about how to create a crochet pillowcase that will please even the most discerning fashionistas!
How to crochet a pillowcase
Pillows in the shape of hearts, stars and animals require matching pillowcases. And here the needlewoman’s imagination comes into play, looking for an interesting option on how to play it all out. One of the basic elements is the granny square: it is simple to make, and its combinations create amazing combinations for the comfort of your home.
Still unsure whether to take a hook? I will give reasons in favor of knitted accessories:
- A pillow is one of the easiest ways to start learning the basics of knitting. For many models, basic crocheting skills are enough.
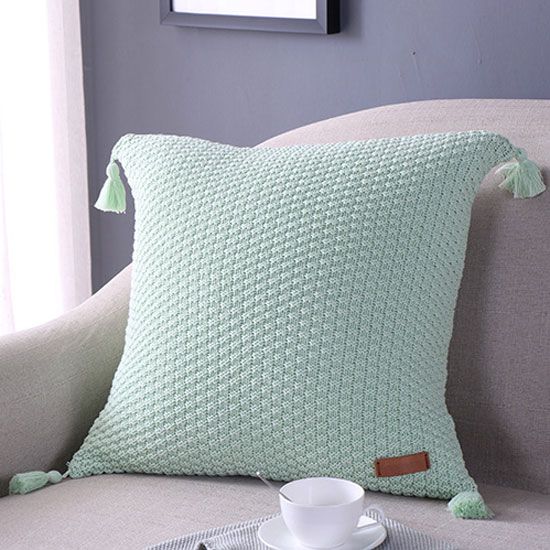
- You can make an option for any interior. For example, keep a pillowcase in pastel colors for Provence or make a white and black classic for minimalism or hi-tech.
- A knitted pillow with a slight movement of the hand turns into a seat or toy for a child. She decorates furniture and helps to place bright accents in the interior.
The result depends only on the imagination and perseverance of the needlewoman.
Irish lace is considered one of the interesting knitting techniques. Some needlewomen are afraid to start studying it, but even mastering simple patterns will help in creating an amazing openwork miracle.
Crochet a pillowcase for a pillow
Let me tell you a little secret: crocheting is faster than knitting!
Choosing a model, yarn and hook for beginners
First, let's decide on the shape of the product. It can be a circle, a roller, a rectangle, a square. Circles and squares are considered one of the easiest to perform.
You can choose patterns for napkins to match round motifs. By increasing the size of the hook we will get a larger pillow.
Next, we choose yarn - you can pay attention to popular manufacturers:
- YarnArt;
- Alize;
- Semyonovskaya yarn;
- Vita;
- Trinity.
Don't be afraid to experiment! For simple patterns, you can choose yarn with pompoms, gradient dyeing or with the addition of shiny threads and sequins.
Knitting pillowcases with your own hands is very beneficial for those who have leftover yarn accumulated in their supplies. We sort the balls, select everything that matches the colors and thickness of the threads. Let's get creative!
The hook is selected according to the thickness of the yarn. There is a reminder:
- hook 0.5–1 is suitable for thread length 1600–2000 m per 100 g of yarn;
- 1–1.5 at 600–1500 m;
- 2–2.5 at 300–500 m;
- 3–3.5 at 250–350 m;
- 3–4 at 200 m;
- 5–6 per 100 m or less.
I make it simpler: I take a hook and start knitting. The first loop will show how tightly the thread fills the space. The hook should fit perfectly evenly and accurately into the recess.


Step-by-step knitting process
It turns out very interesting when they take two colors for a pillowcase and knit them with separate motifs, from which a whole picture is assembled. For example, this cute white and yellow pillow with a neat heart pattern!
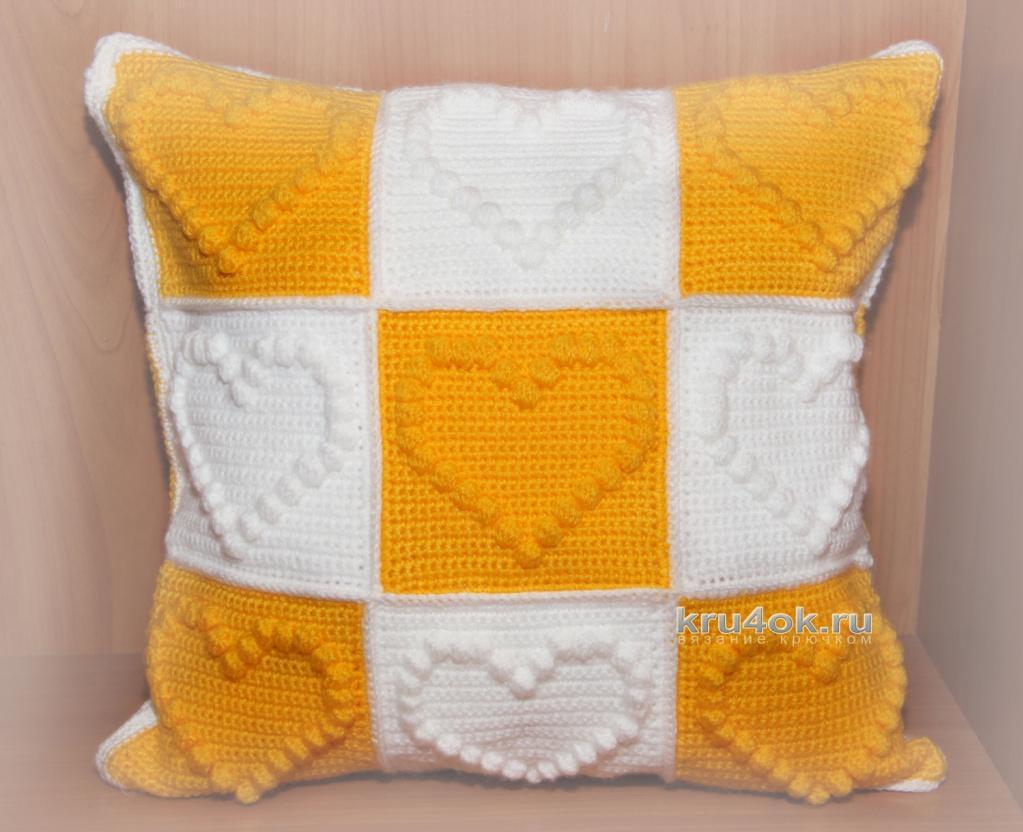
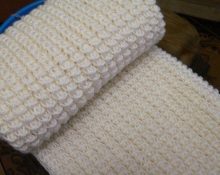
A lush stitch is knitted like this: we make the required number of stitches not knitted to the end in one loop of the previous row, then we grab the working stitch, pull it through all the loops and make an air loop.
Connect ready-made motifs in one row with sc, that’s it!
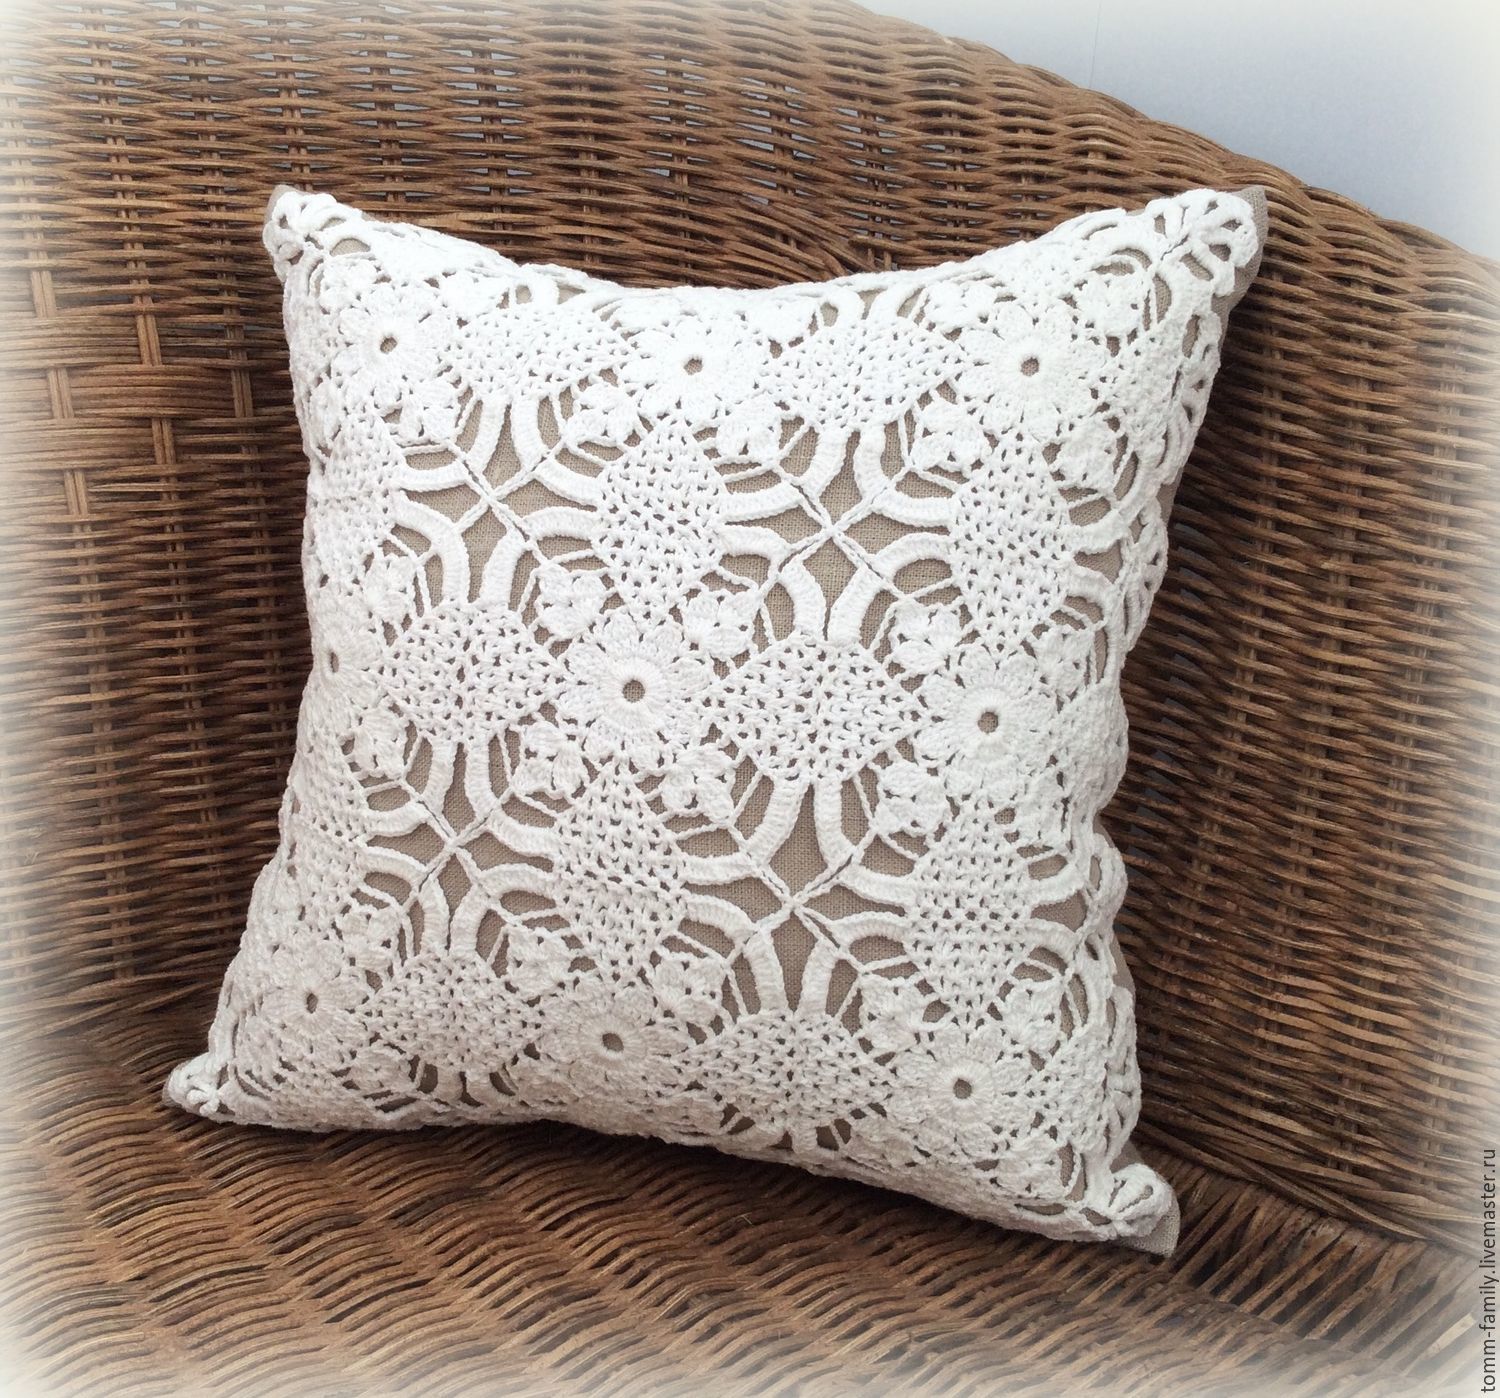
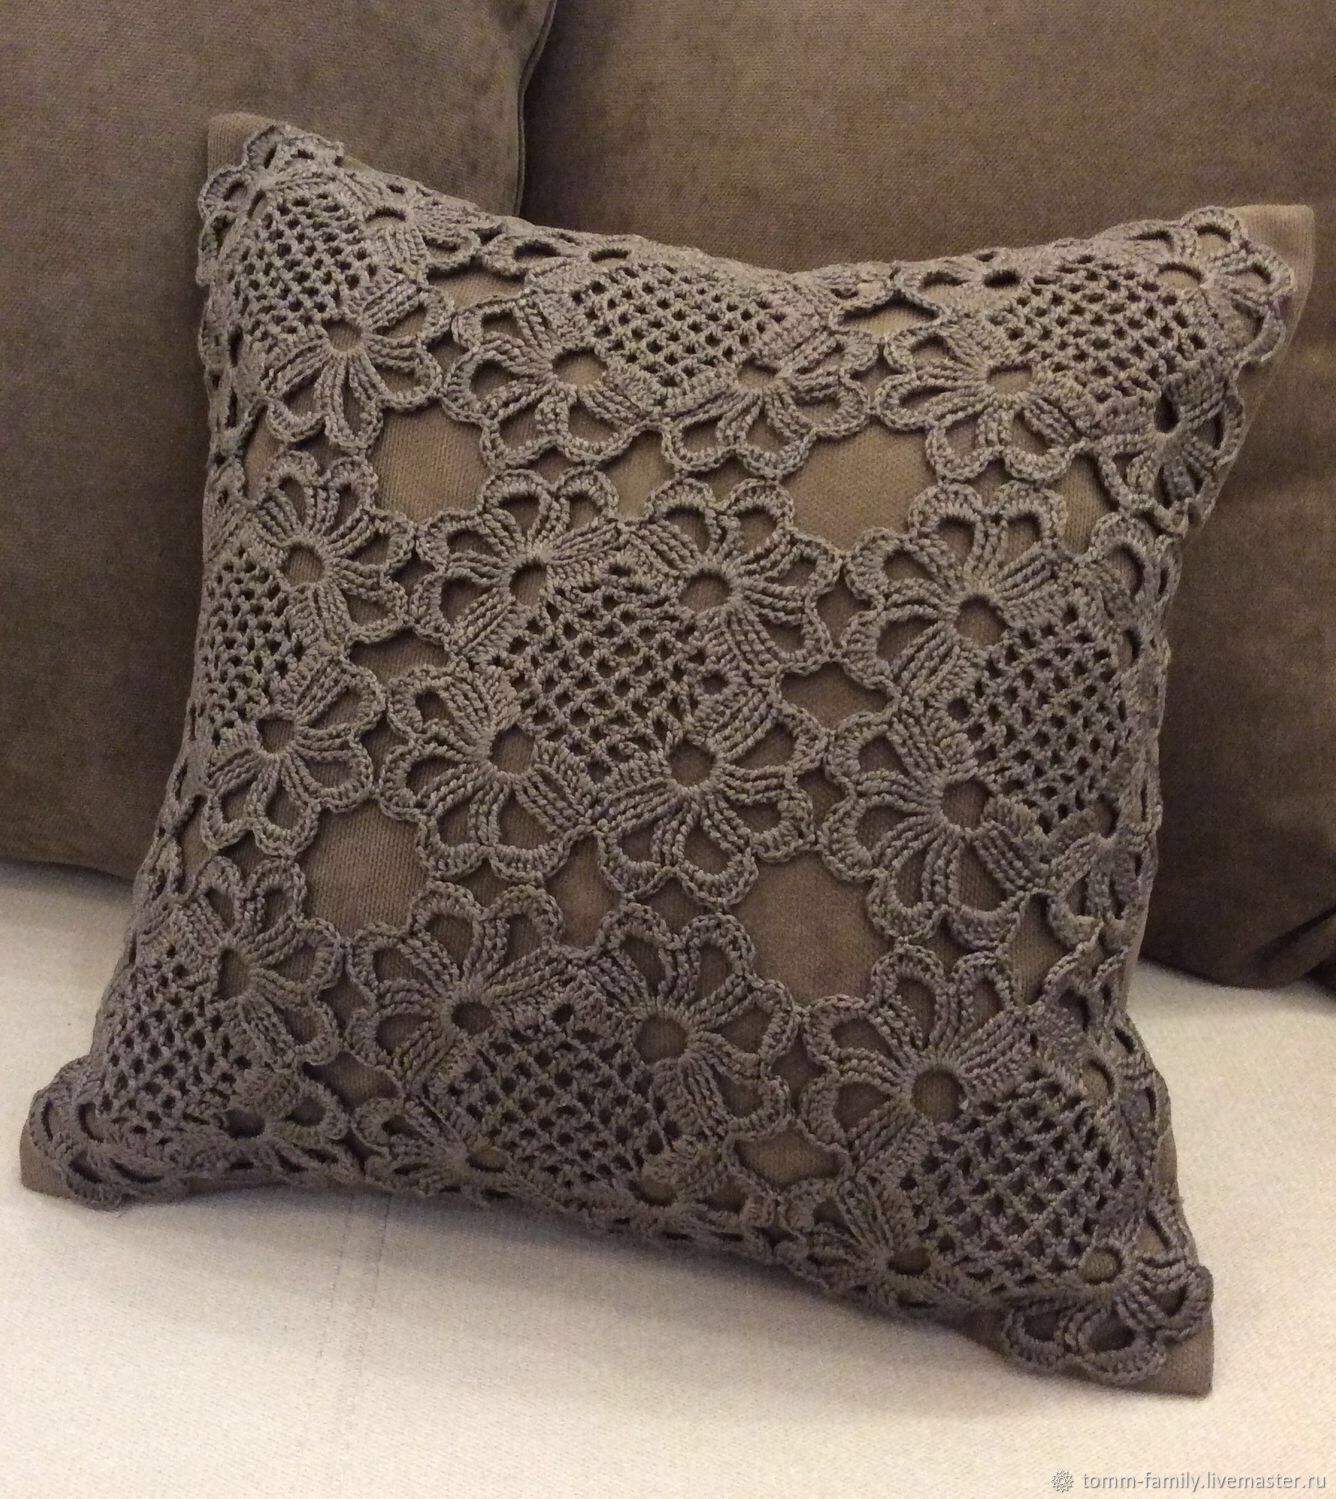
Crochet openwork pillowcase: simple and beautiful patterns
You can fill the pillow with unnecessary fabric or buy filler. Round openwork patterns are great for pillowcases. The result is an exclusive little thing that will fit on the living room sofa or become a soft seat for a chair.
To knit the next openwork miracle you will need 100 g of any yarn you like and a suitable hook.
The diameter of the product depends on the thickness of the threads and hook!
How to crochet a pillowcase for a small pillow
The upper part is knitted with an openwork motif, and the lower part - RLS.
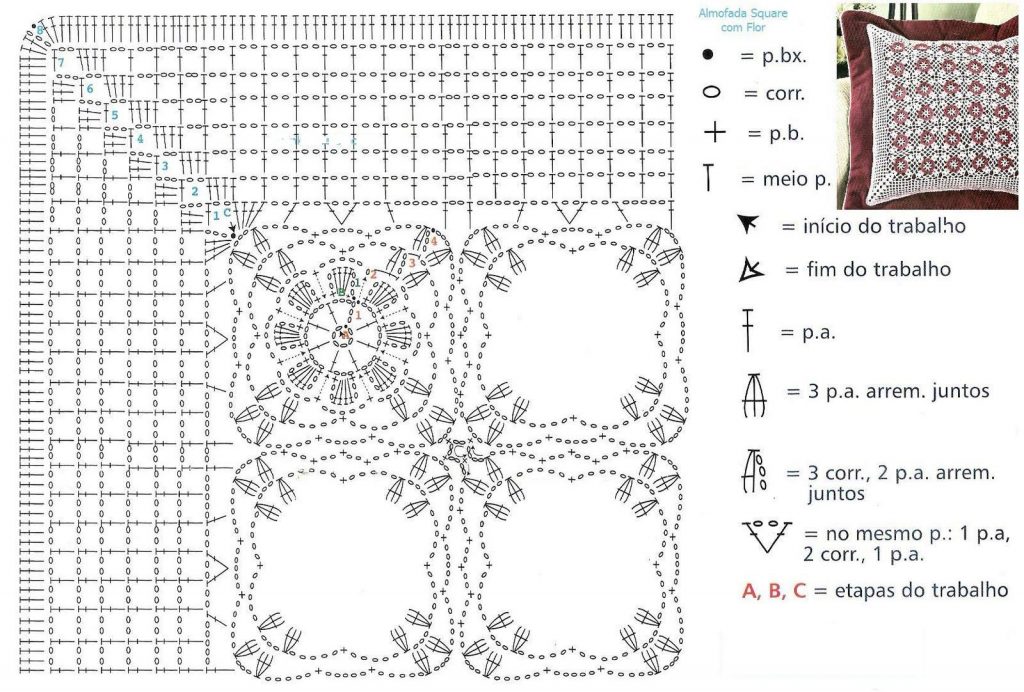
Top part
So, let's get started, make a chain of 6 VPs, close with a connecting column (CC).
- 1 row. 4 VP, *1 DC in the ring + 1 VP* repeat 12 times, 1 DC.
- 2nd row. 4 VP, 1 VP in the first VP + 1 VP, * 2 VP in the column of the previous row (PR), between them one VP + 1 VP above VP PR* 12 times, SS.
- 3rd row. 3 runways, 1 dc from VP PR, 1 dc in the next column PR, 1 VP, * 1 dc in the PR column, 1 dc in the arch, 1 dc in the column, 1 VP * 12 times, SS.
- 4 row. 3 runways, 2 dc in one column of the previous row, 1 dc in the dc PR, 2 VP, * 1 dc in the PR column, 2 dc in the PR column, 1 dc in the PR column, 2 VP* 12 times, SS.
- 5 row. 3 runways, 1 dc in PR column, 2 dc in PR column, 1 dc in PR column, 3 VP, *1 dc in PR column, 1 dc in PR column, 2 PR columns, 1 PR column, 3 VP * 12 times, SS.
From rows 6 to 16 we continue to work according to the pattern.
Bottom part
It knits much easier! We cast on 6 VP, close it in a ring, then knit a sc, adding 6 sc in each row. 25 rows should be enough.
Then we sew both parts of the sc, leaving room for a button or zipper. At the end, I recommend making 5-6 rows of openwork border. This is how the product takes on a finished look.
Conclusion
So, today we have sorted out two models of crocheted pillowcases, but the imagination of the craftswomen knows no limits! Having mastered the basic elements and the described schemes, you will definitely have a masterpiece that you can and should be proud of!
 0
0