More spectacular analogues have long been invented for ordinary elastic bands. Such patterns require more yarn and craftsmanship, but the finished products look much more interesting. Today I will talk about the Bandolier elastic band, the nuances of its execution and the secrets of knitting.
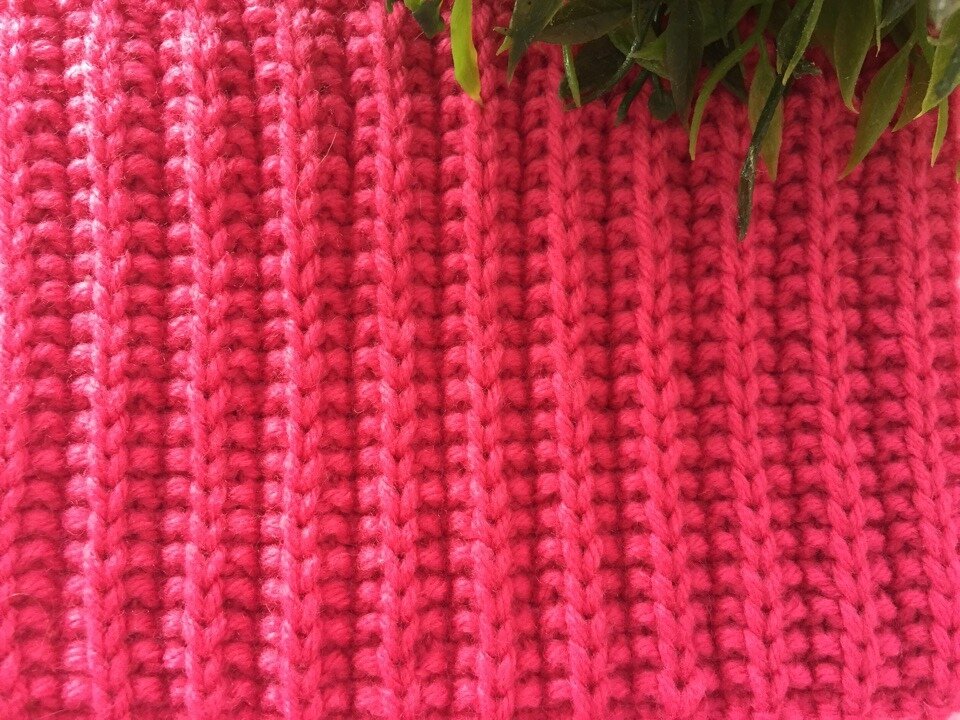
Elastic Bandolier and its features
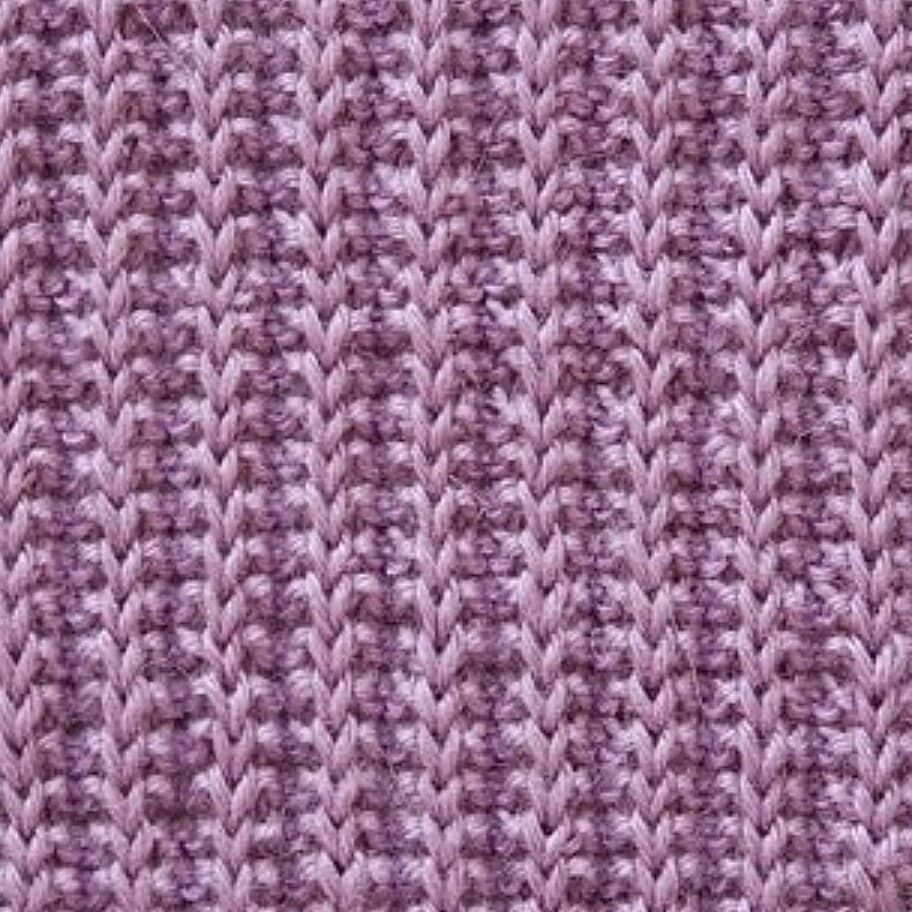
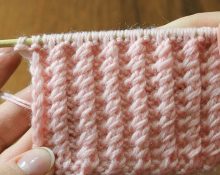
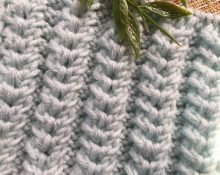
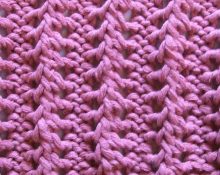
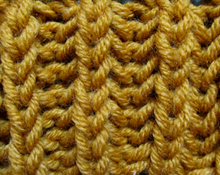
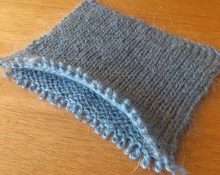
The pattern itself is quite dense, identical on both sides of the canvas. It is voluminous and looks good on its own. Good at knitting individual elements to decorate the bottom of a garment, cuffs or neckline. The Bandolier elastic band holds its shape well because it is rigid and warm, so it is perfect for winter clothes that do not form a tight fit.
@br.pinterest.com
How to knit
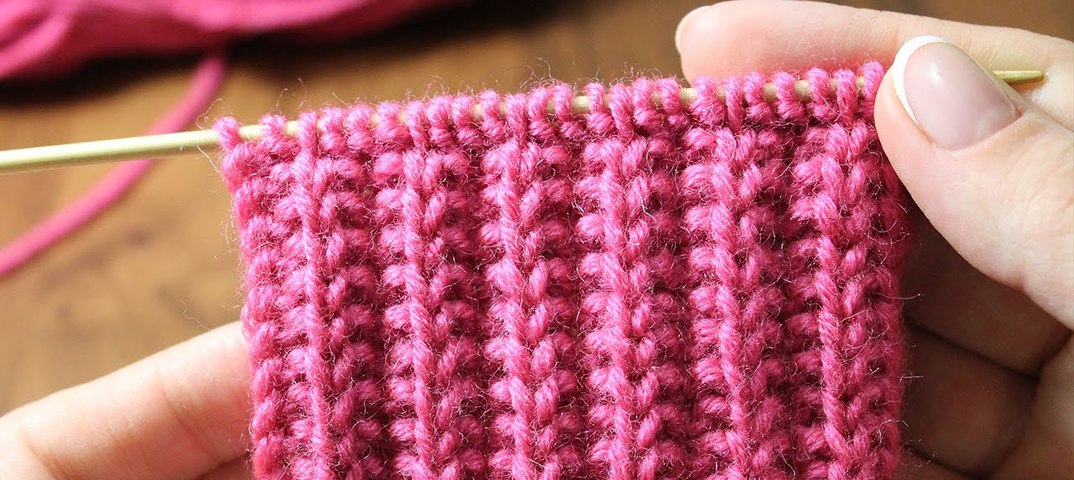
Like all elastic bands, this pattern consists of alternating purl and knit stitches. True, when knitting in turning rows, only knit stitches are used and removal without knitting. The desired effect is achieved by turning the fabric over: the front side on the reverse side is the wrong side. For this reason, knitting in the round is very different from knitting in the round.
Forward and reverse rows
We cast on a multiple of 4 loops, add 3 stitches for symmetry and 2 edge stitches. Then everything is repeated in two rows:
- 1st row - the first loop is removed, the next three are knitted. Then the thread is moved FORWARD, the next loop is removed, as if wrapped in front with a working thread. This is how it is knitted until the last 4 stitches in the row: 3 symmetry stitches are knitted with knit stitches, 1 edge stitch is knitted purlwise;
- 2nd row - the first one is removed, the next one is knitted, then the stitch must be removed with the thread before work. Knit 3 stitches, remove 1 stitch with the thread before the fabric - repeat until the last two stitches. The penultimate one is knitted on the front, the edge - purl.
@In contact with
Round
For hats and snoods, knowledge of how to knit Bandolier elastic on circular knitting needles will be very relevant. This does not require edge and symmetry loops, as in the method described above - the number of loops must be a multiple of 4. The repeat is 4 loops and 2 rows. If you knit on double needles, the multiplicity of 4 should be maintained on each of the four.
- 1st row - knit 3, remove 1 stitch without knitting, with thread before work. Knit to the end of the row.
- 2nd row - 1 purl behind the front wall, 1 knit is removed with thread BEHIND the work, 3 purl. At the end of the row, not 3, but 2 purl loops are knitted (the pattern is shifted, the first loop of this row is like the third in the pattern).
Advice! In order to prevent a hole from forming in this place when knitting in a circle, I cast on 1 stitch more, then transfer it to the left knitting needle and pull the first stitch of the cast-on edge through it. It needs to be tightened, and the loop around which it is wrapped must be transferred to the second knitting needle. It is advisable to hang a marker in this place, since the two rows are knitted differently - it is important not to lose the beginning of a new one.

@YouTube
Some useful tips
I would like to highlight the points that make it worth choosing the Bandolier elastic band for knitting your item:
- This is a reversible pattern - it is the same on both sides of the fabric, which makes this elastic a good choice for scarves.
- Due to its high density, it can be used to design trims, collars and fasteners - those elements that must keep their shape.
- Despite the elasticity of the pattern, you should not neglect knitting the sample and carrying out wet-heat treatment, especially if you use a thread with a high content of natural fibers. After washing the finished product, you may be unpleasantly surprised by the result obtained if you do not take into account the degree of shrinkage or stretching.
Over time, many knitted items, especially their edges, lose their shape and look untidy. For myself, I choose the Bandolier elastic band precisely because it remains ideal for a long time. It is good for oversized items, hats and scarves. This is an excellent choice for those who want to add originality to a simple pattern.


 0
0

Is it really possible to print a diagram instead of (or together with) a description?
I couldn’t find anywhere how to elastically close this elastic band (bandolier).
The edge is either inelastic or stretched, depending on known methods. Isn’t there a normal one for this rubber band?