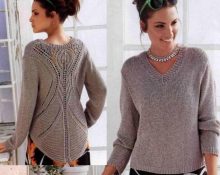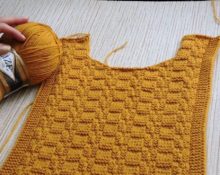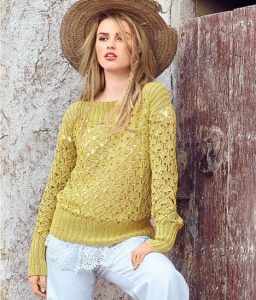
A boat neckline is a great option for decorating a knitted item that emphasizes the femininity and tenderness of its owner. Even regardless of what yarn is used in the project (wool, cotton or silk), the product will still look very delicate, with a touch of passion and provocation. And it's all thanks to this cutout. Depending on the depth of the “boat”, the product can be very modest and suitable for the strictest office dress code, and very provocative, suitable for evening dresses and club outfits.
This neckline shape is perfect for women (girls) with a narrow shoulder line. The boat visually expands them. Also, those with curvy hips can use sweatshirts with such an interesting neckline, as the boat will visually balance the figure. But it is worth keeping in mind that the boat style visually shortens the neck, so ladies with short necks and round/oval faces should avoid it. This neckline is best suited for ladies with a triangle or diamond-shaped face.
How to make this cut? Let's look at its implementation using a simple jumper as an example.
Required:
- Yarn 700 grams;
- Straight knitting needles No. 3;
- Needle for assembling the product;
- Finished product pattern, pins, scissors;
- Basic pattern: English rib, 1 purl and 1 knit.
The simplest design of a product with a boat neckline, on the basis of which the implementation of this type of neckline was considered.
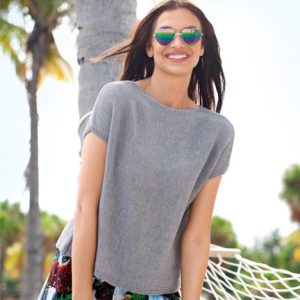
Work progress
We cast on 100 (110) loops and make the product according to the pattern with the main pattern. To create an armhole, 20 centimeters from the “start” you need to begin a smooth decrease in loops (1 on each side). Next we knit another 40 centimeters and close the loops.
For the sleeves, cast on 48 (50) stitches and sew the fabric with the main pattern strictly according to the pattern. Without increasing, knit 25 rows. Next, add one loop on each side. Continue knitting until you get 44 (46) centimeters from the beginning of knitting. Next, decrease every 4 rows by 2 stitches. After 59 (61) centimeters, close all the loops.
There are several options for creating a boat neckline:
- The neckline does not come out. Therefore, it is a simple straight line on both sides of the product. To make such a product look more interesting, it can be decorated with lace (using a hook or ready-made by machine) or a wide ribbon. Some craftswomen recommend that in order for such an edge in the product to last longer, it is necessary to sew a thin elastic band on the reverse side. This way there will be a slight compaction on the inside, and the edge will stretch much less.
- The shoulder line is divided in half, but the neckline is not knitted either front or back.In this case, it is best to decorate it with lace and make a small lining at the neckline to increase the strength and durability of the product.
Product assembly
The most important part. Lightly moisten all the parts and stretch them onto pre-prepared patterns. Leave to dry naturally. It is very important not to skip this stage, since if you treat it carelessly, then various defects may arise in the further process of use. After drying, it is necessary to strengthen the neckline (if you wish). To do this, cut off a thin flat elastic band or a small piece of dense material. And then it is carefully sewn to the front side of the product. Next you need to sew the jumper along the shoulder and side seams. The next step is sewing in the sleeve.
The very last step, which is carried out at the request of the craftswoman, is decorating the finished product. The jumper can be complemented with various embroidery, ribbons, beads, voluminous or flat appliqué, and so on. That's all, the product is ready.


 0
0
